Creating and editing experiment profiles
Using the UI
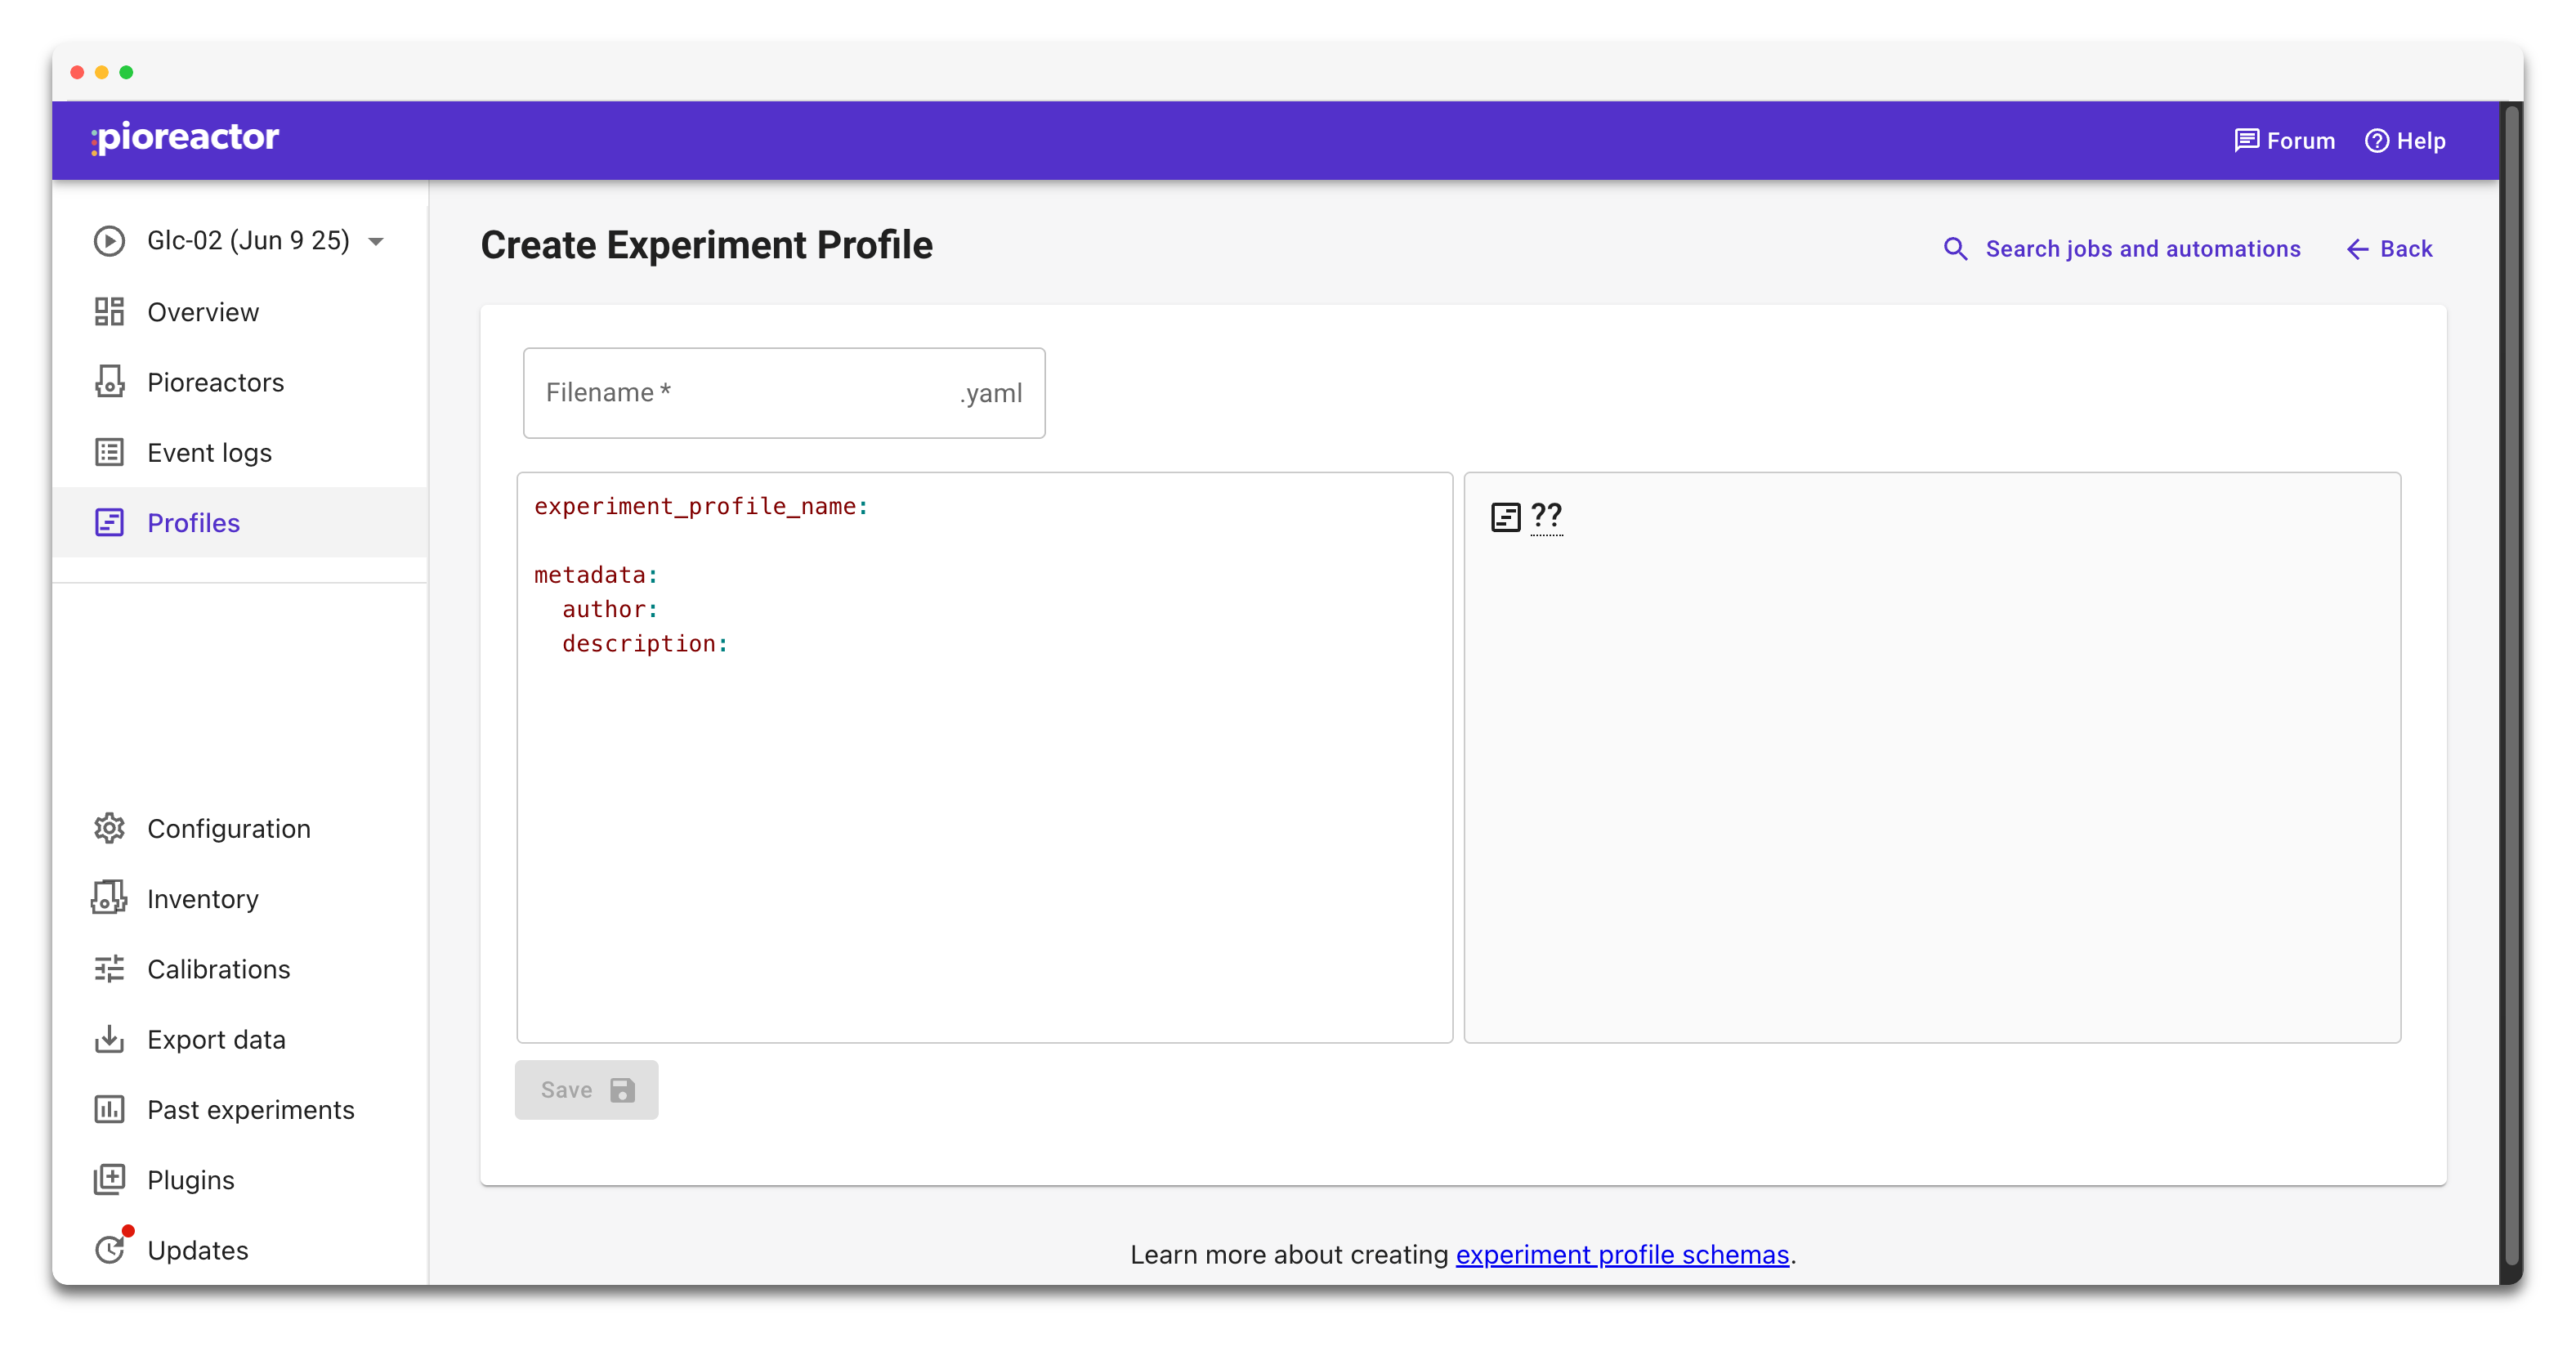
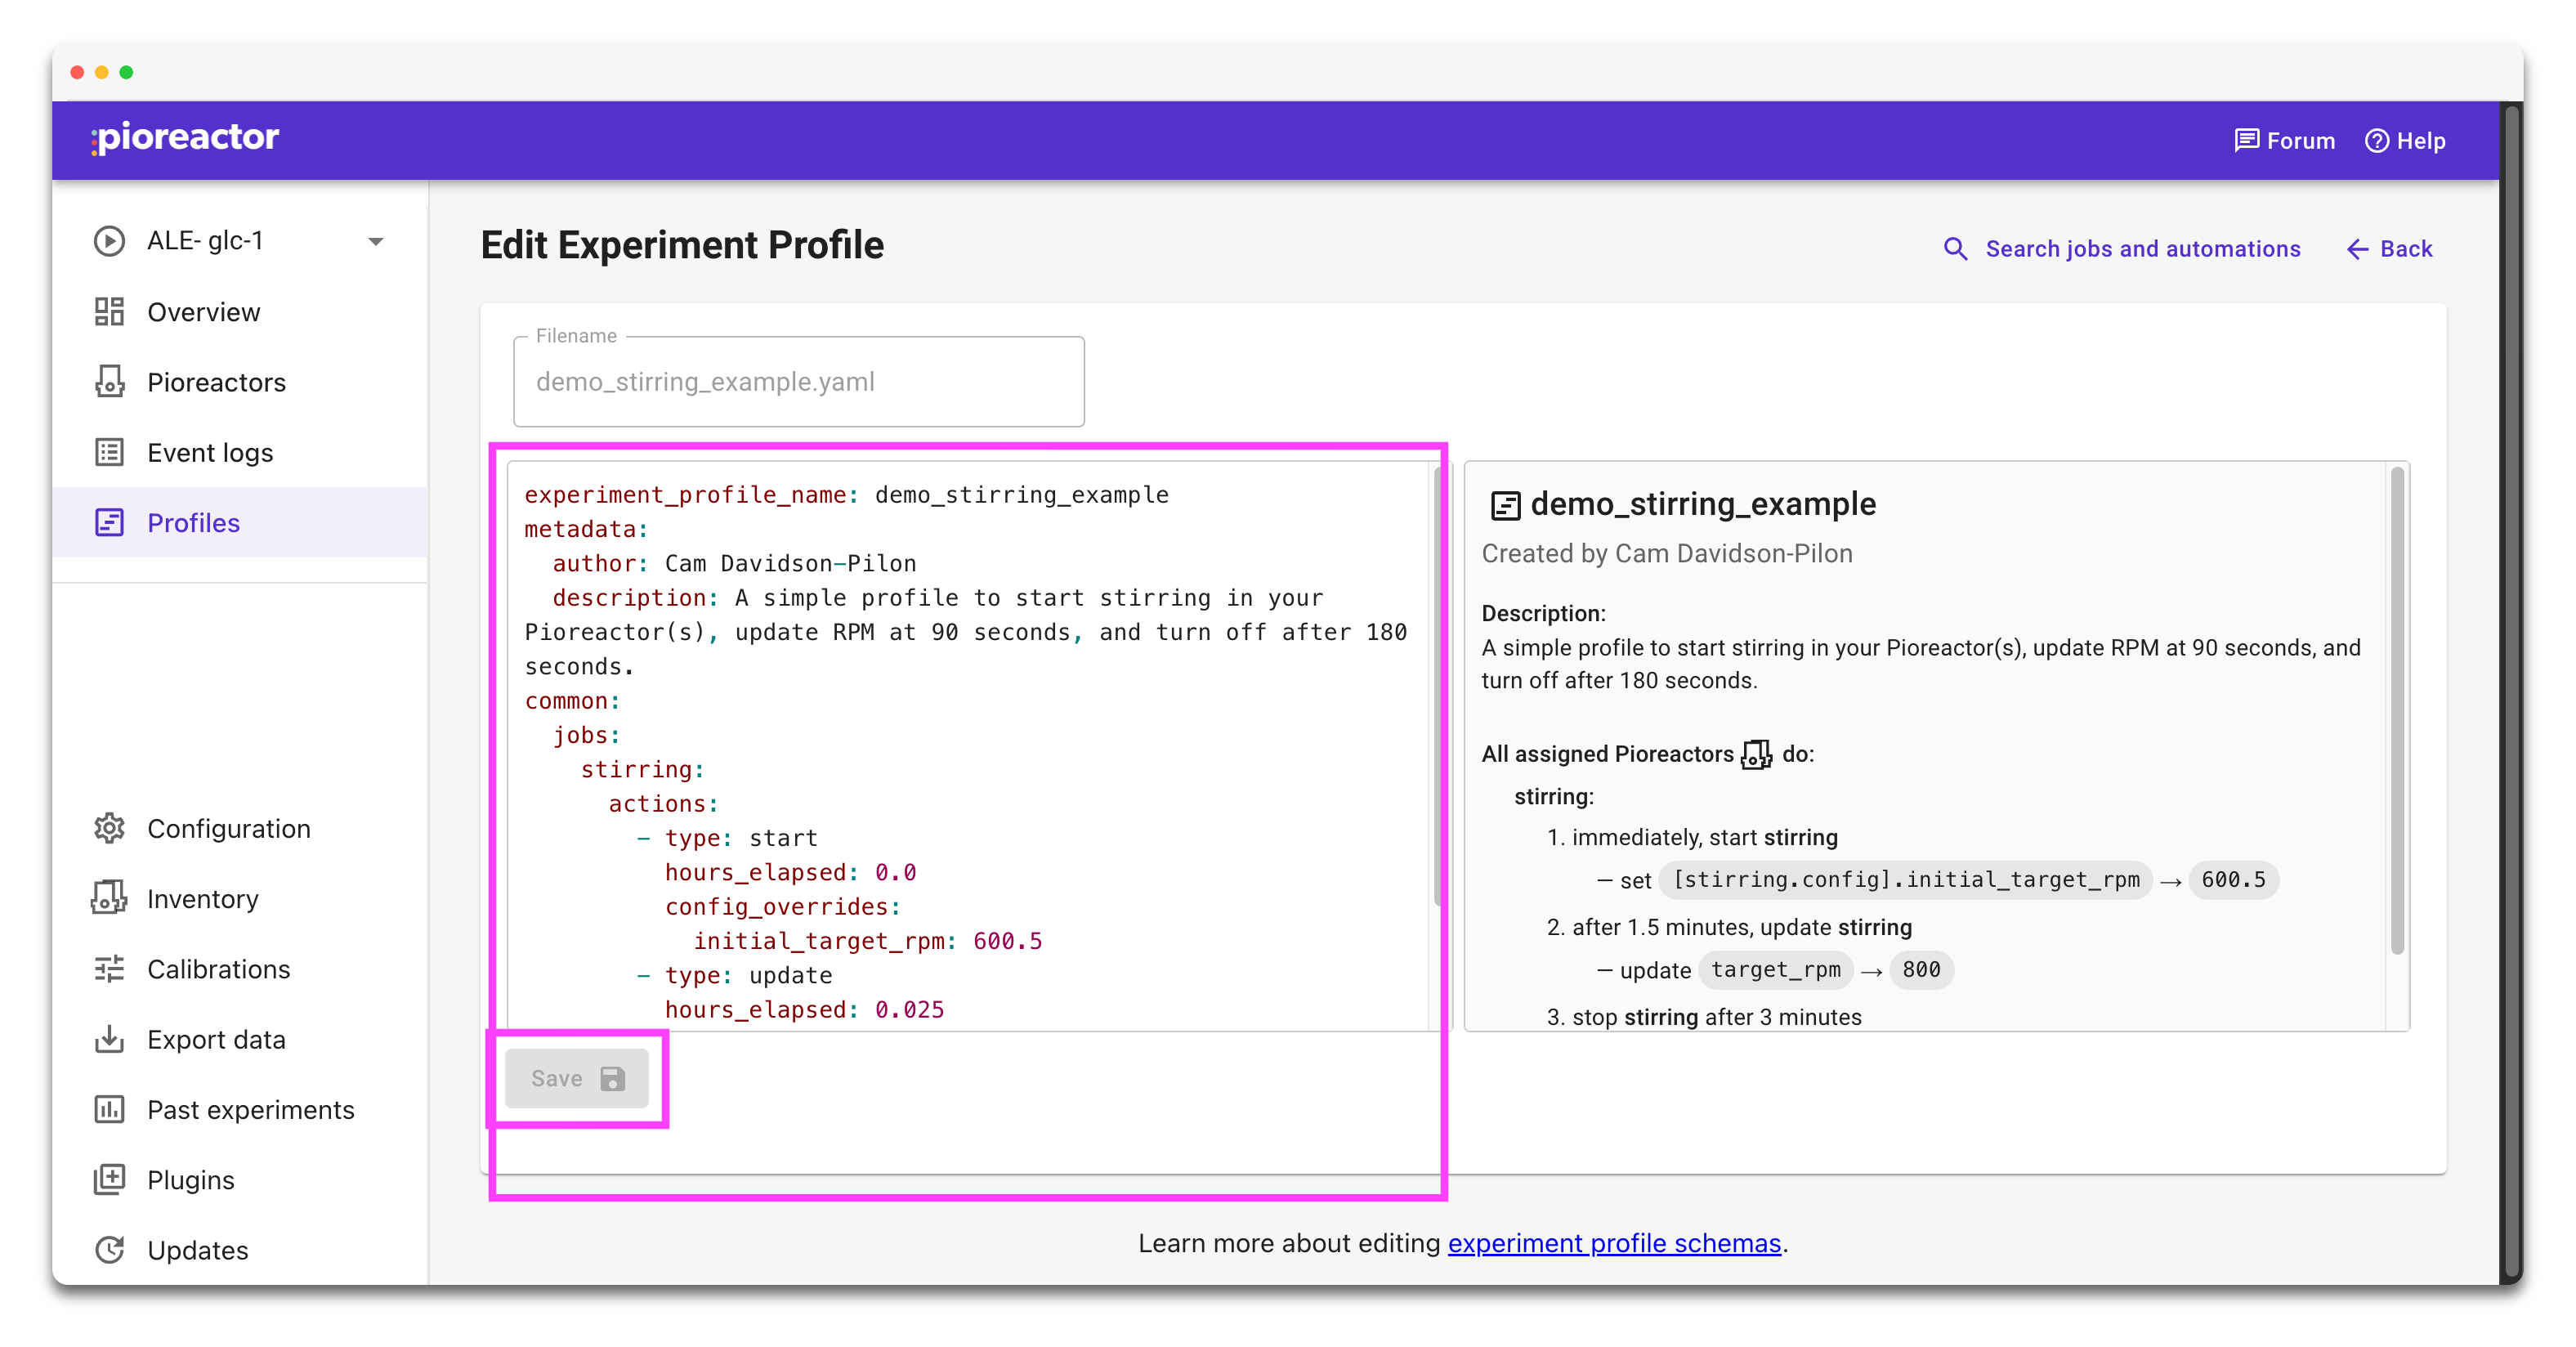
Experiment profiles can be managed in the UI at http://pioreactor.local/experiment-profiles. See video below for a demonstration.
Alternatively: On the command line
All profiles are stored on the leader's disk under ~/.pioreactor/experiment_profiles/
, allowing you can create and edit profiles in this directory, as well.
Writing profiles
Adding a name, author, and description
It's a good idea to give your profile a descriptive and unique name. This way it will be easier to find later. Also providing a detailed description will help your colleagues (and future self!) understand what the profile accomplishes.
common
and pioreactors
blocks
Any tasks in the common
block will execute that task for all workers assigned to the current experiment. The pioreactors
block is where you can write tasks for specific Pioreactors. For example, you may want the stirring to be on for all Pioreactors, but you want the temperature to be different for your two workers:
experiment_profile_name: stirring with different temperatures
metadata:
author: Cameron DP
description: turn on stirring for all workers, but set the temperature to be different between them.
common:
jobs:
stirring:
actions:
- type: start
hours_elapsed: 0
pioreactors:
pio001:
jobs:
temperature_automation:
actions:
- type: start
hours_elapsed: 0.0
options:
automation_name: thermostat
target_temperature: 35
pio002:
jobs:
temperature_automation:
actions:
- type: start
hours_elapsed: 0.0
options:
automation_name: thermostat
target_temperature: 32
hours_elapsed
refers to the profile start time
When writing a profile, note that the hours_elapsed
field refers to when the experiment profile started, and not when the experiment started.
Conditionals and expressions
How the if
directive works
The if
directive can be included in any action to conditionally execute it or not. The if
statement is evaluated when the action is to be executed (i.e., when elapsed_hours
has passed).
The if
directive is a general boolean expression, and to common operators can be used:
and
or
not
True
andFalse
(
and)
Also included are numbers (floats), and strings (examples later). The comparison operators are:
==
>=
and<=
>
and<
The operators addition +
, subtraction -
, multiplication *
, and division /
are allowed on floats, as well.
The power of if
comes when you combine it with expressions, see the next section.
How expressions work
Expressions are our way to fetch dynamic data, provided from jobs, during execution of profiles. For example, the following:
pio1:stirring:target_rpm >= 500
will fetch the target_rpm
from pio1
's stirring
job at the time the action is to be executed, compare it to 500
, and return true or false. To use this in an example:
stirring:
...
- type: update
hours_elapsed: 6.0
if: pio1:stirring:target_rpm >= 500
options:
target_rpm: 400
will check, after 6 hours, if the target_rpm
is above 500, and if true, will update the target RPM to 400.
You can also compare against strings. For example, to stop a job if the temperature automation running is equal to thermostat
, use:
temperature_automation:
...
- type: stop
hours_elapsed: 6.0
if: pio1:temperature_automation:automation_name == thermostat
Where do these dynamic values come from? Each job has published_settings
that can be referenced (refer to the job's source code to all published_settings
for a job, or they are published in MQTT).
Some published settings have are actually nested json blobs, but we need either numbers or strings to compare in our boolean expression. You can index these json blobs in the boolean expression using .
, for example:
temperature_automation:
...
- type: update
hours_elapsed: 6.0
if: pio1:temperature_automation:temperature.temperature <= 30
options:
target_temperature: 32
We use temperature.temperature
because the temperature
published setting is a json blob that looks like the following, and we wish to reference the "temperature" field in the blob:
{
"temperature": <float>,
"timestamp": <ISO 8601 timestamp>
}
Expressions in options
Similar to an if
directive using dynamic data, options can also have dynamic data (see notes above for syntax, too). However, to distinguish between a string and an expression, an expression must be wrapped in ${{ ... }}
. For example, consider the following update
action:
pioreactors:
worker1:
jobs:
stirring:
actions:
- type: start
hours_elapsed: 0
options:
target_rpm: 500
- type: update
hours_elapsed: 12
options:
target_rpm: ${{ worker1:stirring:target_rpm + 50 }}
This will update the value of target_rpm
to whatever its current value is (after 1 hour), and add 50 to it.
You can use any pioreactor and any job in an expression - you aren't limited to the job
your editing. For example, the update
below will dynamically set the target_rpm
to a function of optical density.
pioreactors:
worker1:
jobs:
stirring:
actions:
- type: start
hours_elapsed: 0
options:
target_rpm: 500
- type: update
hours_elapsed: 12
options:
target_rpm: ${{ worker1:stirring:target_rpm + worker1:od_reading:od1.od * 10 }}
Expressions in the common
block
Expressions can reference individual Pioreactors, for example worker1:stirring:target_rpm
, but what if you want to specify all Pioreactors in an expression? This is useful for using expressions in the common
block. The syntax for this is to use the following
::<job_name>:setting
For example, to conditionally change the stirring RPM in all Pioreactors, and to update it:
common:
jobs:
stirring:
actions:
- type: update
hours_elapsed: 6
if: ${{ ::stirring:target_rpm <= 500 }}
options:
target_rpm: 500
You can also use this syntax in options
:
common:
jobs:
stirring:
actions:
- type: update
hours_elapsed: 6
if: ${{ ::stirring:target_rpm <= 500 }}
options:
target_rpm: ${{ ::stirring:target_rpm + 10 * ::od_reading:od1.od }}
Built-in functions in expressions
There's also some built-in functions you can use in expressions:
random()
produces a random number between 0 and 1.unit()
returns the unit the expression is evaluated for.job_name()
returns the job name the expression is evaluated for.experiment()
returns the experiment the expression is evaluated for.
Different action types
start
and stop
start
will start a job or action, and stop
will stop an job or action.
pause
and resume
pause
will pause a job or action, and resume
will resume a paused job or action.
update
The update
action can be used to make changes to settings in a job. The settings you can change are defined in the job itself, and are a superset of the settings you can change in the UI. Specify the (setting, new value) pairs in an options
block:
actions:
- type: update
options:
volume: 0.75
duration: 15
log
Log a message, and specify its logging level. options
is required to provide the message
field, and optionally the level
field.
actions:
- type: log
options:
message: "This is a message, and it can contain expressions like ${{unit()}}".
level: info
when
The when
action is used to trigger an actions(s) the first time the condition is satisfied. For example, you could start a chemostat when the OD rises above a threshold, or turn off heating when the temperature exceed some threshold, or log a message when some condition is met.
The when
action has a few required fields:
condition
: this is an expression (see above) that when evaluated totrue
, will execute theactions
actions
: this is a list ofactions
to run when the expression evaluates to true.
For example, the following section would start a chemostat when the OD reading is greater than 2.0 in all workers:
common:
jobs:
od_reading:
actions:
- type: start
dosing_automation:
actions:
- type: when
condition: ${{::od_reading:od1.od > 2.0}}
hours_elapsed: 0
actions:
- type: start
hours_elapsed: 0
options:
automation_name: chemostat
volume: 0.6
duration: 10
The hours_elapsed
works like an other action: it'll only start to check after hours_elapsed
hours have occurred since the start of execution.
After the condition is met, the actions run, and the condition is never checked again. The when
is said to be exhausted.
repeat
The repeat
directive is the most powerful action, as it allows you loop actions over and over again to check for a condition change, update based on state, etc.
The repeat
action requires two new necessary fields:
actions
: a list of actions (start
,stop
,update
, etc.) that you want to repeat. The fieldhours_elapsed
refers to the start of the loop, not when the profile starts.repeat_every_hours
: this is a float describing how long, in hours, the loop should last for. For example, repeat an action every 2 hours, or generally: repeat a sequence of actions every X hours.
Your repeat
action should look like, for example:
- type: repeat
hours_elapsed: 6.0 # when to start the looping, 6 hours
repeat_every_hours: 0.5 # perform the actions every 30 minutes
actions:
- type: update
hours_elapsed: 0.0
...
- type: update
hours_elapsed: 0.1
...
Finally, there is more control using the other optional fields:
-
max_hours
: this controls how long the loop should run for. For example, ifrepeat_every_hours
is0.5
(or 30 minutes), andmax_hours
is6
, then the loop will repeat 12 times before exiting. -
while
: this is an expression, likeif
, that runs at the start of each loop, including the first. For example, the following profile will run media until the OD is less than 3.0. We also remove waste so we don't overflow the vial. This is a really coarse turbidostat, and is just for demonstration - don't use this: -
You can also use the
if
directive to skip running the entirerepeat
action, too.add_media:
actions:
- type: repeat
hours_elapsed: 6.0
repeat_every_hours: 0.0025 # every 9 seconds
while: ${{ worker1:od_reading:od1.od > 3.0 }}
actions:
- type: start
options:
volume: 1
remove_waste:
actions:
- type: repeat
hours_elapsed: 6.0
repeat_every_hours: 0.0025 # every 9 seconds
while: ${{ worker1:od_reading:od1.od > 3.0 }}
actions:
- type: start
options:
volume: 1.5
Defining top-level parameters with inputs
Your experiment profile might have some important constants that you want to share across sections, or have colleagues modify. You can provide these in the inputs
section, and use the constants in any expression:
inputs:
growth_phase_temp: 37.0
stationary_phase_temp: 30.0
od_threshold: 1.6
common:
jobs:
temperature_automation:
actions:
- type: update
hours_elapsed: 12.0
if: ${{ ::od_reading:od1.od < od_threshold }}
options:
target_temperature: ${{ stationary_phase_temp }}
- type: update
hours_elapsed: 12.0
if: ${{ ::od_reading:od1.od >= od_threshold }}
options:
target_temperature: ${{ growth_phase_temp }}
YAML syntax check, and indentation problems
Tips
- Check your YAML syntax with a tool like: https://www.yamllint.com/
- Note that indentation matters! For example, these mean different things, and only the second one is correct:
# correct ✅
common:
jobs:
temperature_automation:
actions:
- type: start
hours_elapsed: 0.0
options:
automation_name: thermostat # lined up!
target_temperature: 30
# wrong ❌
common:
jobs:
temperature_automation:
actions:
- type: start
hours_elapsed: 0.0
options:
automation_name: thermostat # this should be indented to be a part of options
target_temperature: 30 # this should be indented to be a part of options
Expected `object`, got `array` - at ` ... .options`
This is likely because you are using -
where you shouldn't:
# wrong ❌
common:
jobs:
temperature_automation:
actions:
- type: start
hours_elapsed: 0.0
options:
- automation_name: thermostat # don't put - here
- target_temperature: 30 # don't put - here
# correct ✅
common:
jobs:
temperature_automation:
actions:
- type: start
hours_elapsed: 0.0
options:
automation_name: thermostat # don't put - here
target_temperature: 30 # don't put - here