Standard curves for OD600 readings
Calibrating your OD600 readings
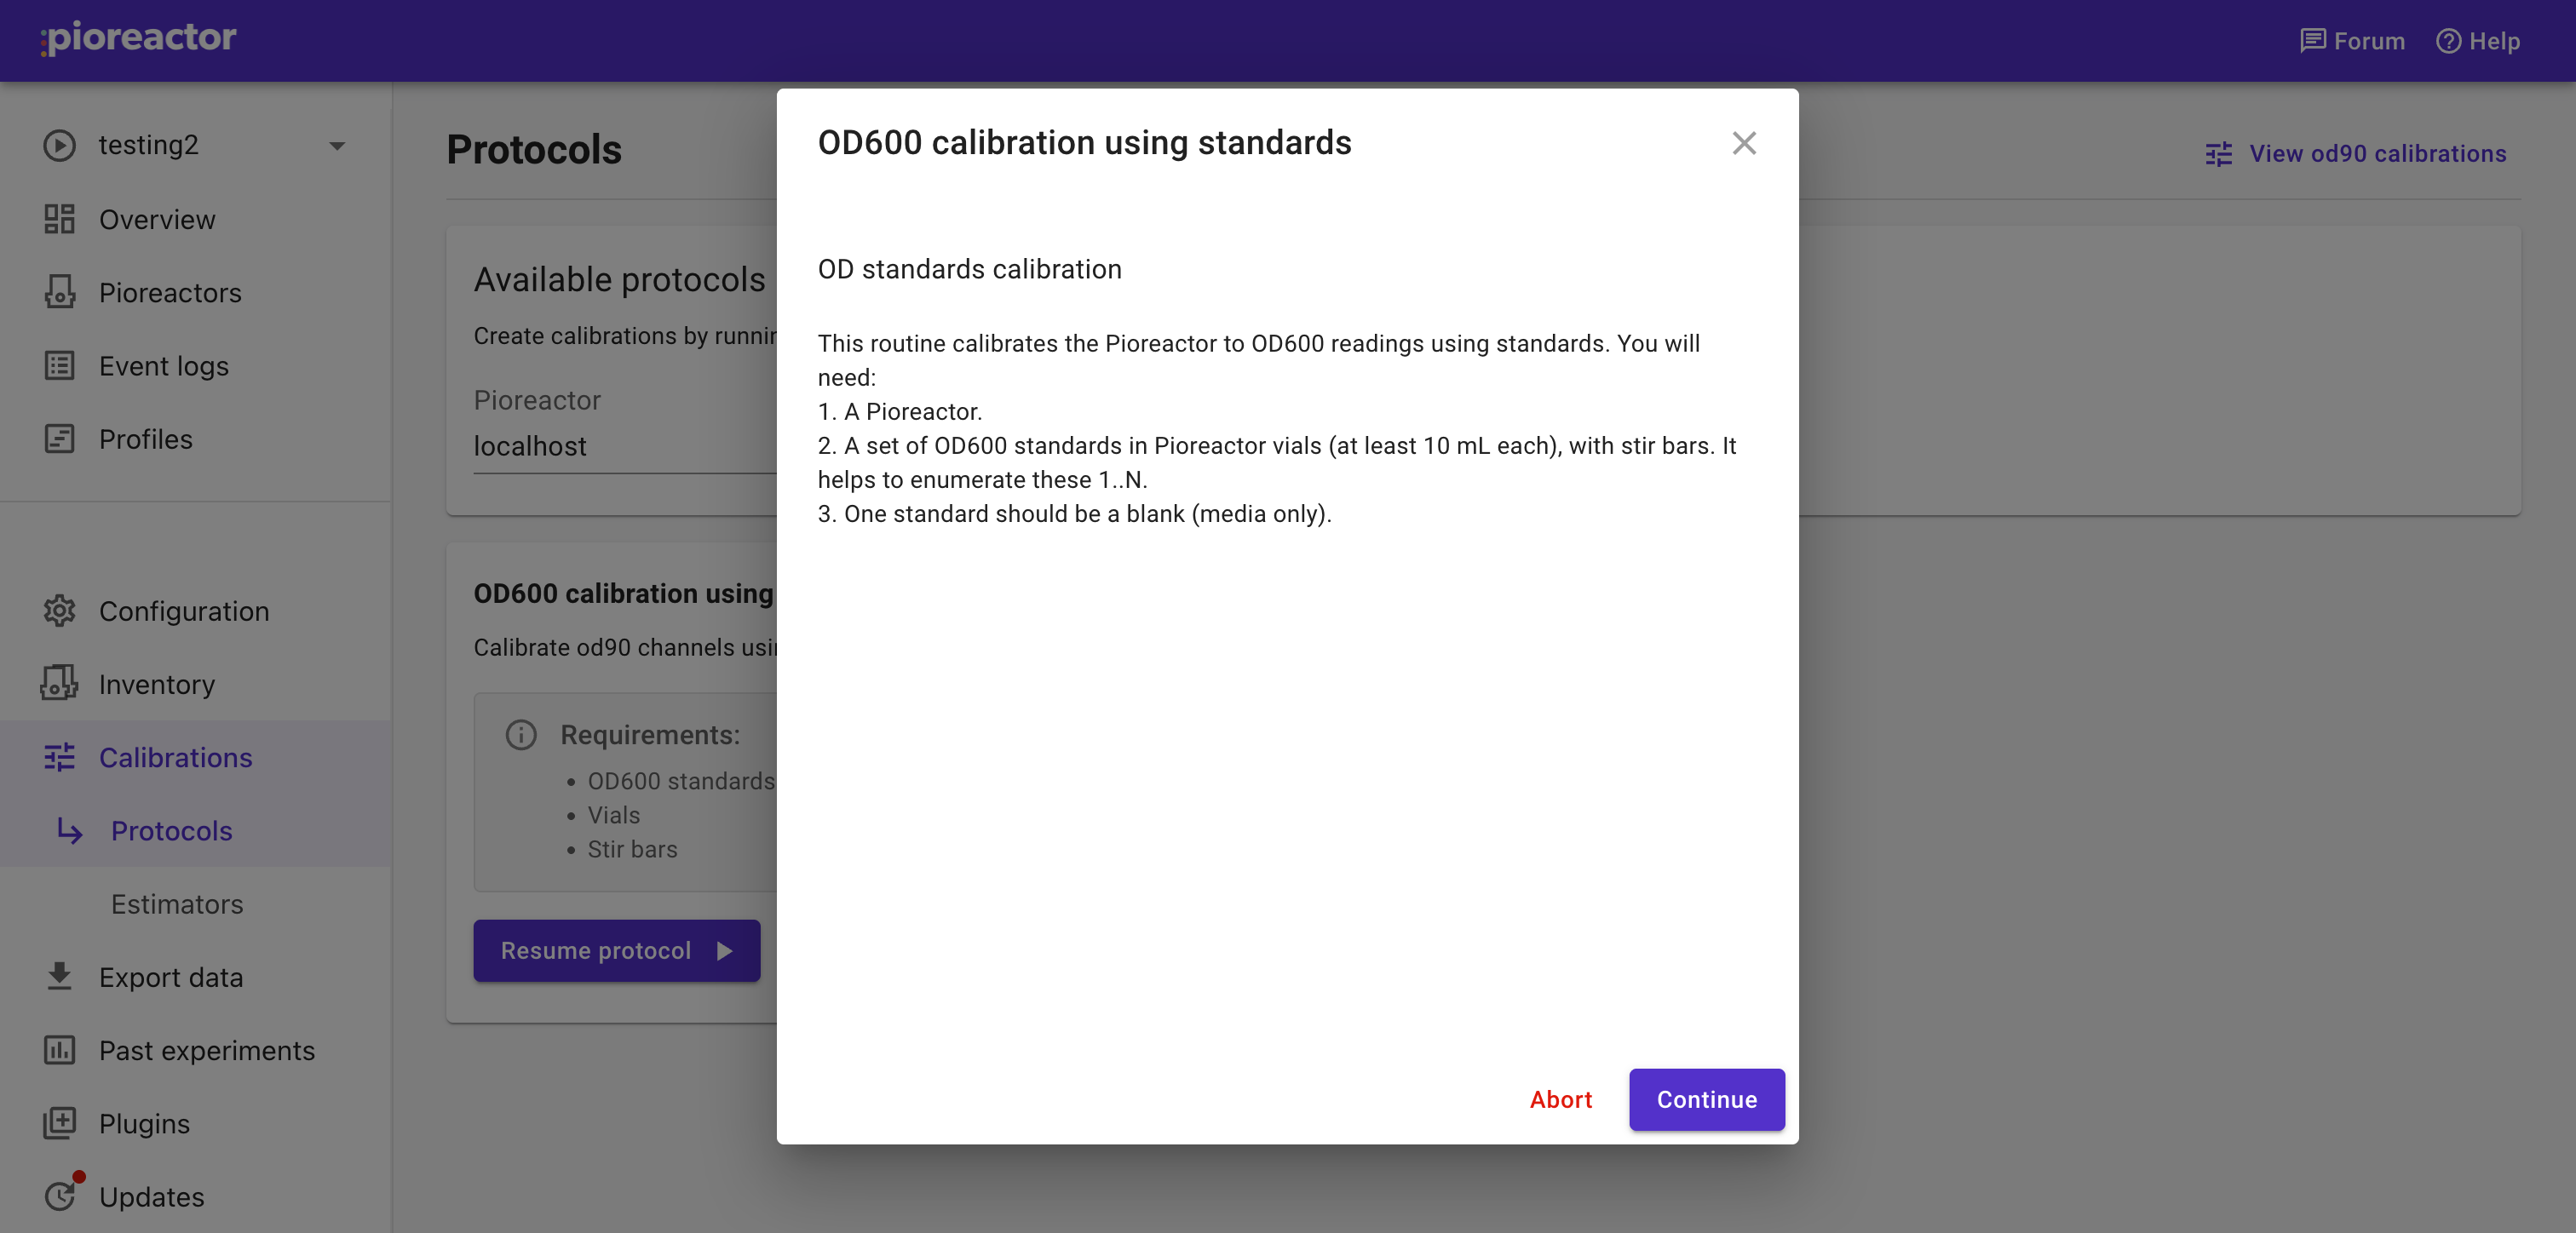
Depending on the purposes of your research, you may want to calibrate your Pioreactor against known samples and OD600 values. OD calibrations now use a single protocol: standards. You prepare multiple vials with known OD600 values (including a blank with media only) and record them in sequence. This option is quick for calibrating multiple Pioreactors and works for specific angles (e.g. od90) or all configured OD channels (od).
You can run the calibration from the web UI or the command line.
Calibrations should be specific to your experiment setup. Any changes to your media, culture, or optical setup (i.e. changing IR intensity, replacing pieces, or changing the angle) may require a new calibration. If everything remains consistent, then we recommend running calibrations every 6 months, or whatever suits your purposes.
All your OD calibrations are saved to disk, and can be edited afterwards.
Running the calibration
You can run the OD600 standards protocol in the UI (recommended) or via the CLI.
From the web UI
Open Protocols, select your Pioreactor and Device = od90, then click Run protocol. The dialog will guide you through naming the calibration, stirring setup, and recording standards.
From the command line
Connect to your Pioreactor by typing ssh pioreactor@<insert unit name>.local. For example, to calibrate on our Pioreactor named worker3, we typed ssh pioreactor@worker3.local. The default password is raspberry.
To begin calibrations, run the standards protocol directly. For a single angle (like 90°), use:
pio calibrations run --device od90 --protocol standards
To calibrate all configured OD channels at once, use:
pio calibrations run --device od --protocol standards
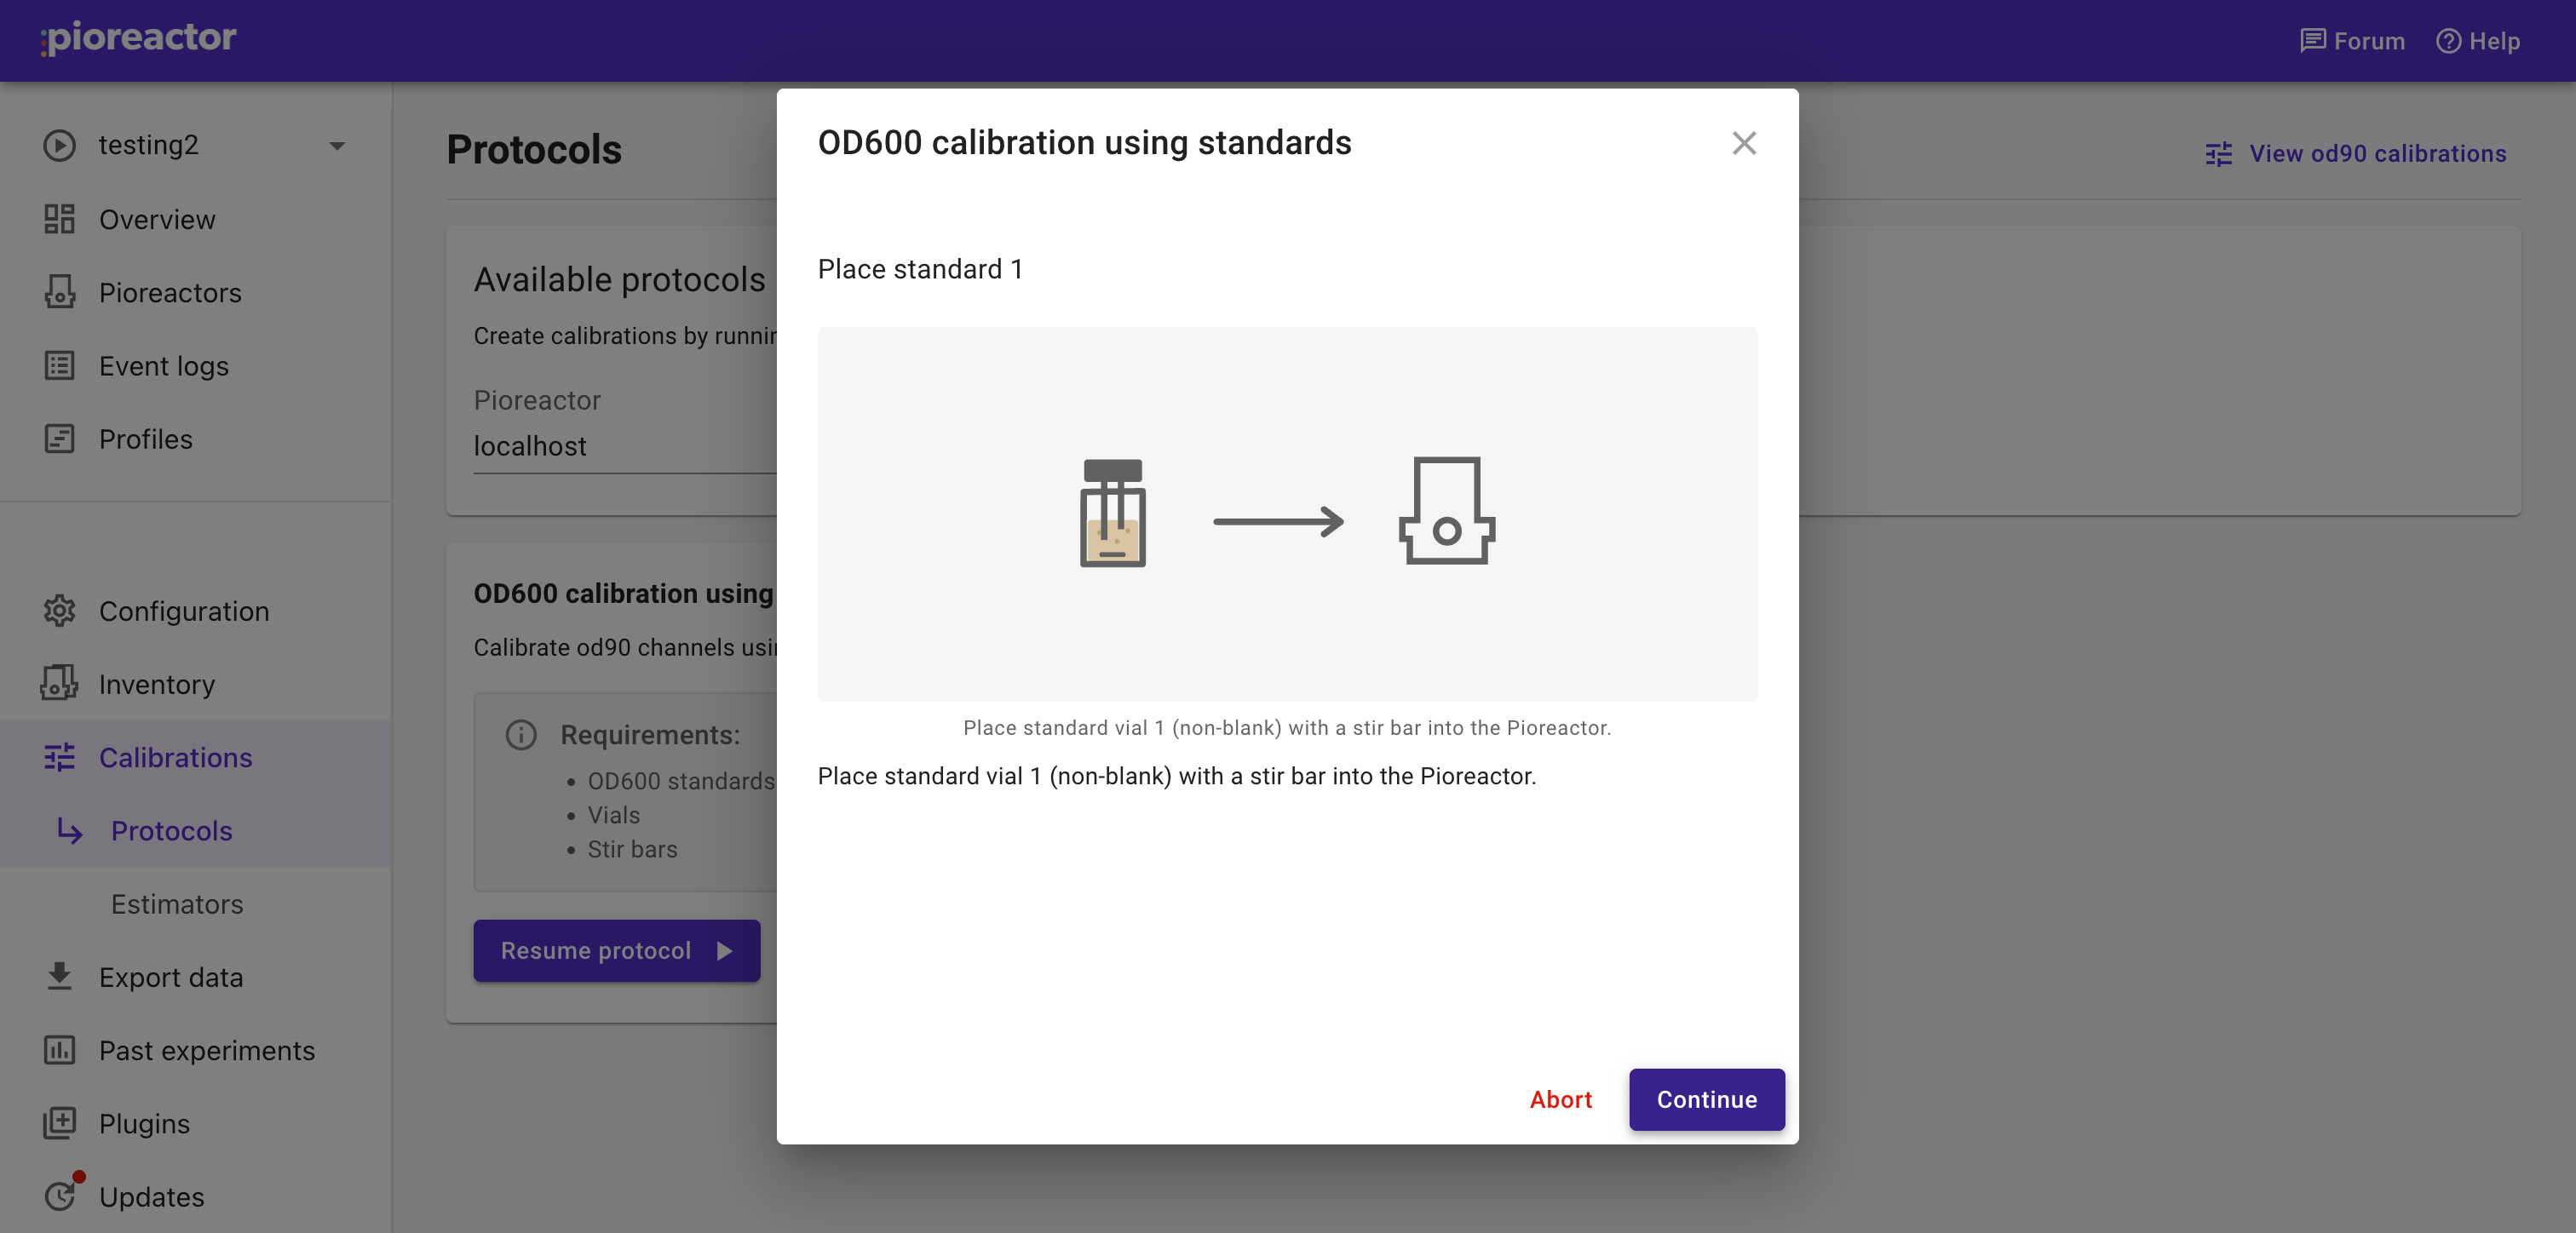
You will be prompted for a calibration name and (optionally) the stirring RPM. Then, for each standard, enter its OD600 value, record another standard if needed, and finally record the blank (media only).
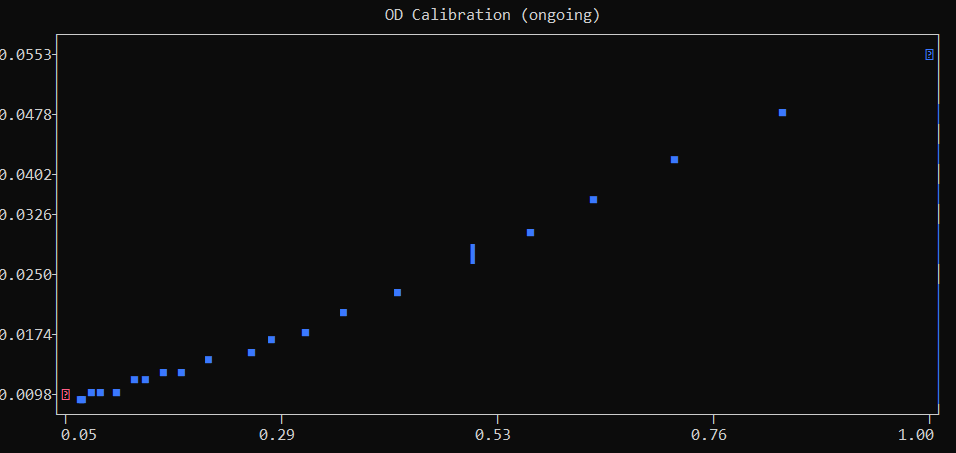
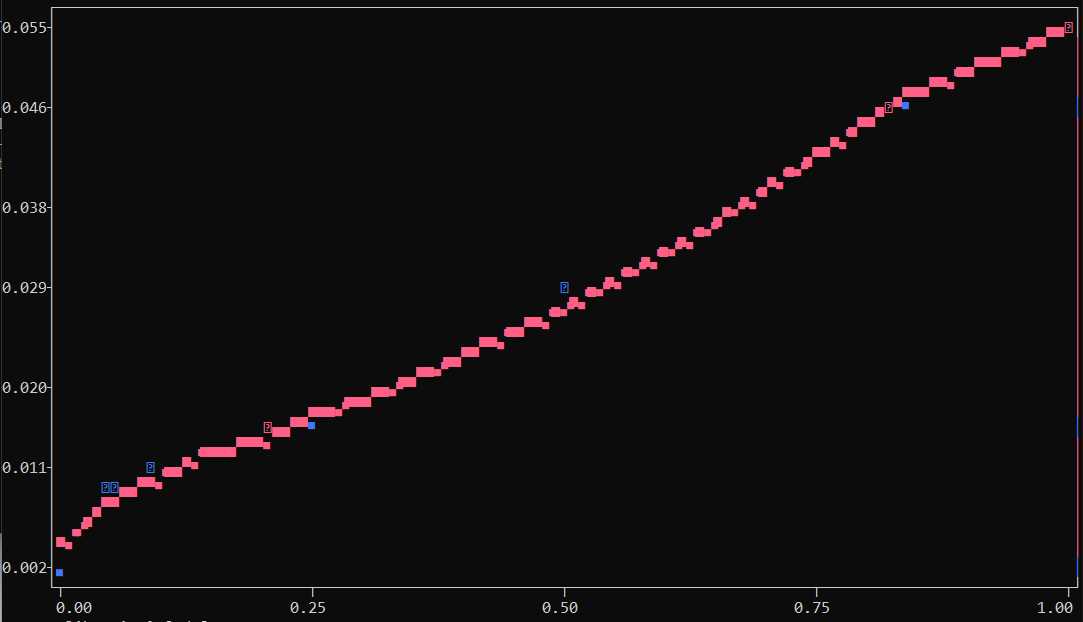
As you record standards, a chart appears to show your progress. Once you complete all measurements (including the blank), the calibration curve appears on the chart. If you are satisfied with this, save your calibration.
We fit a smooth curve to your standards to create the OD600 calibration.
Managing calibrations
Once you have an OD calibration, you can set it active, edit it, and share it from the Calibrations page. See Managing calibrations for the full workflow.