Hardware calibrations
Hardware calibrations serve as a method to get accurate performance from your Pioreactor.
Stirring calibrations
This is optional, but can really help stirring performance. Creating a stirring calibration is also very easy, so we recommend it.
You'll need:
- A vial
- A stir bar
- Liquid (water is fine)
- In the Protocols page, choose your Pioreactor and select the stirring device.
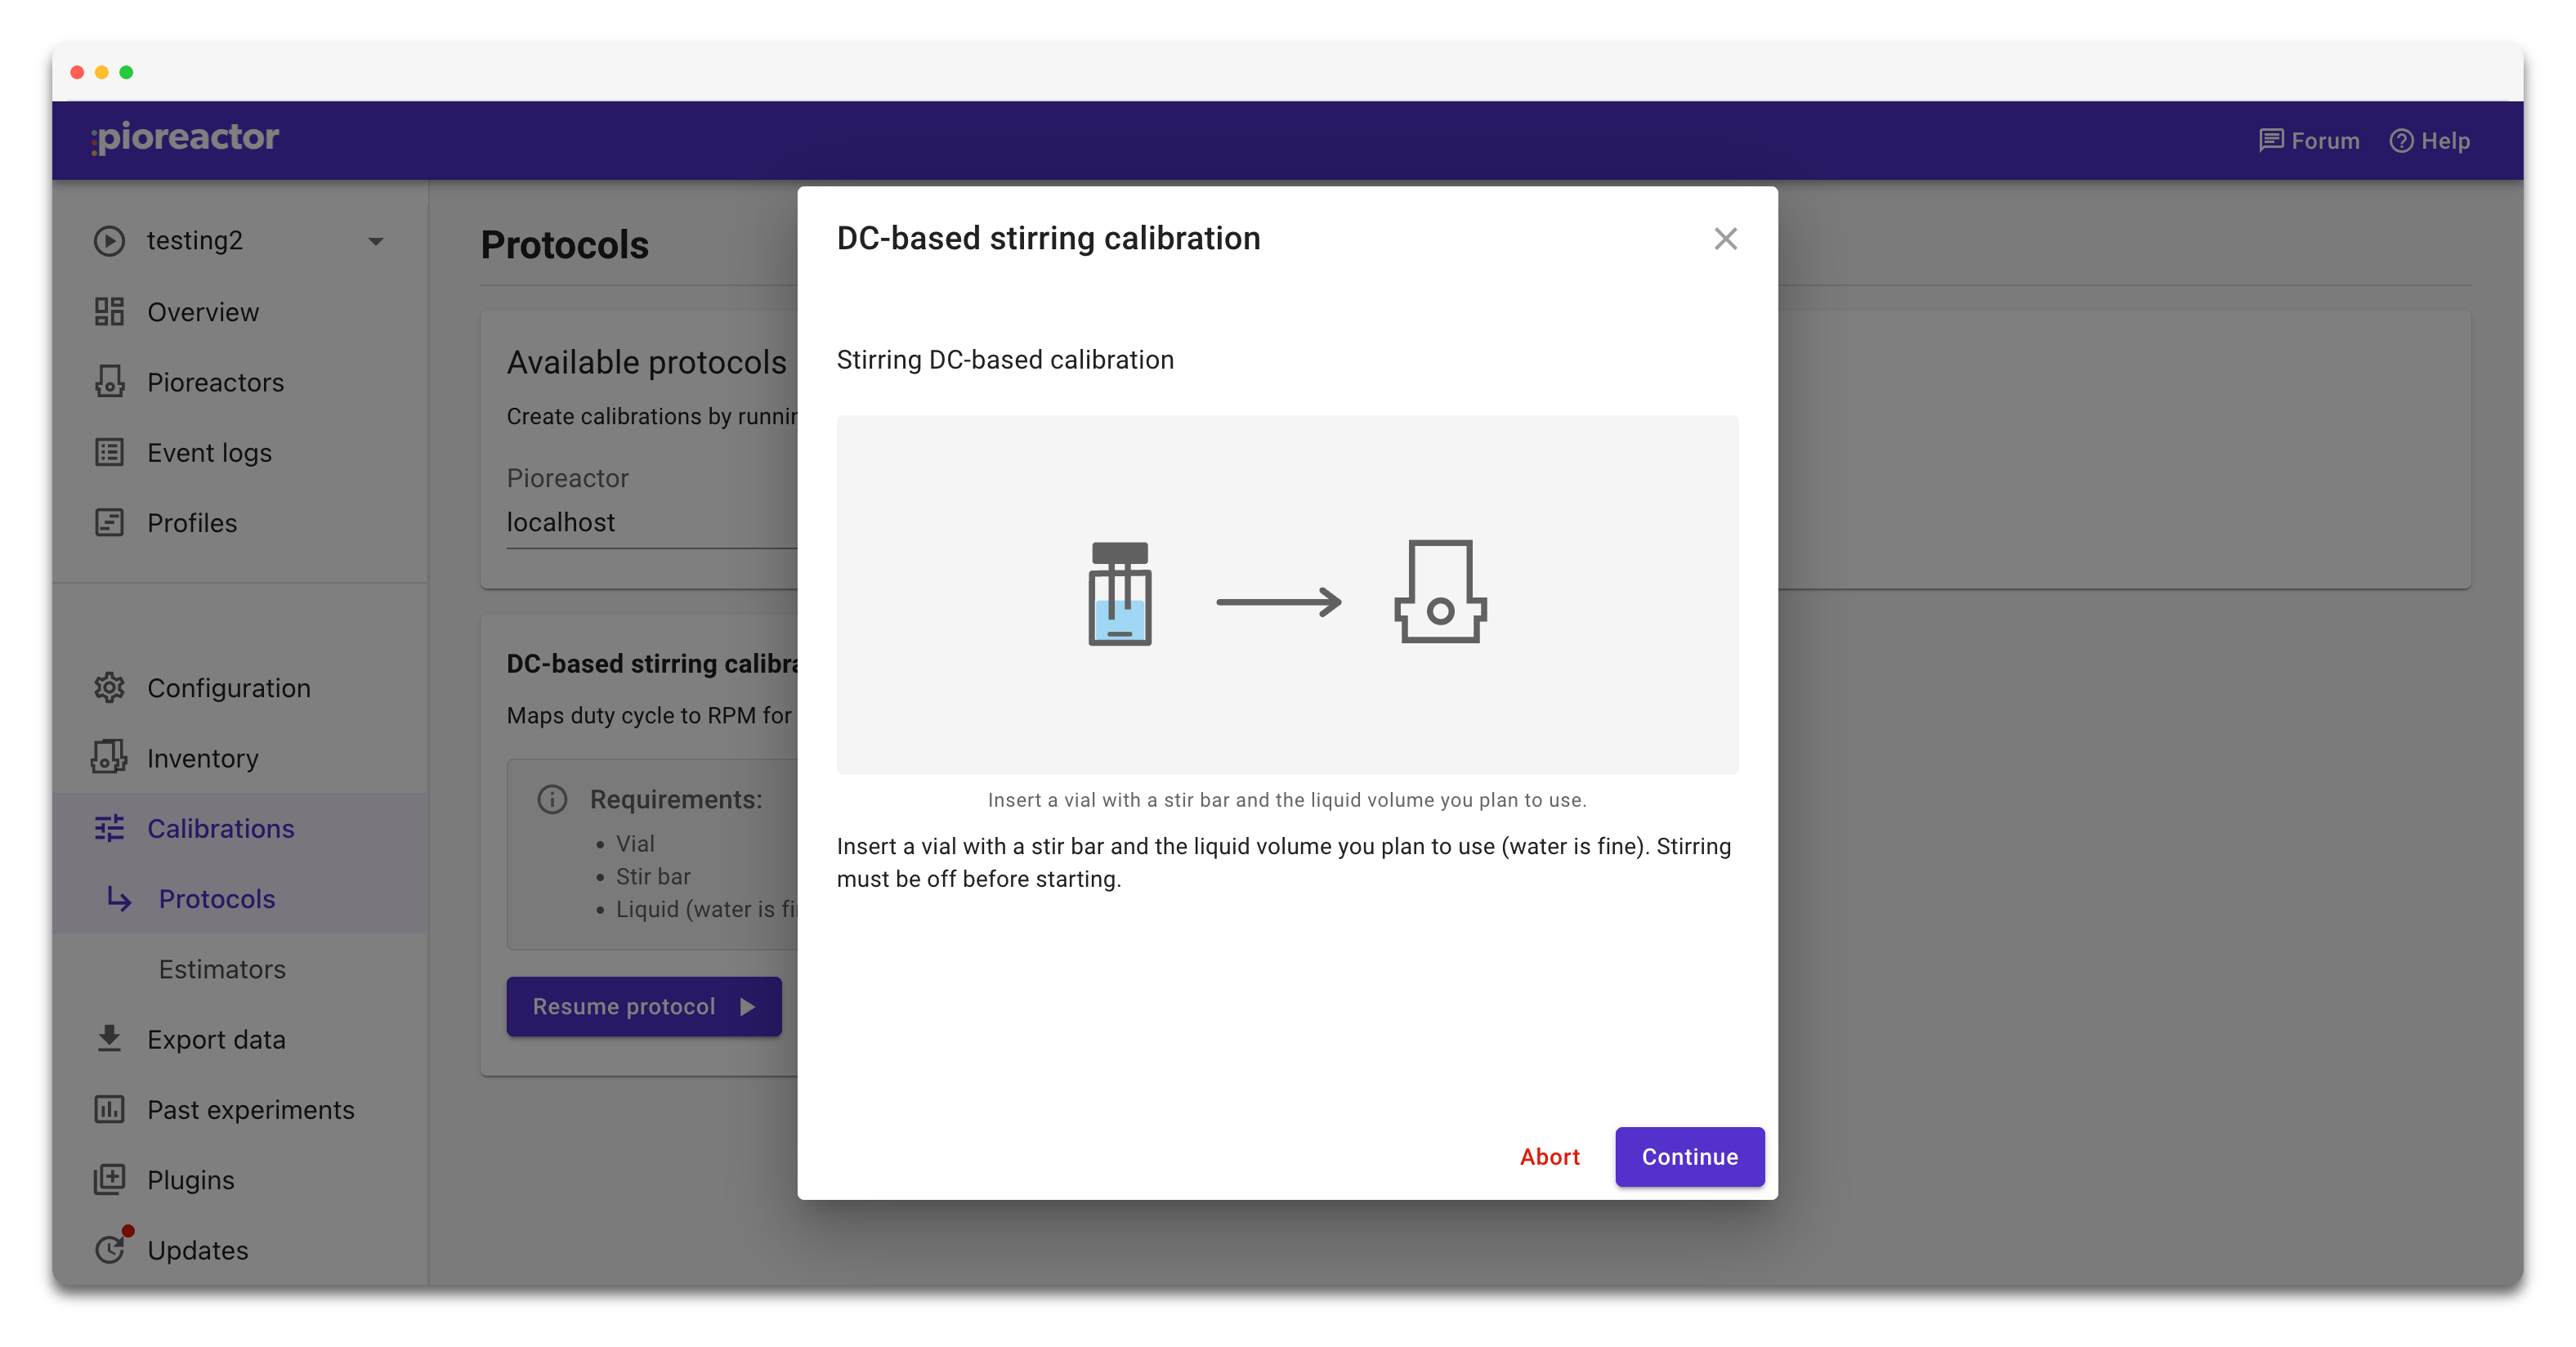
- Click Run protocol for DC-based stirring calibration.
- Follow the on-screen flow:
- Insert a vial with a stir bar and the liquid volume you plan to use.
- Confirm stirring is off before starting.
- Let the protocol step through duty cycles while it records RPM.
- When the protocol finishes, save the calibration as active if prompted. Otherwise, set it active later from the Calibrations page.
You're done! Your stirring RPM should be much more responsive now.
Pump calibration
Calibrating a pump, like a low-volume peristaltic pump, is very important to accurately dispense or remove a target volume. There is no liquid feedback loop in the Pioreactor (unlike in the stirring & RPM relationship), so this calibration curve is important.
There are three pumps on the Pioreactor: media, alt-media, and waste. You don't need to have all three available, and can calibrate them one at a time. For calibration, you'll need the following:
- A pump, with power connection to Pioreactor's PWM outputs
- An accurate weighing scale, with accuracy of 0.1g or better.
- Container of water
Supplying external power? Make sure to plug in your external power before pump calibration!
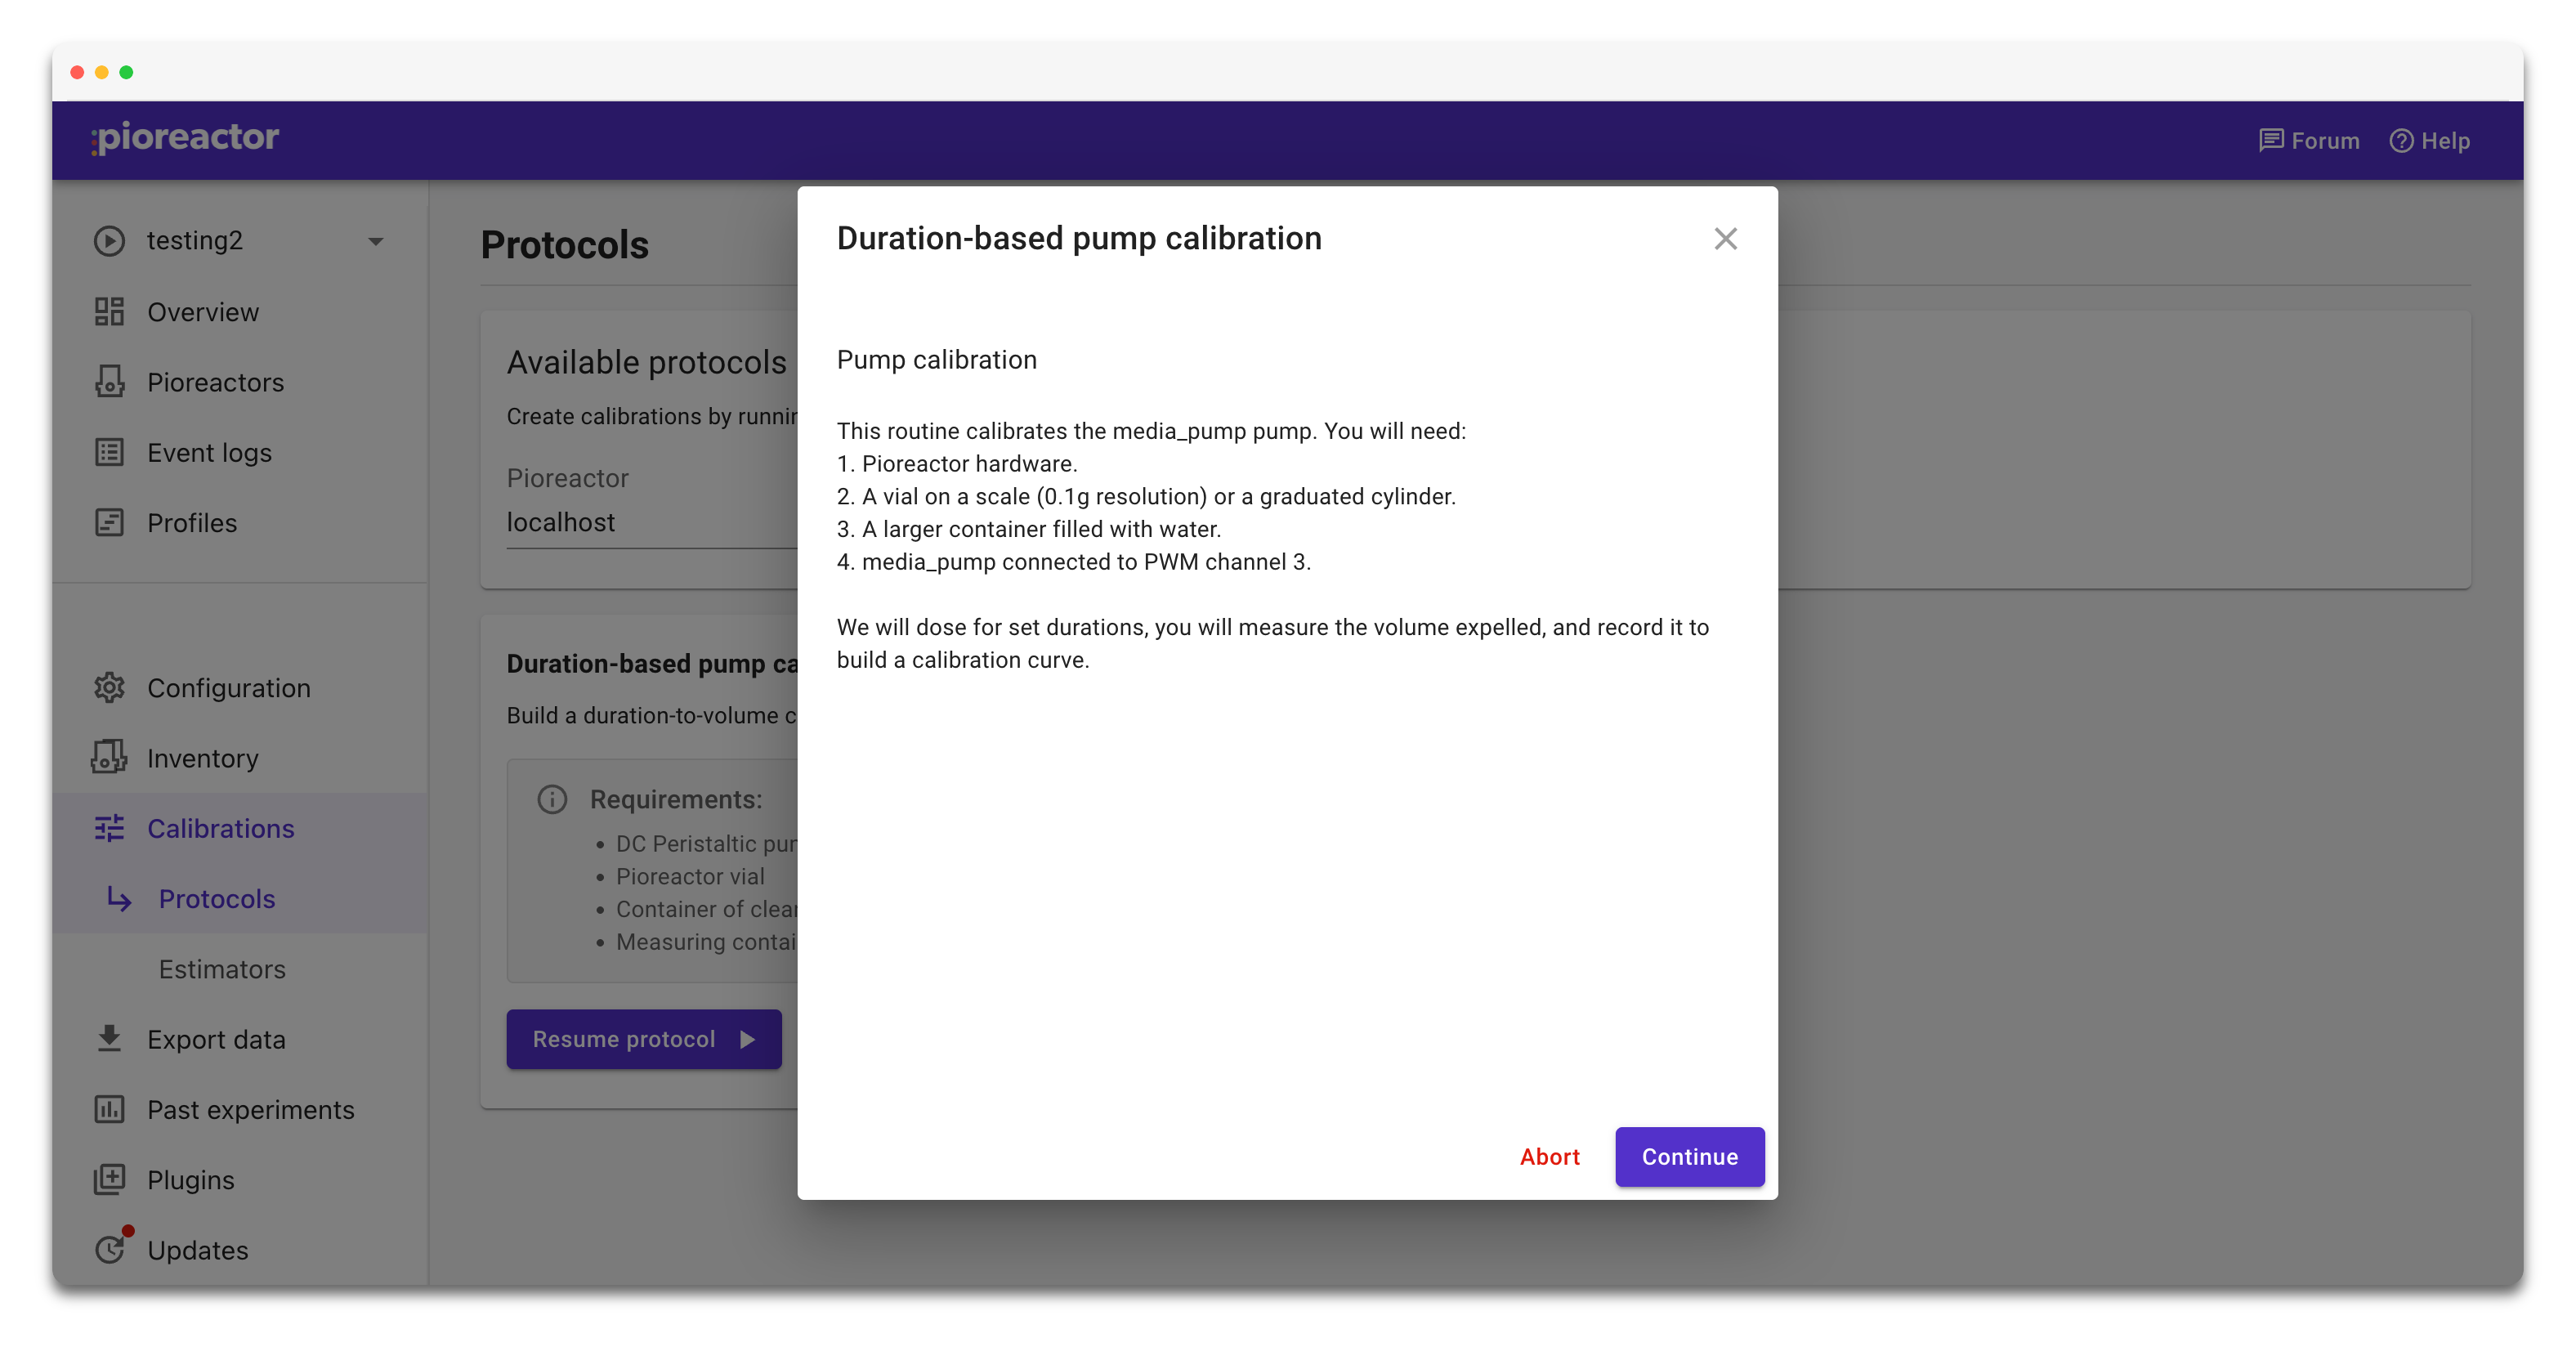
- In the Protocols page, choose your Pioreactor and select the pump device you want to calibrate (for example
media_pump,waste_pump, oralt_media_pump). - Click Run protocol for Duration-based pump calibration.
- Follow the on-screen flow:
- Review the safety steps for keeping liquids away from the Pioreactor hardware.
- Name the calibration.
- Enter the target volumes to calibrate around (comma-separated values, in mL).
- Optionally adjust PWM settings.
- Place both tubing ends in the water container and prime the pump until the tubing is fully filled.
- For each dispense step, hold the outflow tube above your vial or graduated cylinder, run the pump for the prompted duration, and record the measured volume. Repeat until the protocol completes.
- When the protocol finishes, save the calibration as active if prompted. Otherwise, set it active later from the Calibrations page.
Managing calibrations
For setting active calibrations, editing YAML, and sharing backups, see Managing calibrations.