Assembly of the XR
Step 1: Parts needed #
- You will receive the following items in your upgrade kit:
- 1x Eye-spy (address: 0x48)
- 1x Eye-spy (address: 0x4B)
- 1x 50mm STEMMA-QT wire
- 1x 100mm STEMMA-QT wire
- 1x Optics cover
- 4x 8mm screws
Step 2: Insert the o-ring #
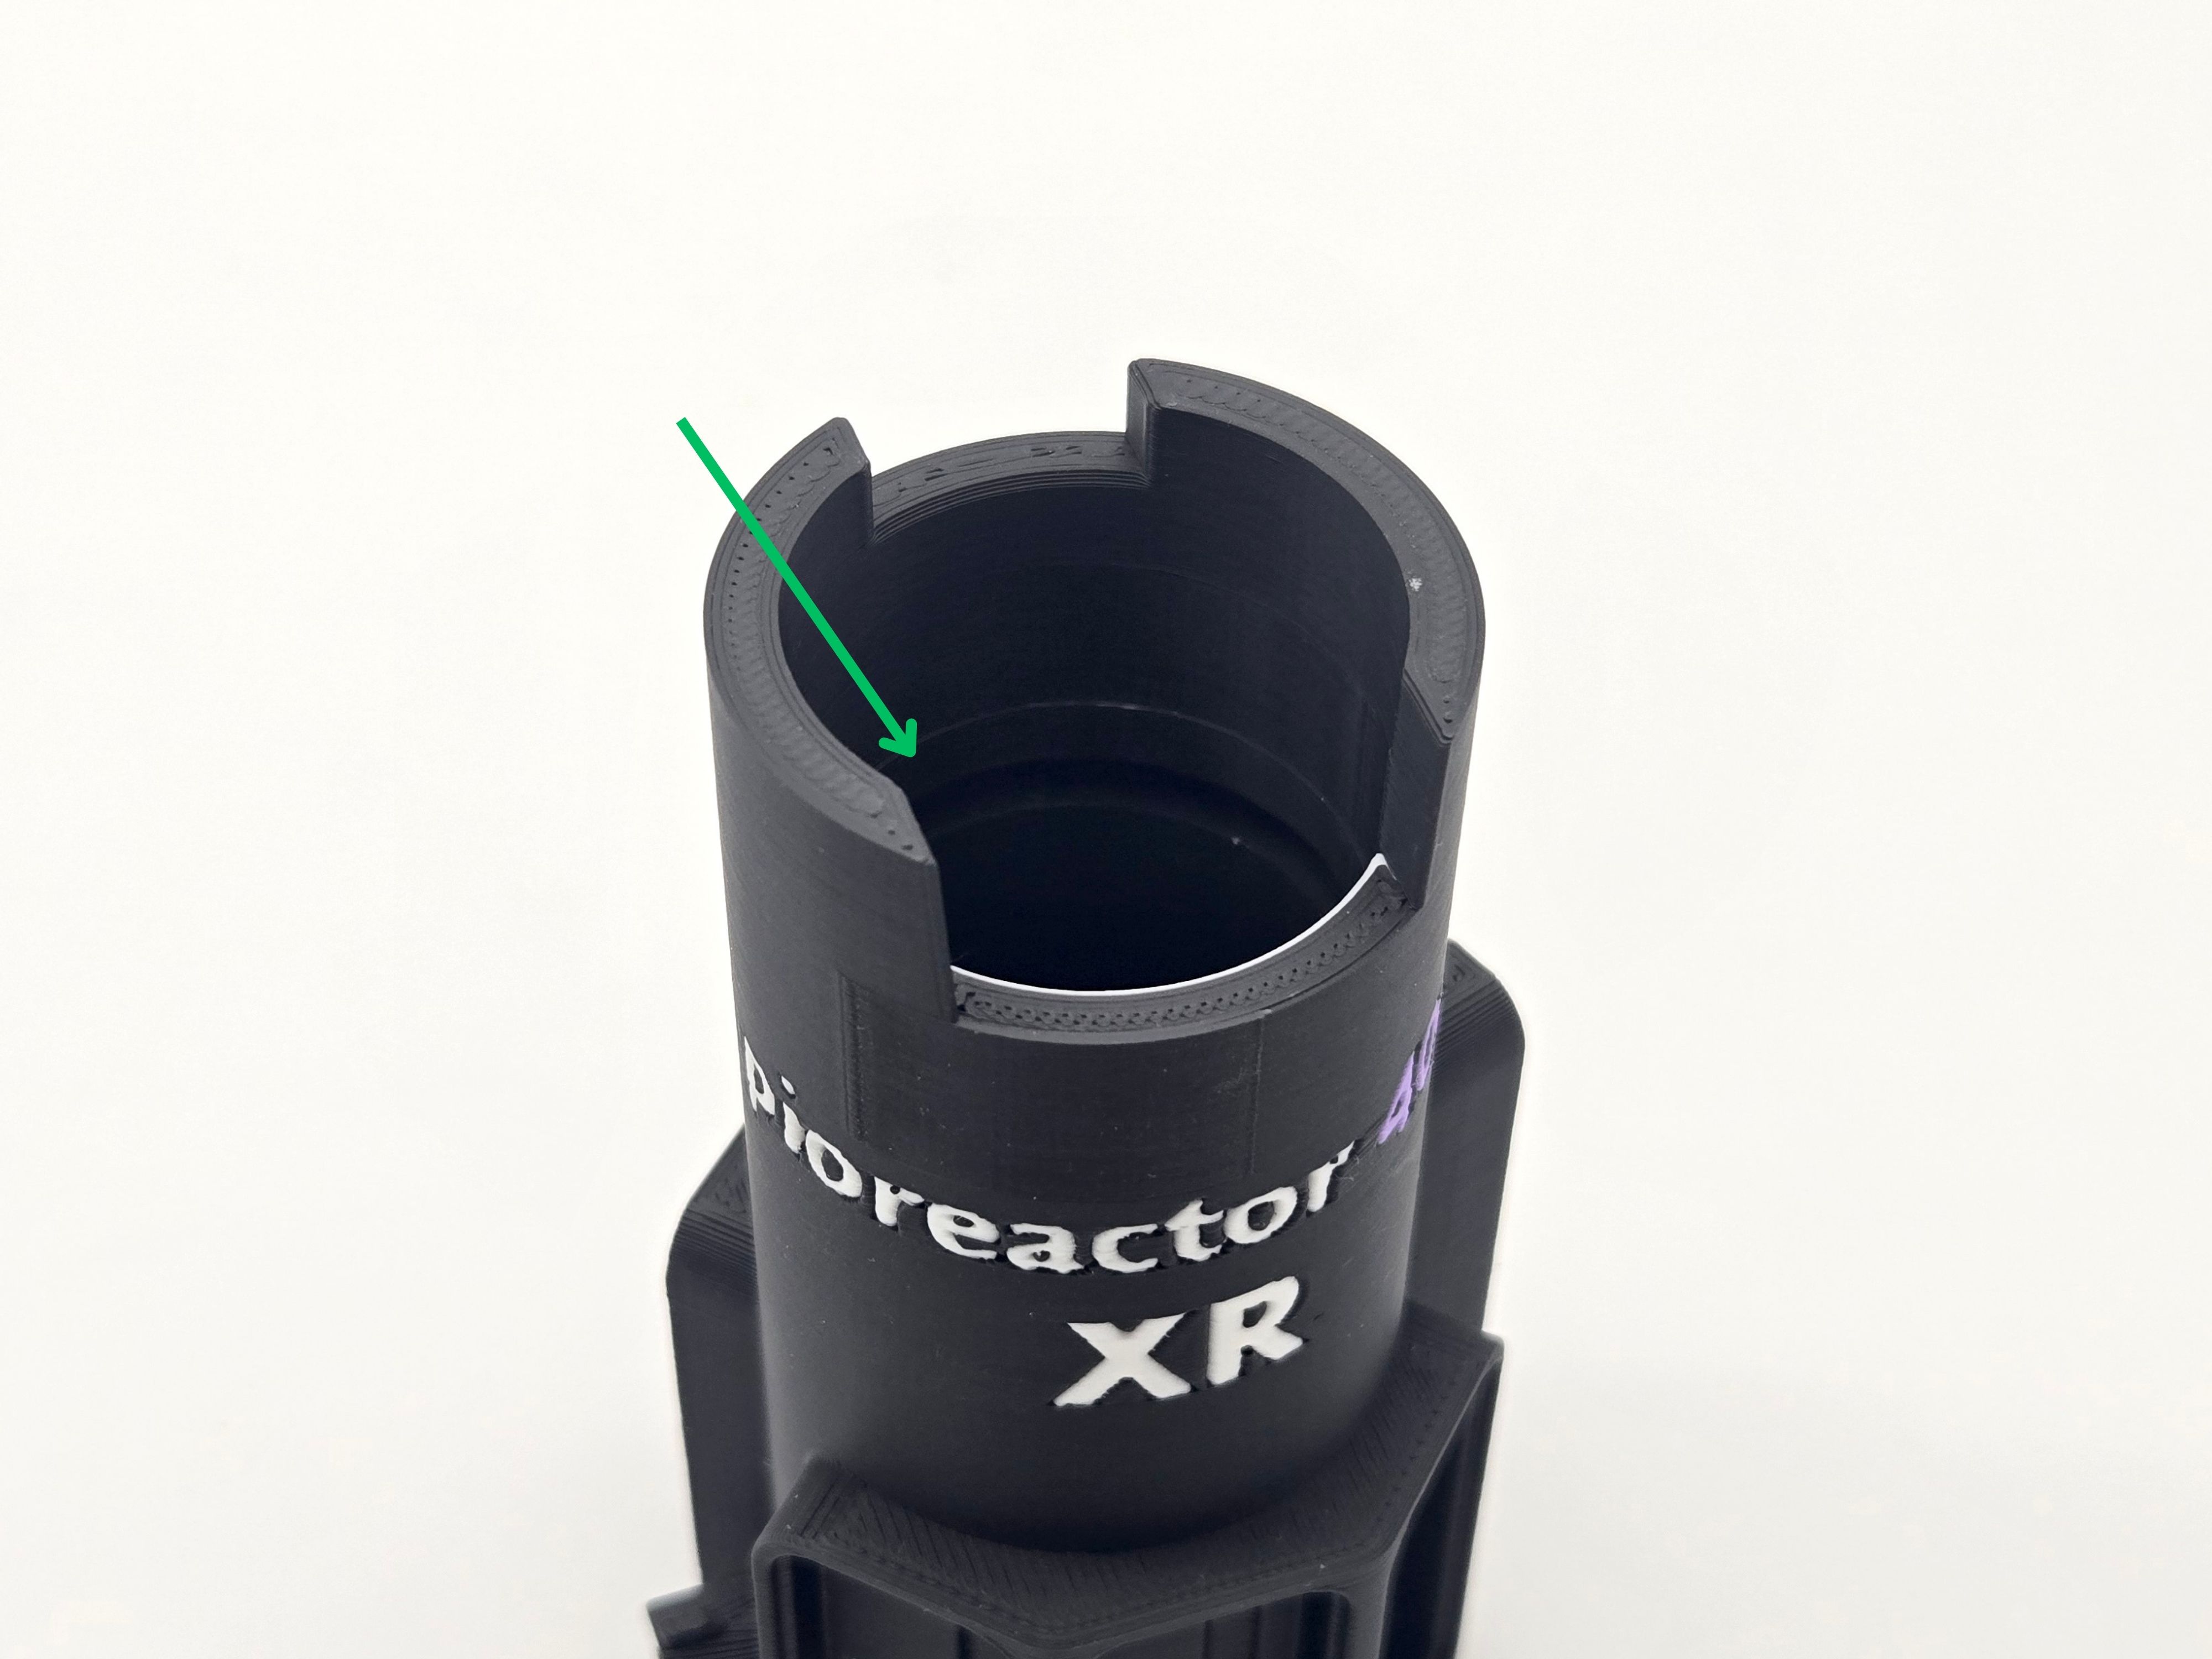
- The XR top vial holder has a groove within the body where the #024 O-ring sits. Carefully insert the O-ring using your fingers. Make sure to not twist the O-ring.
- Run your finger inside the vial holder, pushing the O-ring into place to ensure a snug fit.
Step 2: Attach the eye-spys #
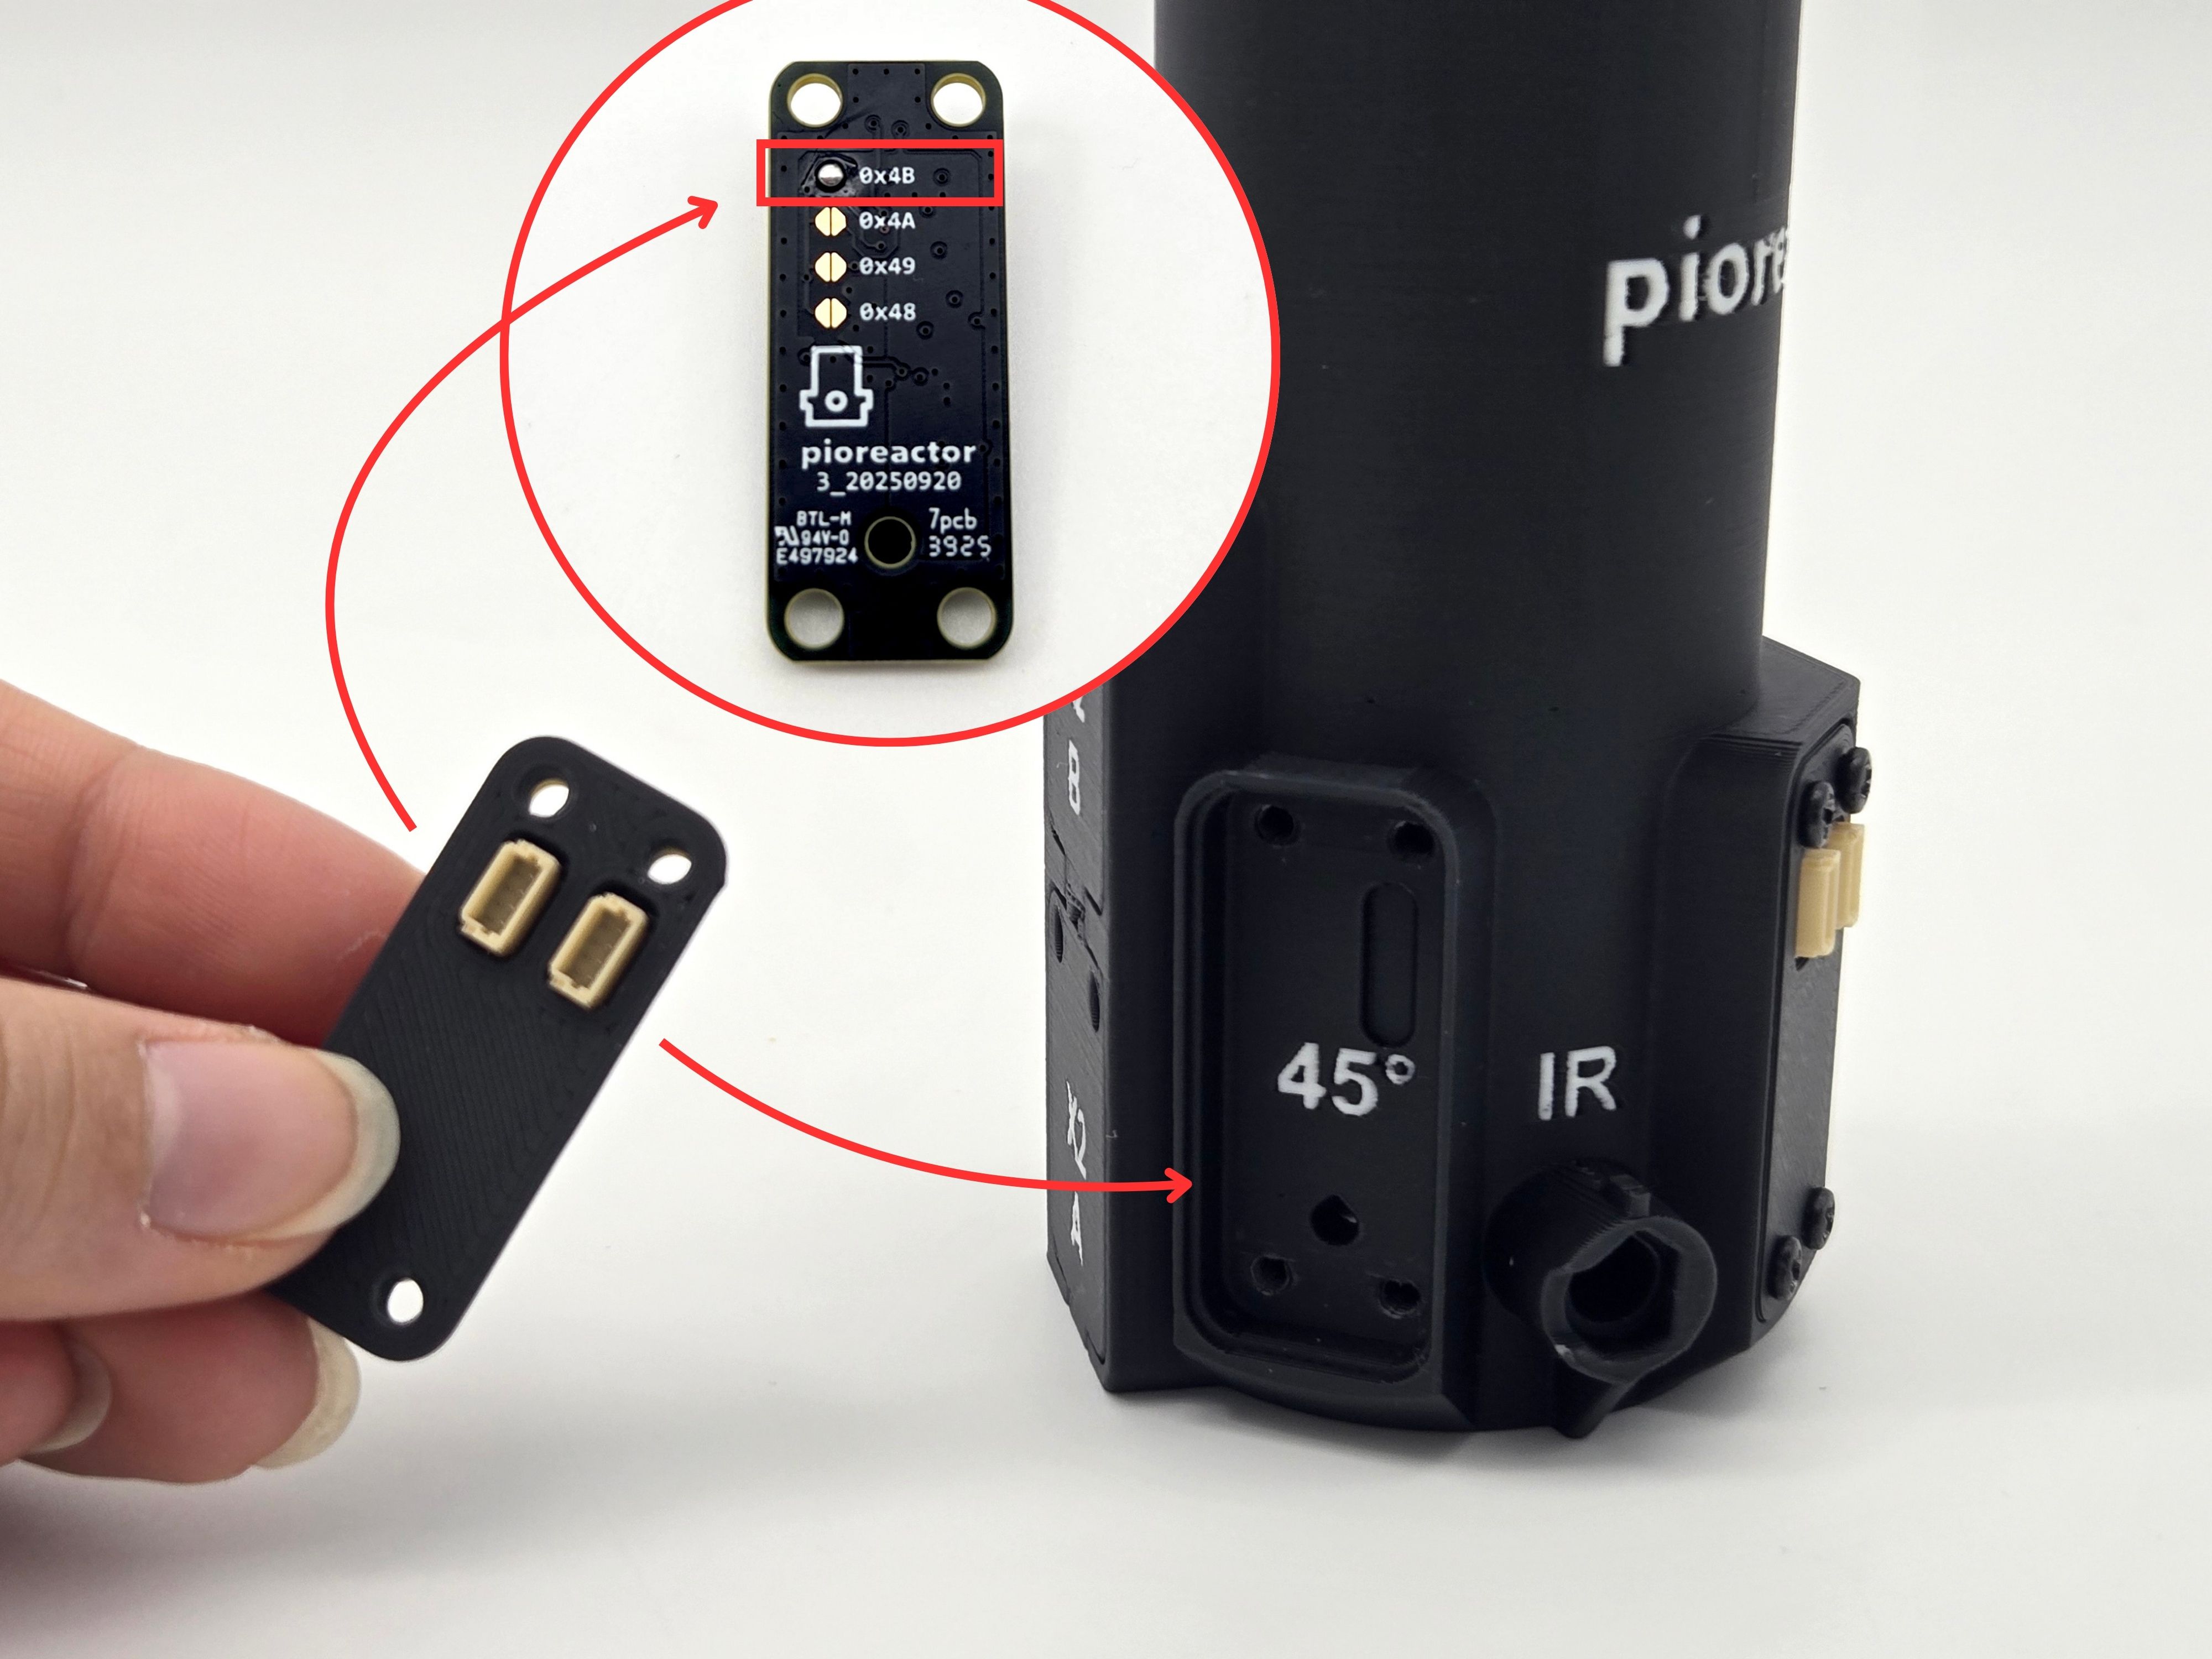
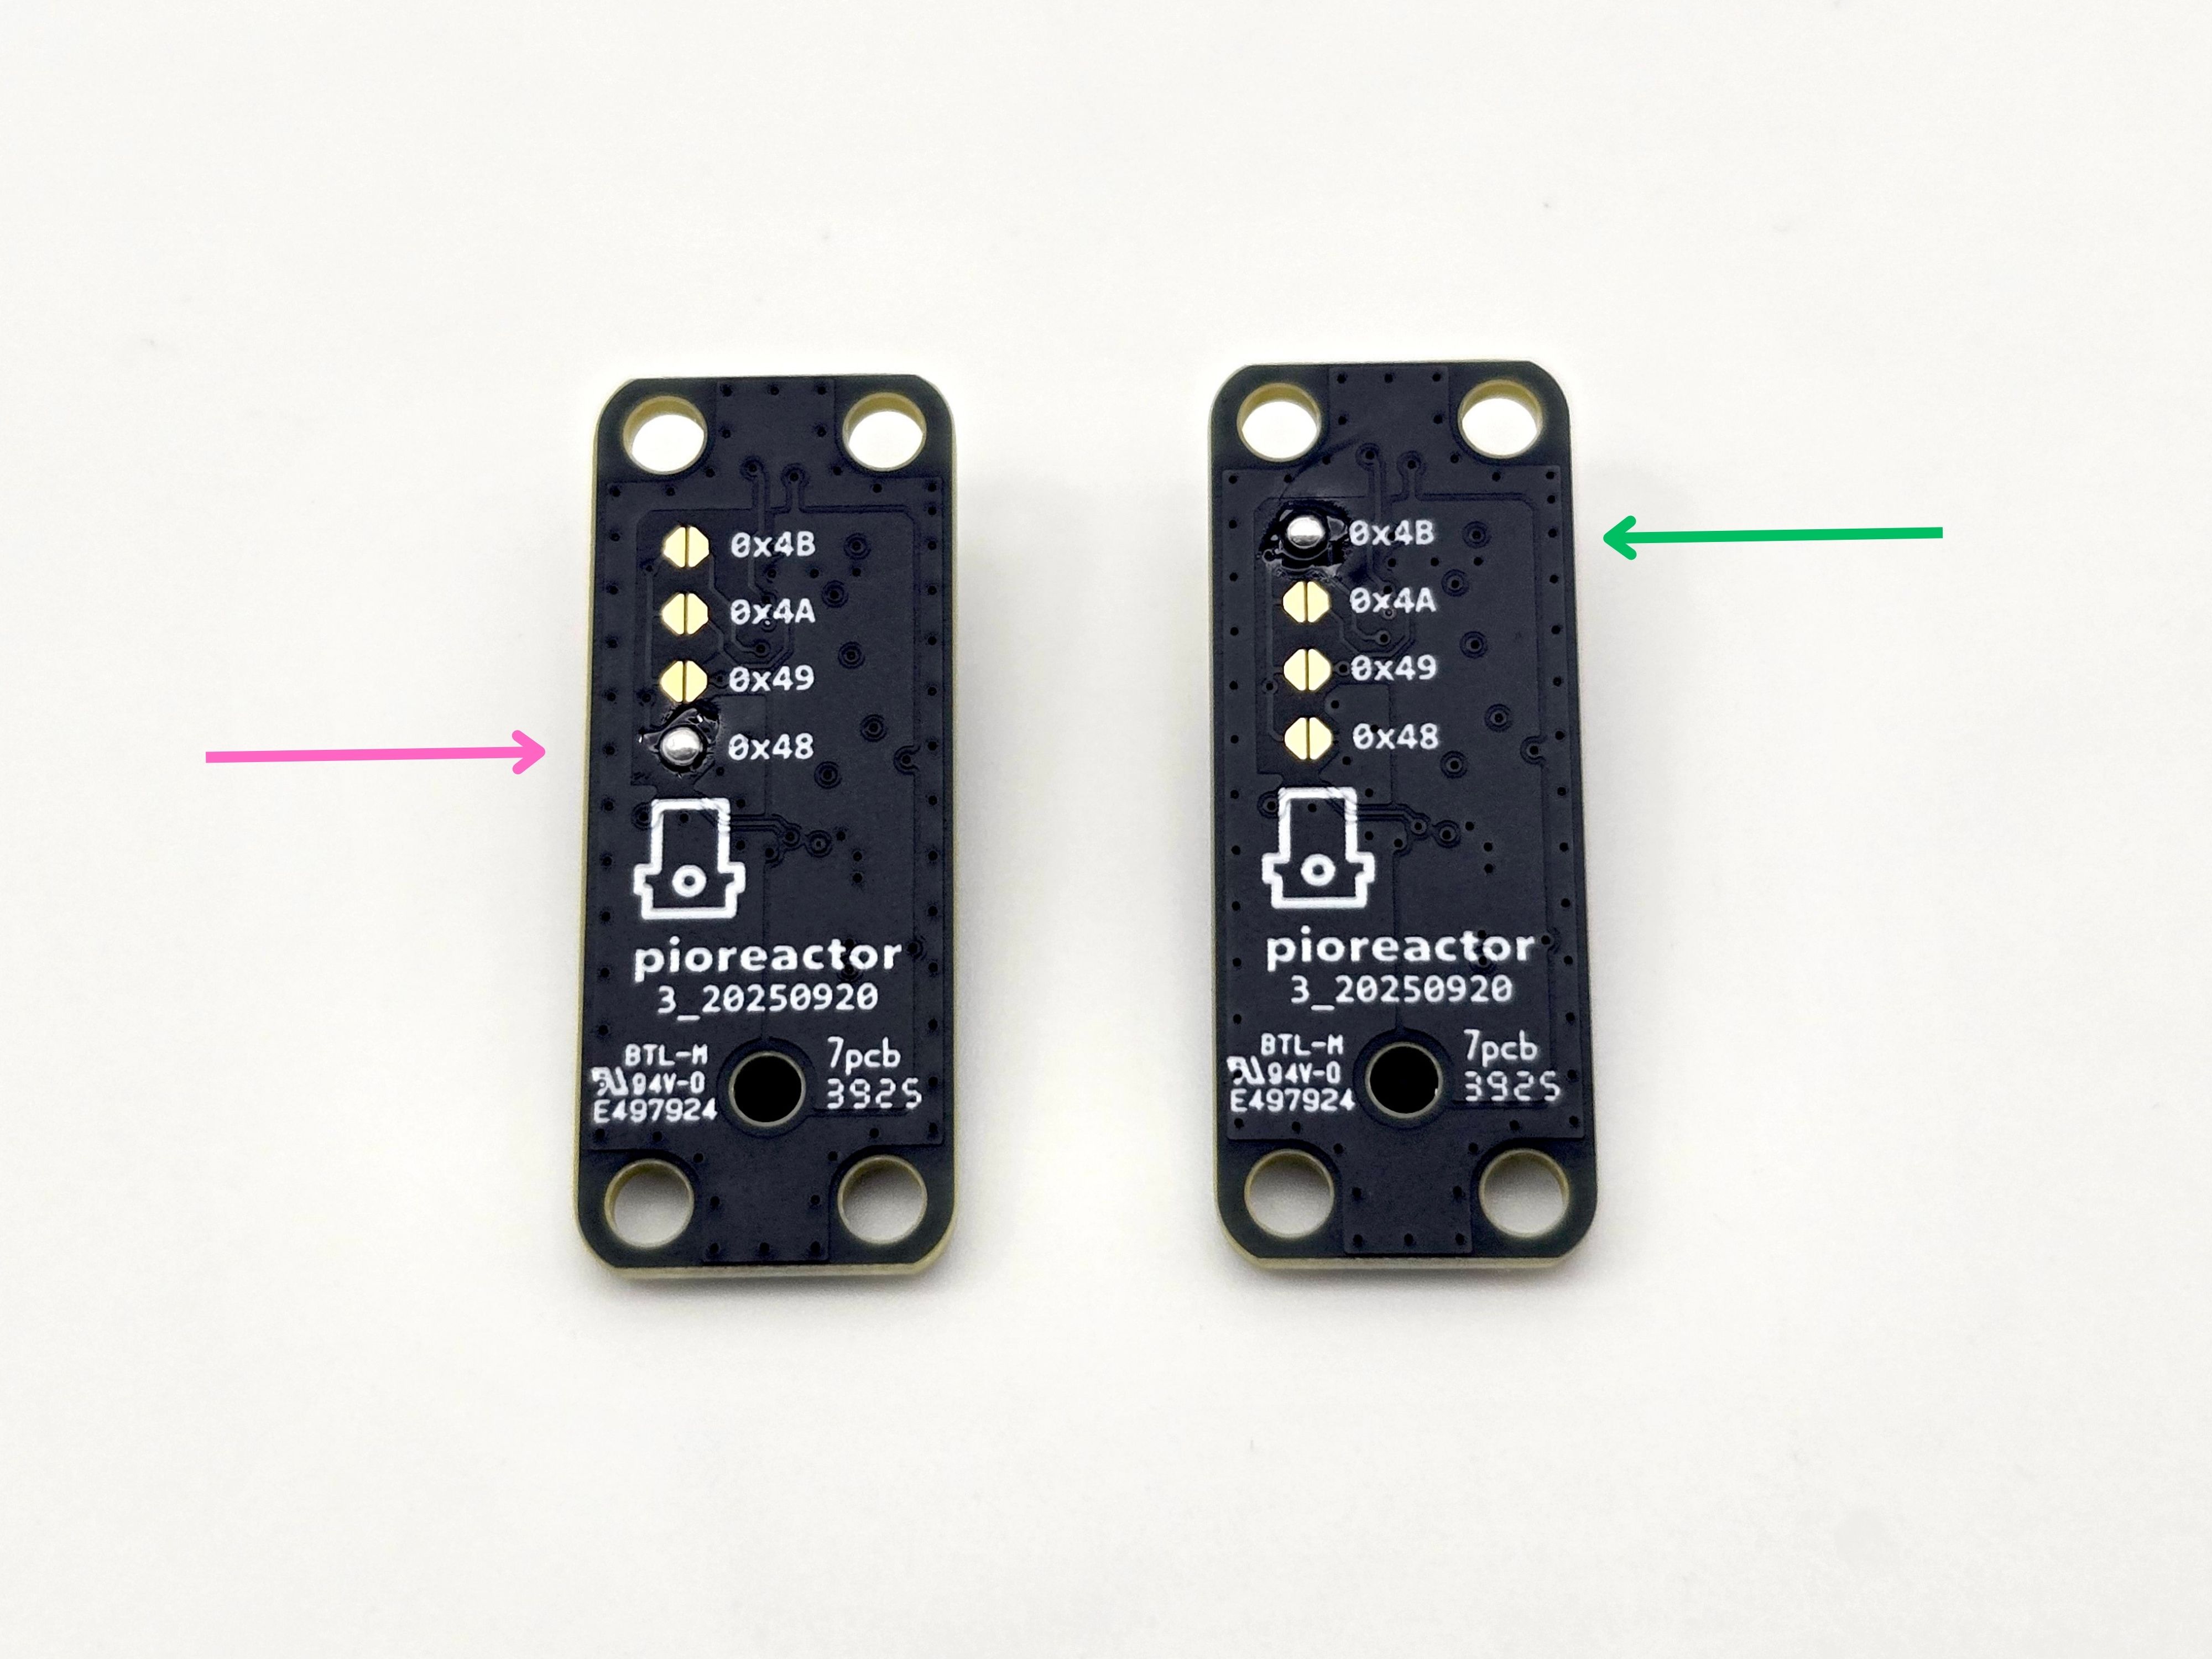
- Identify the eye-spy with the address 0x4B. Look for the soldered bulb next to the top address.
- Place the optics cover over the eye-spy, and secure it in the 45 degree pocket with 4x 8mm screws.
- Identify the eye-spy with white mark in the upper left corner. Secure it into the REF pocket with the cover and 4x 8mm screws.
- Identify the unmarked eye-spy with no soldered address. Secure it into the 90 degree pocket with the cover and 4x 8mm screws.
- Last, the eye-spy with the address 0x48 goes into the 135 degree pocket. Look for the soldered bulb next to the bottom address. Secure it with the cover and 4x 8mm screws.
- Twist the top vial holder onto the bottom assembly.
Step 4: Attach the LED bulb #
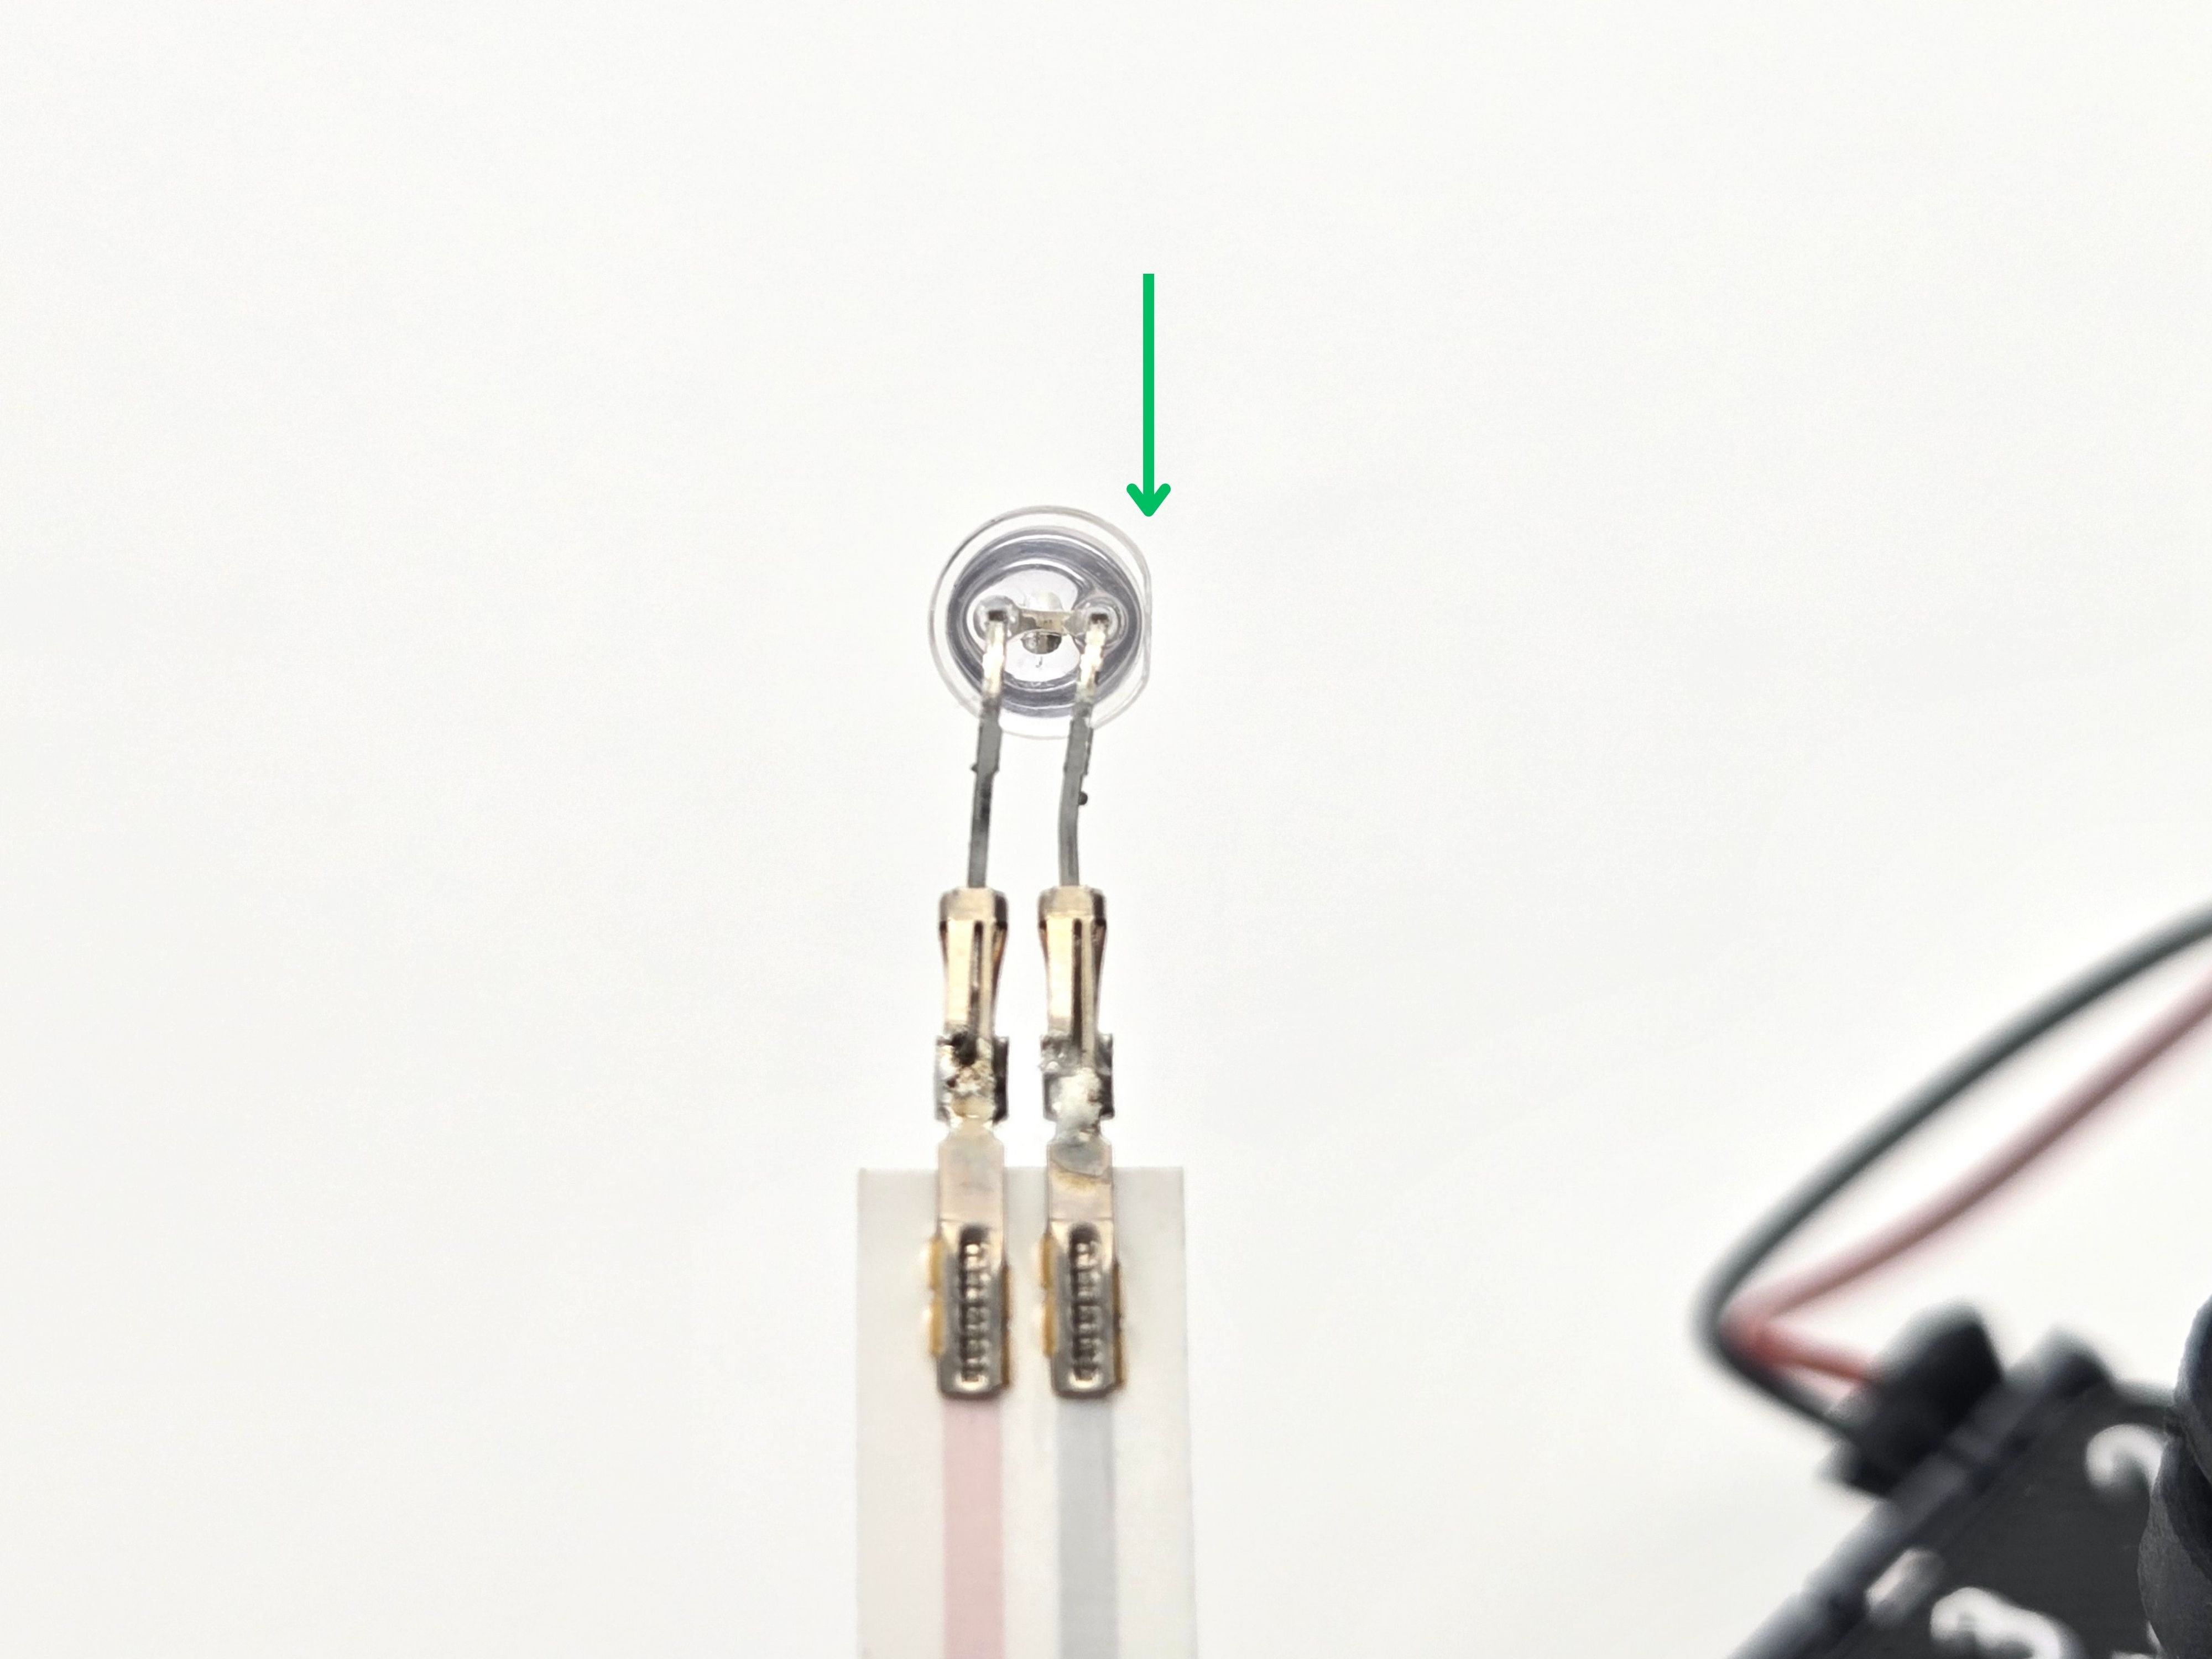
- Notice the flat side of the LED bulb.
- In the top vial holder, there is a flat protrusion in front of the IR pocket.
- With the IR cable pointing downward, gently insert the IR bulb into the pocket.
- Gently twist the LED cable to the left. The LED bulb should feel secured in the pocket. Cover it with the LED cap.
Step 5: Connect the eye-spys #
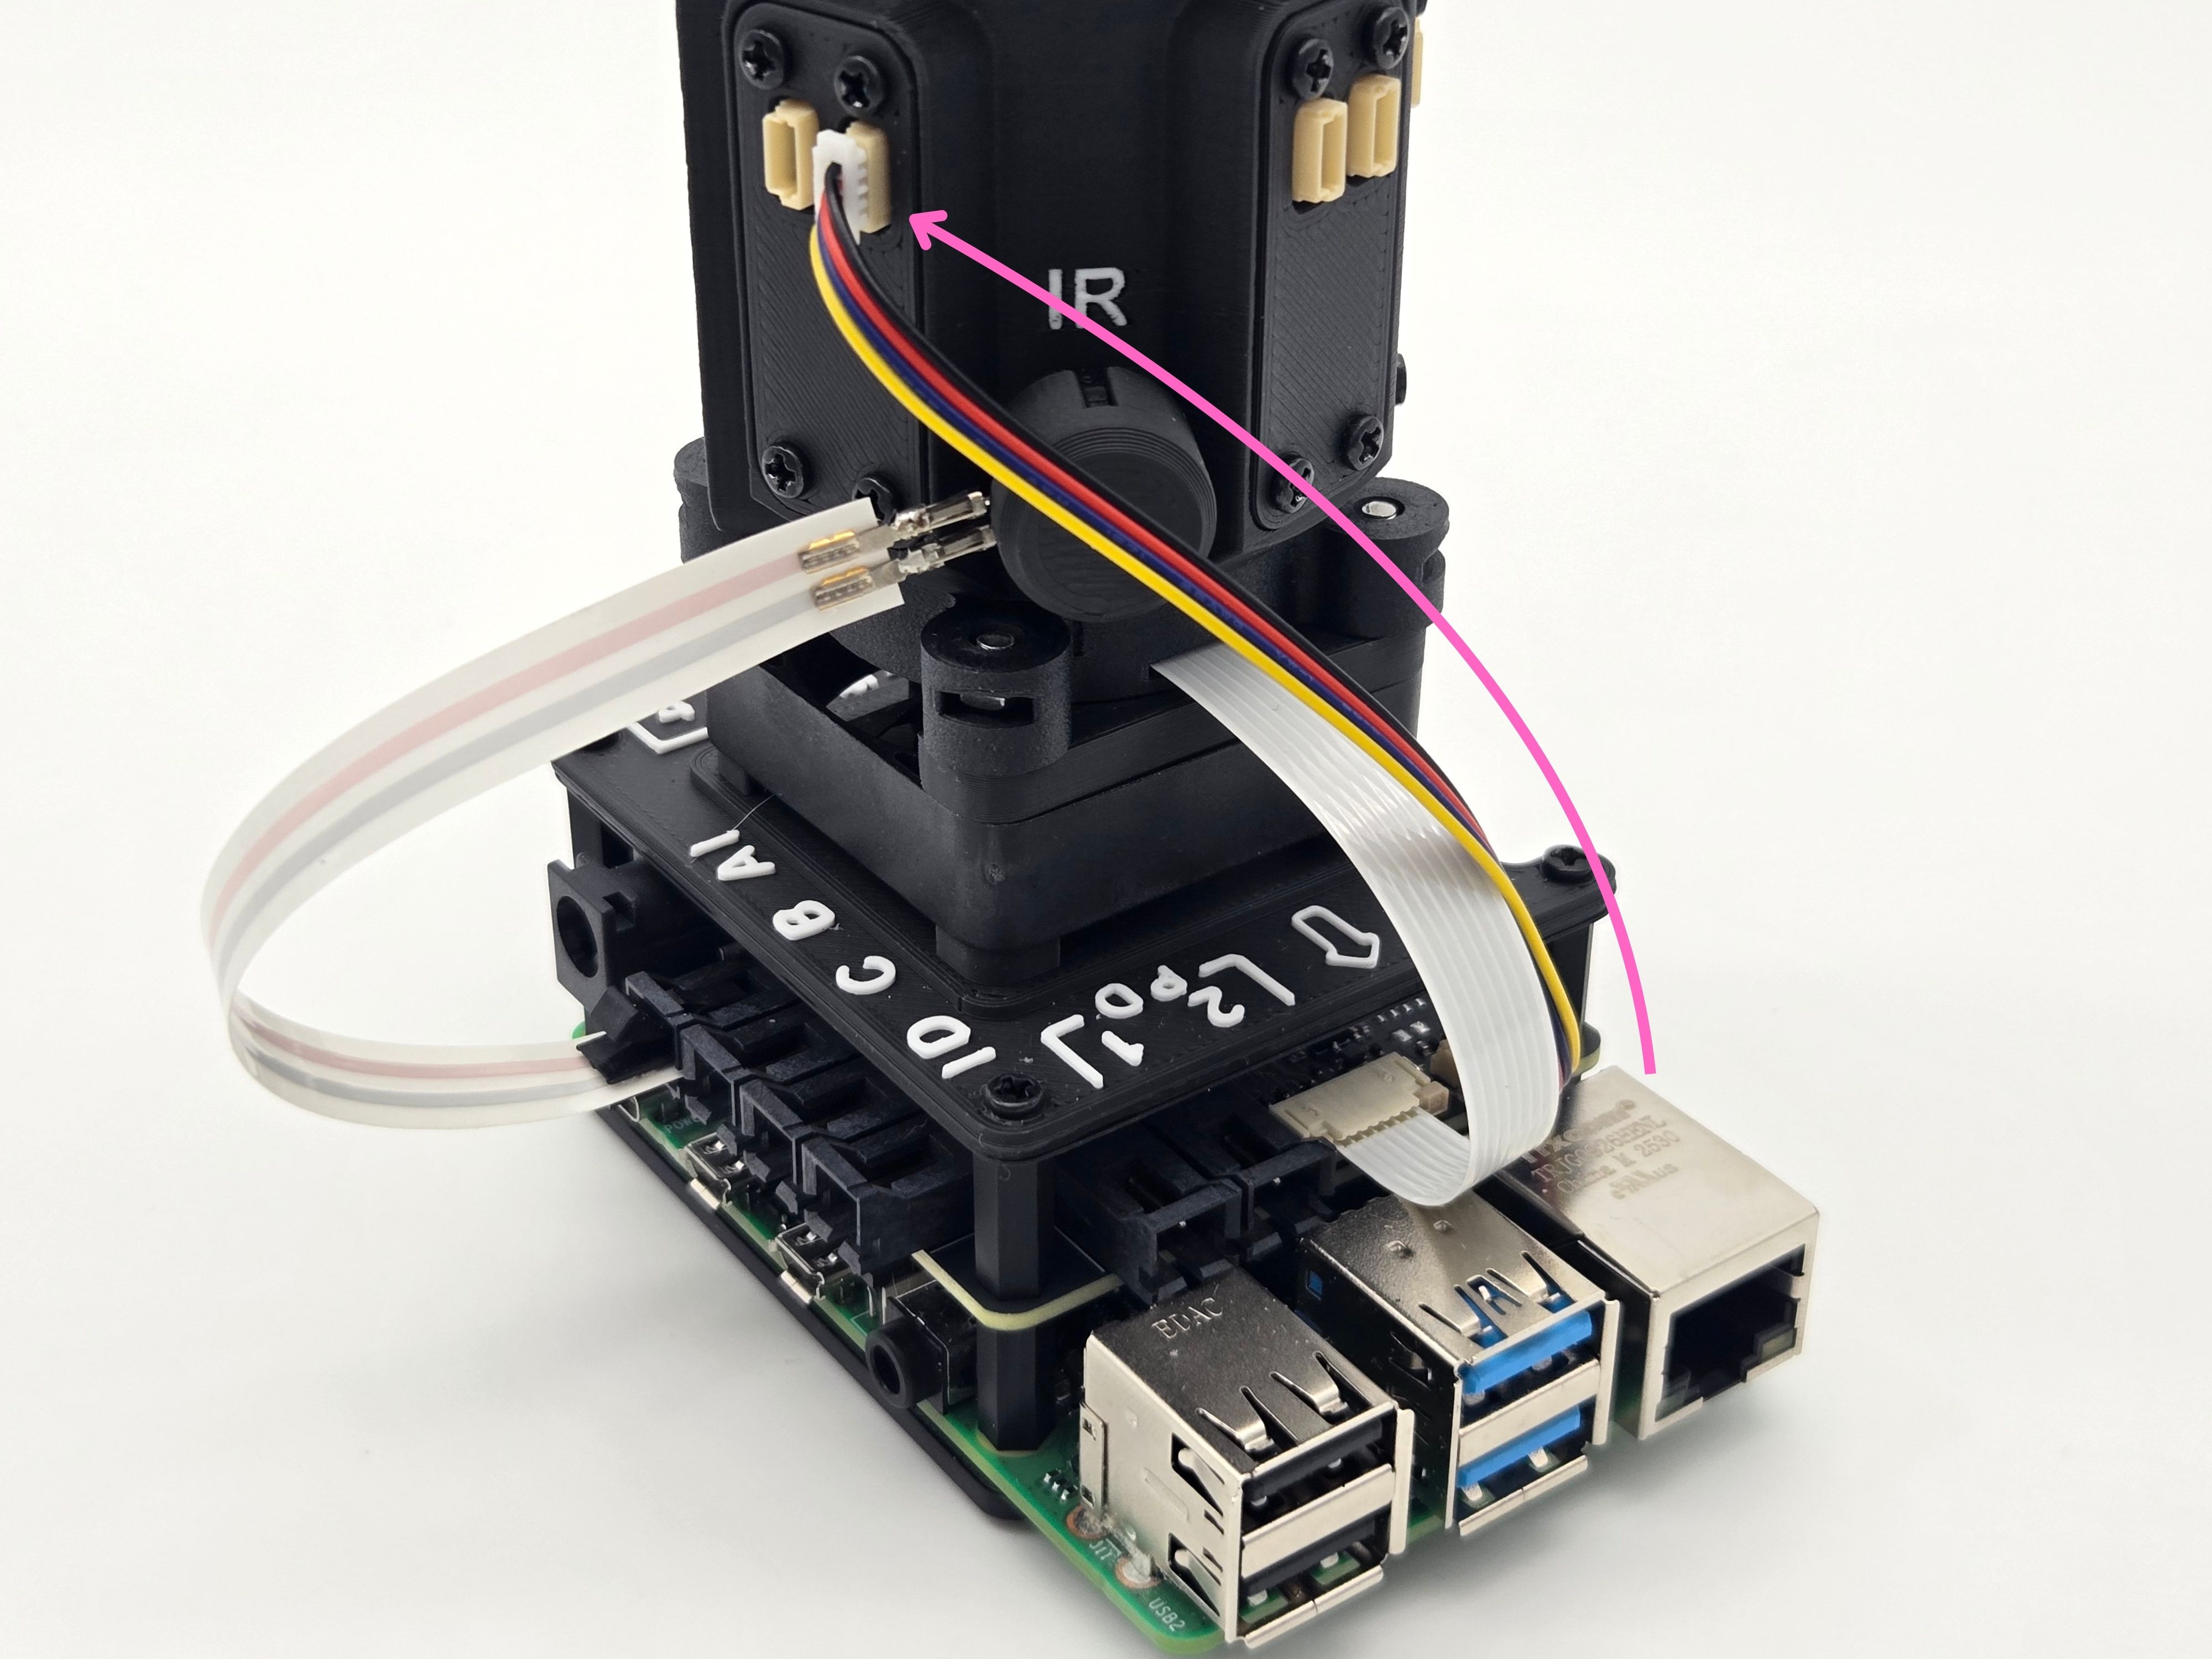
- A 100mm STEMMA-QT wire should be still connected to the HAT. Carefully connect the other end to the leftmost, 45 degree eye-spy. Pay attention to the wire orientation: the yellow wire should be at the bottom.
Do not push the wire connector in at an angle, as it can bend the metal leads in the eye-spy connector.
-
Using the other 100mm STEMMA-QT wire, carefully connect the 45 degree eye-spy to REF. Note the wire orientation.
-
Use a 50mm STEMMA-QT wire to carefully connect the REF eye-spy to the 90 degree eye-spy.
-
Finally, use the last 50mm STEMMA-QT to carefully connect the 90 degree eye-spy to the 135 degree eye-spy. All eye-spys should now be daisy chained to each other.
Step 6: XR assembly completed #
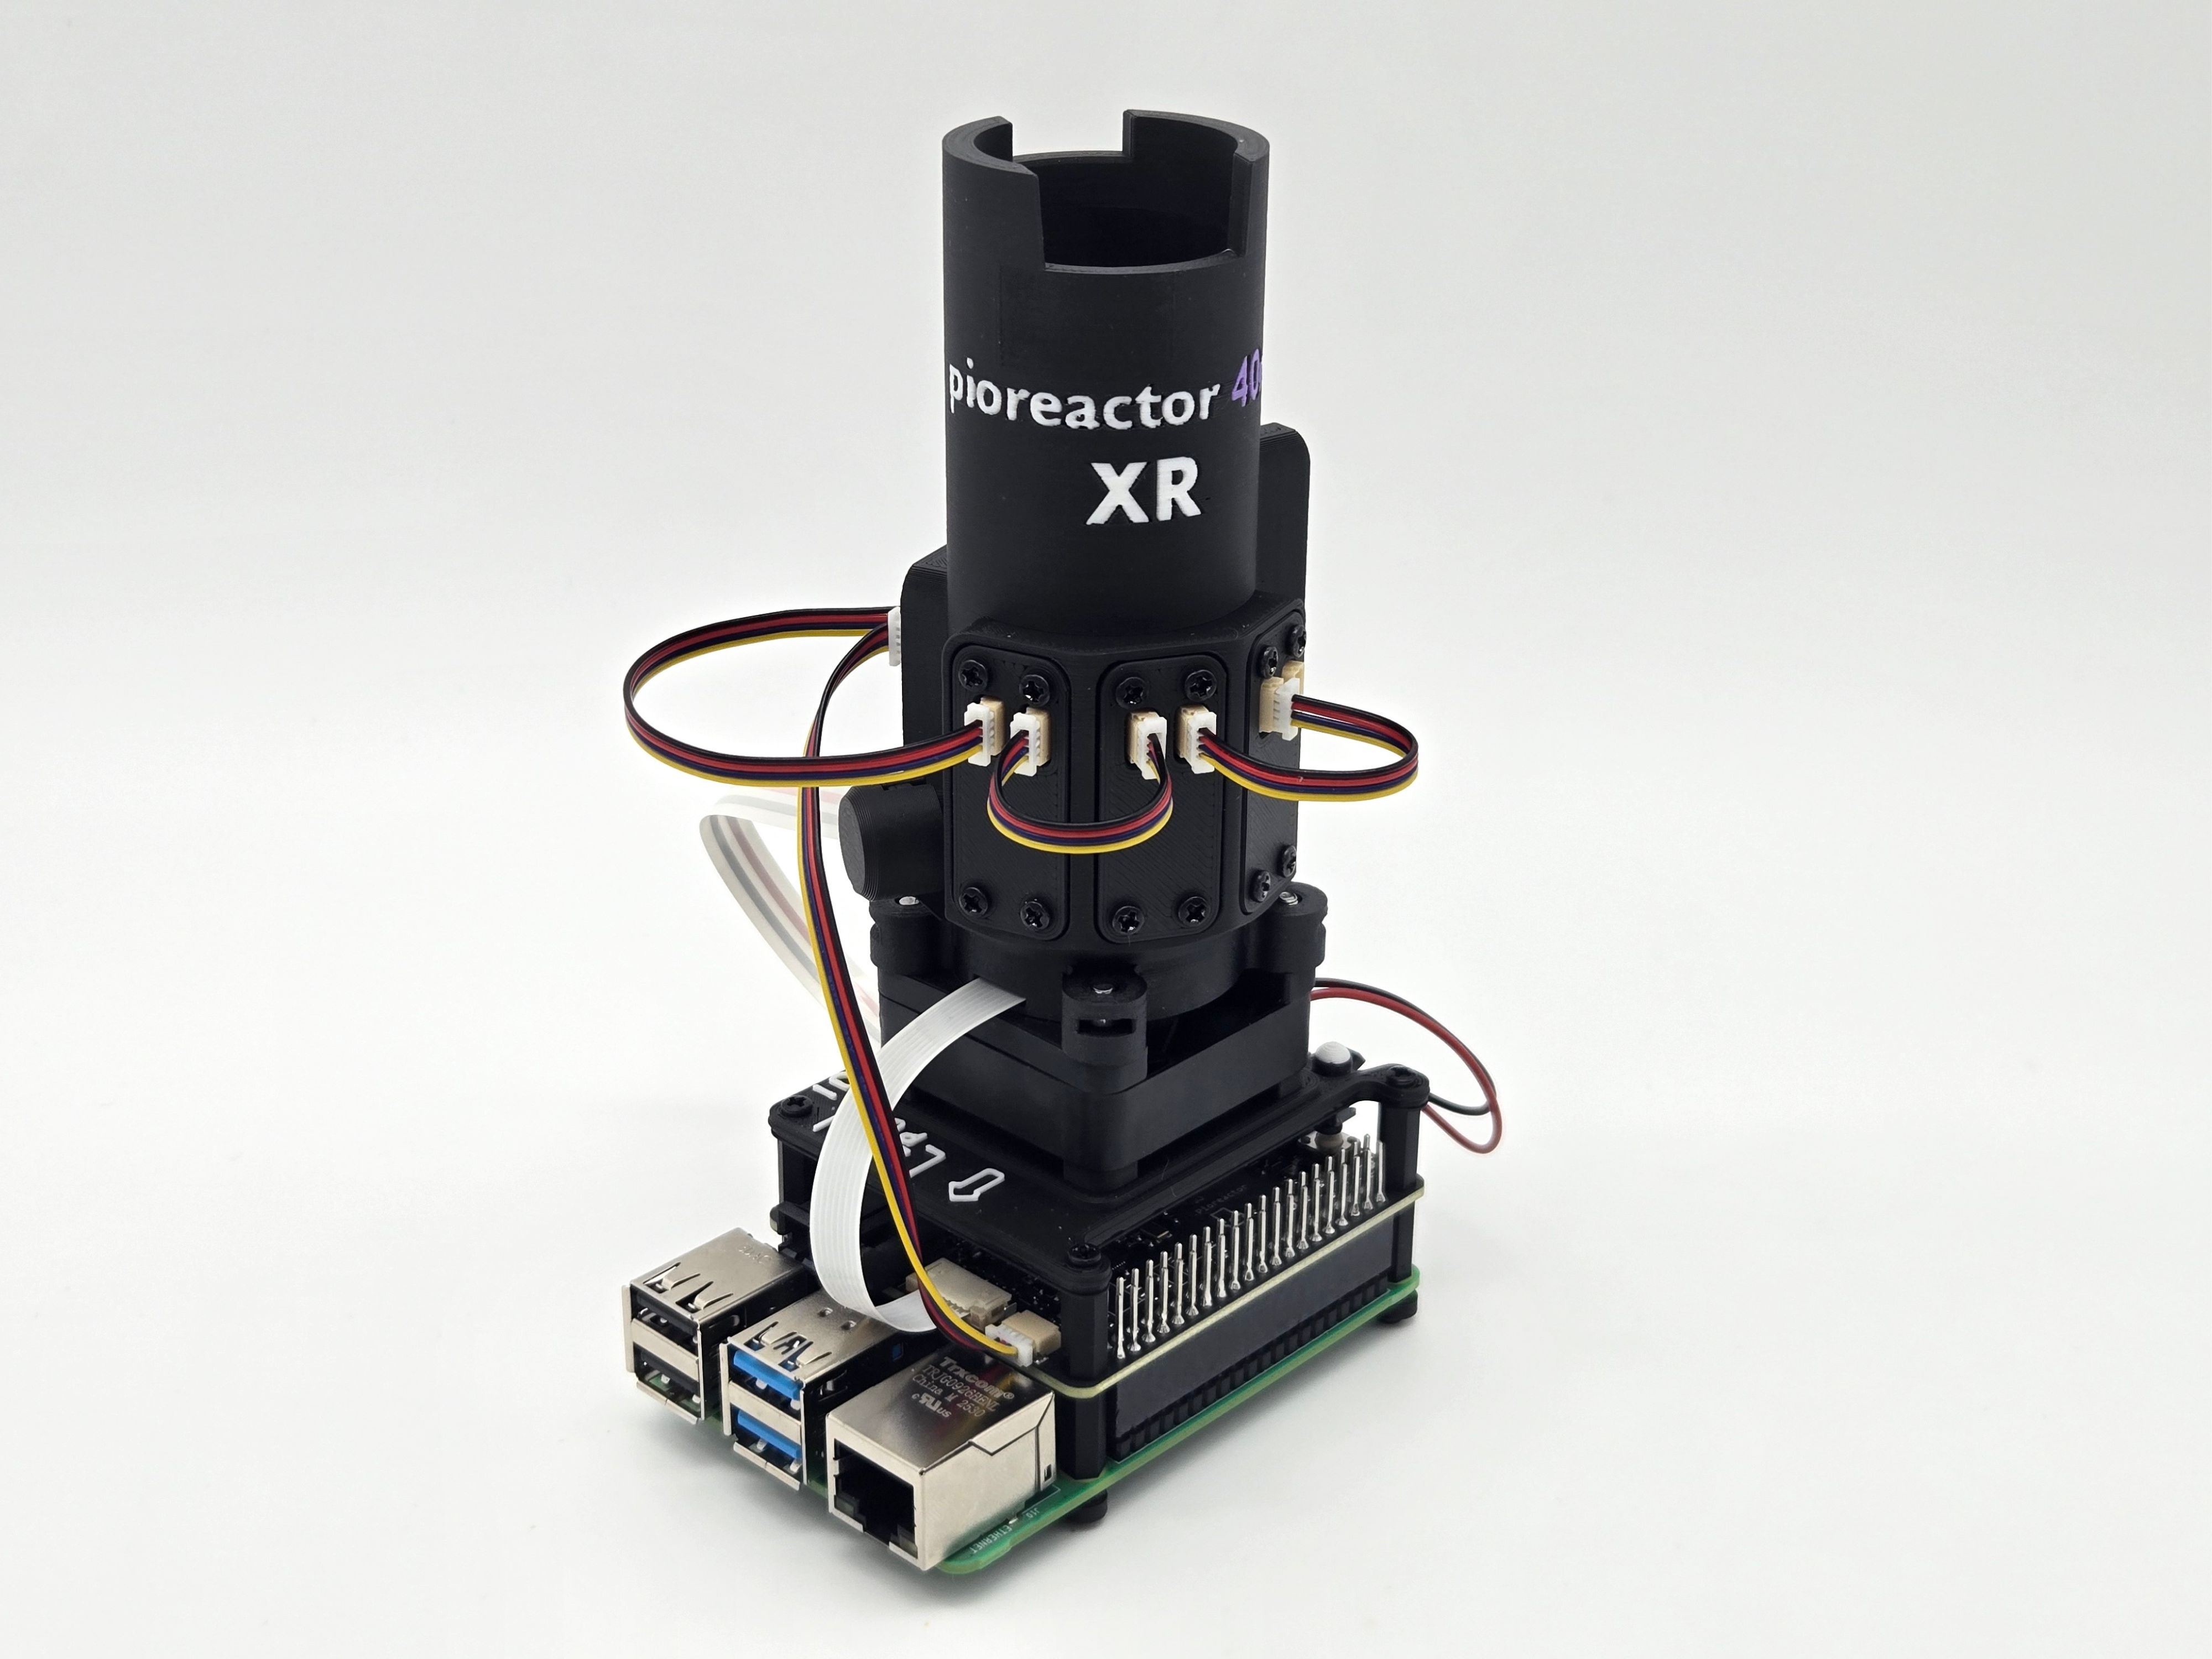
Your new 40ml Pioreactor XR is now assembled!
- Power on your Pioreactor again.
- Next, we need to adjust some settings in the software.
Step 7: Software #

-
The required software version is 26.1.30 or later. Here's how to update.
-
On the Inventory page, find the Pioreactor you upgraded, select Model, and choose the XR version.
-
On the Edit Config page, add the following to section
[od_config.photodiode_channel]1=REF
2=90
3=135
4=45 -
Next, read the docs on how to fuse the sensors into a single biomass signal.