Before you begin assembly
Info
You can expect the assembly to take approximately 20-30 minutes.
Step 1: Necessary tools #
You will need the following items to assemble your Pioreactor:
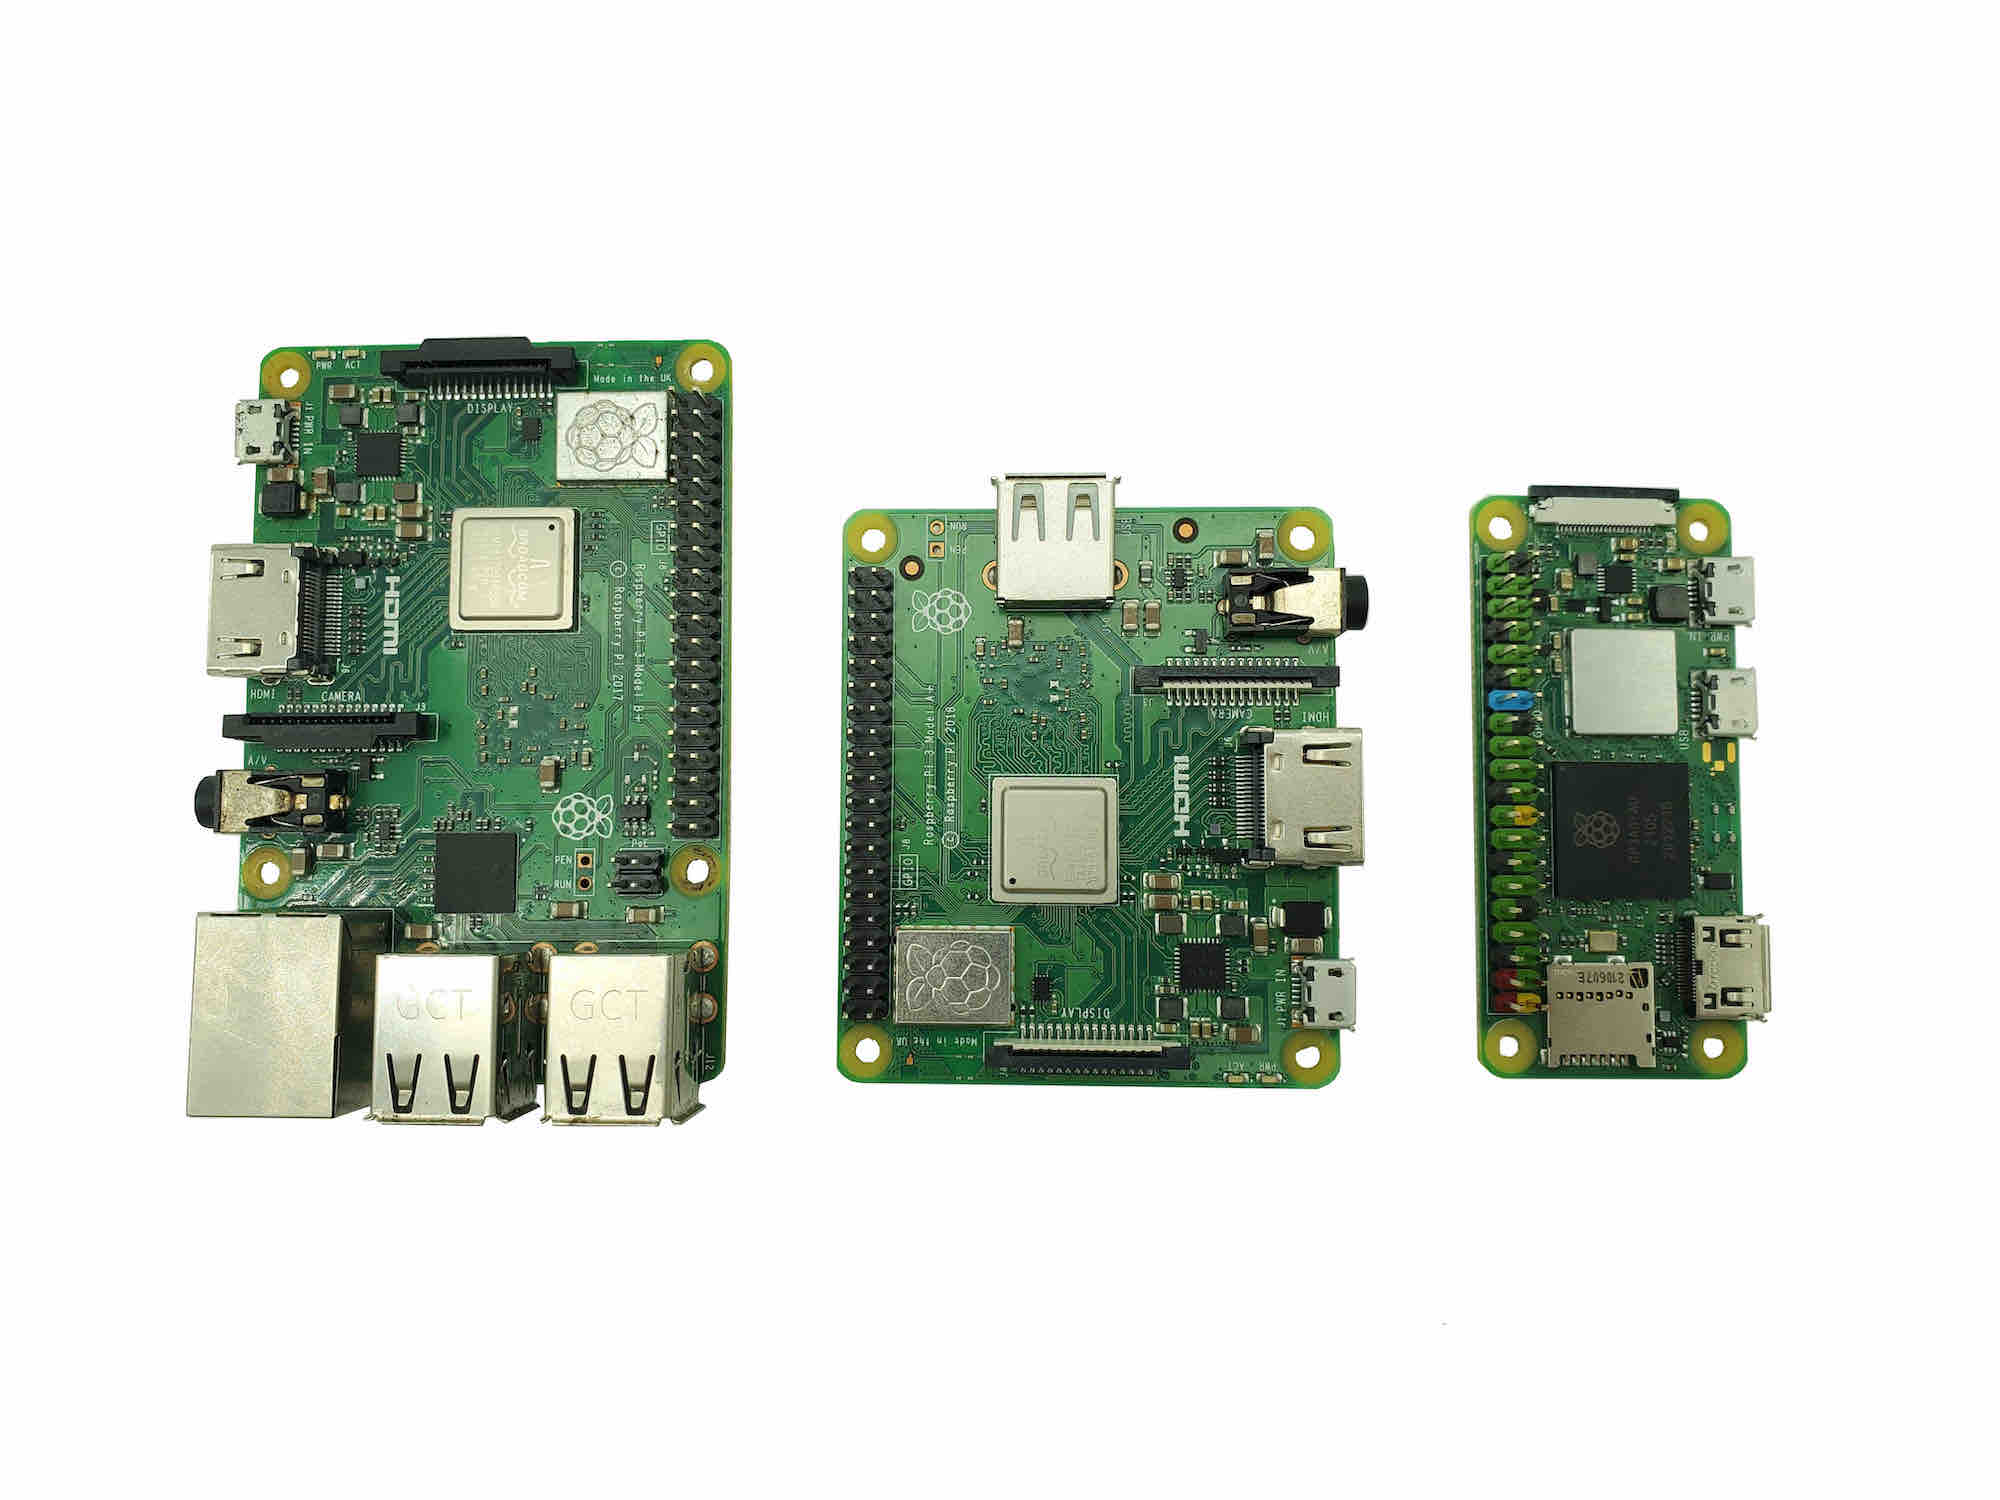
- Your own Raspberry Pi (RPi). Displayed are three examples.
- A Philip's head screwdriver.
- The Pioreactor 20ml v1.1 kit.
Step 2: Use all the information available to you #
- Before starting a step, read all instructions and view all photos at the bottom of each step.
- Most of the labels are scaled 1:1 and can be used to identify parts.
info
Missing a part? Email us at hello@pioreactor.com, we're happy to help.
Step 3: Electronics protection #
Here are some tips to prevent damage to the electronics:
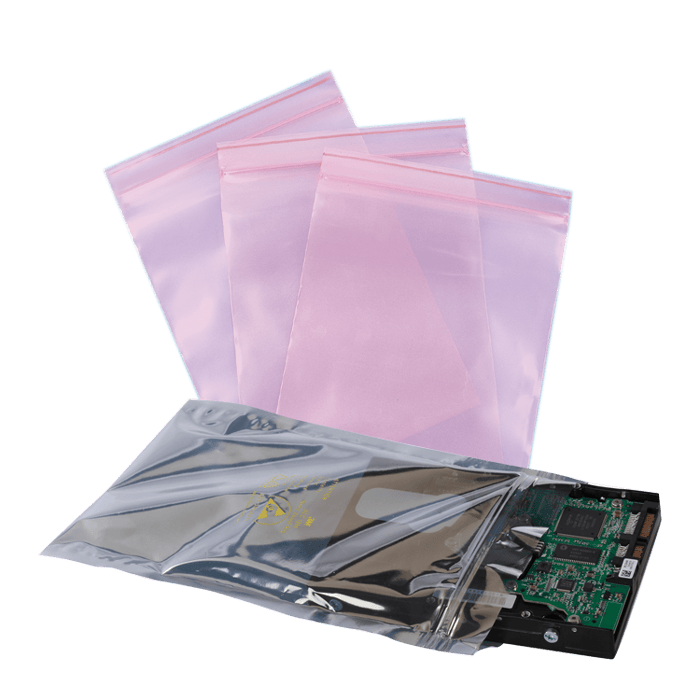
- Keep the electronics inside the ESD bag right until you are asked to install them.
- Always touch the sides of the board while manipulating with it. Avoid touching the chips, capacitors, and other parts of the electronics.
- Before you touch the electronics, use any conductive (steel) structure nearby to neutralize any electro-static energy.
- Be extra cautious in rooms with carpets, which are a source of electrostatic energy.
- Clothes made of wool and certain synthetic fabrics can easily gather static electricity. It is safer to wear cotton clothing.
Step 4: We are here for you! #
- If you get stuck, missing a piece, or are unsure of something, let us know!
- You can reach out to us at
hello@pioreactor.com! - Continue to the next assembly instructions.