Before you begin assembly
Info
You can expect the assembly to take approximately 20-30 minutes.
Step 1: Necessary tools #
You will need the following items to assemble your Pioreactor:
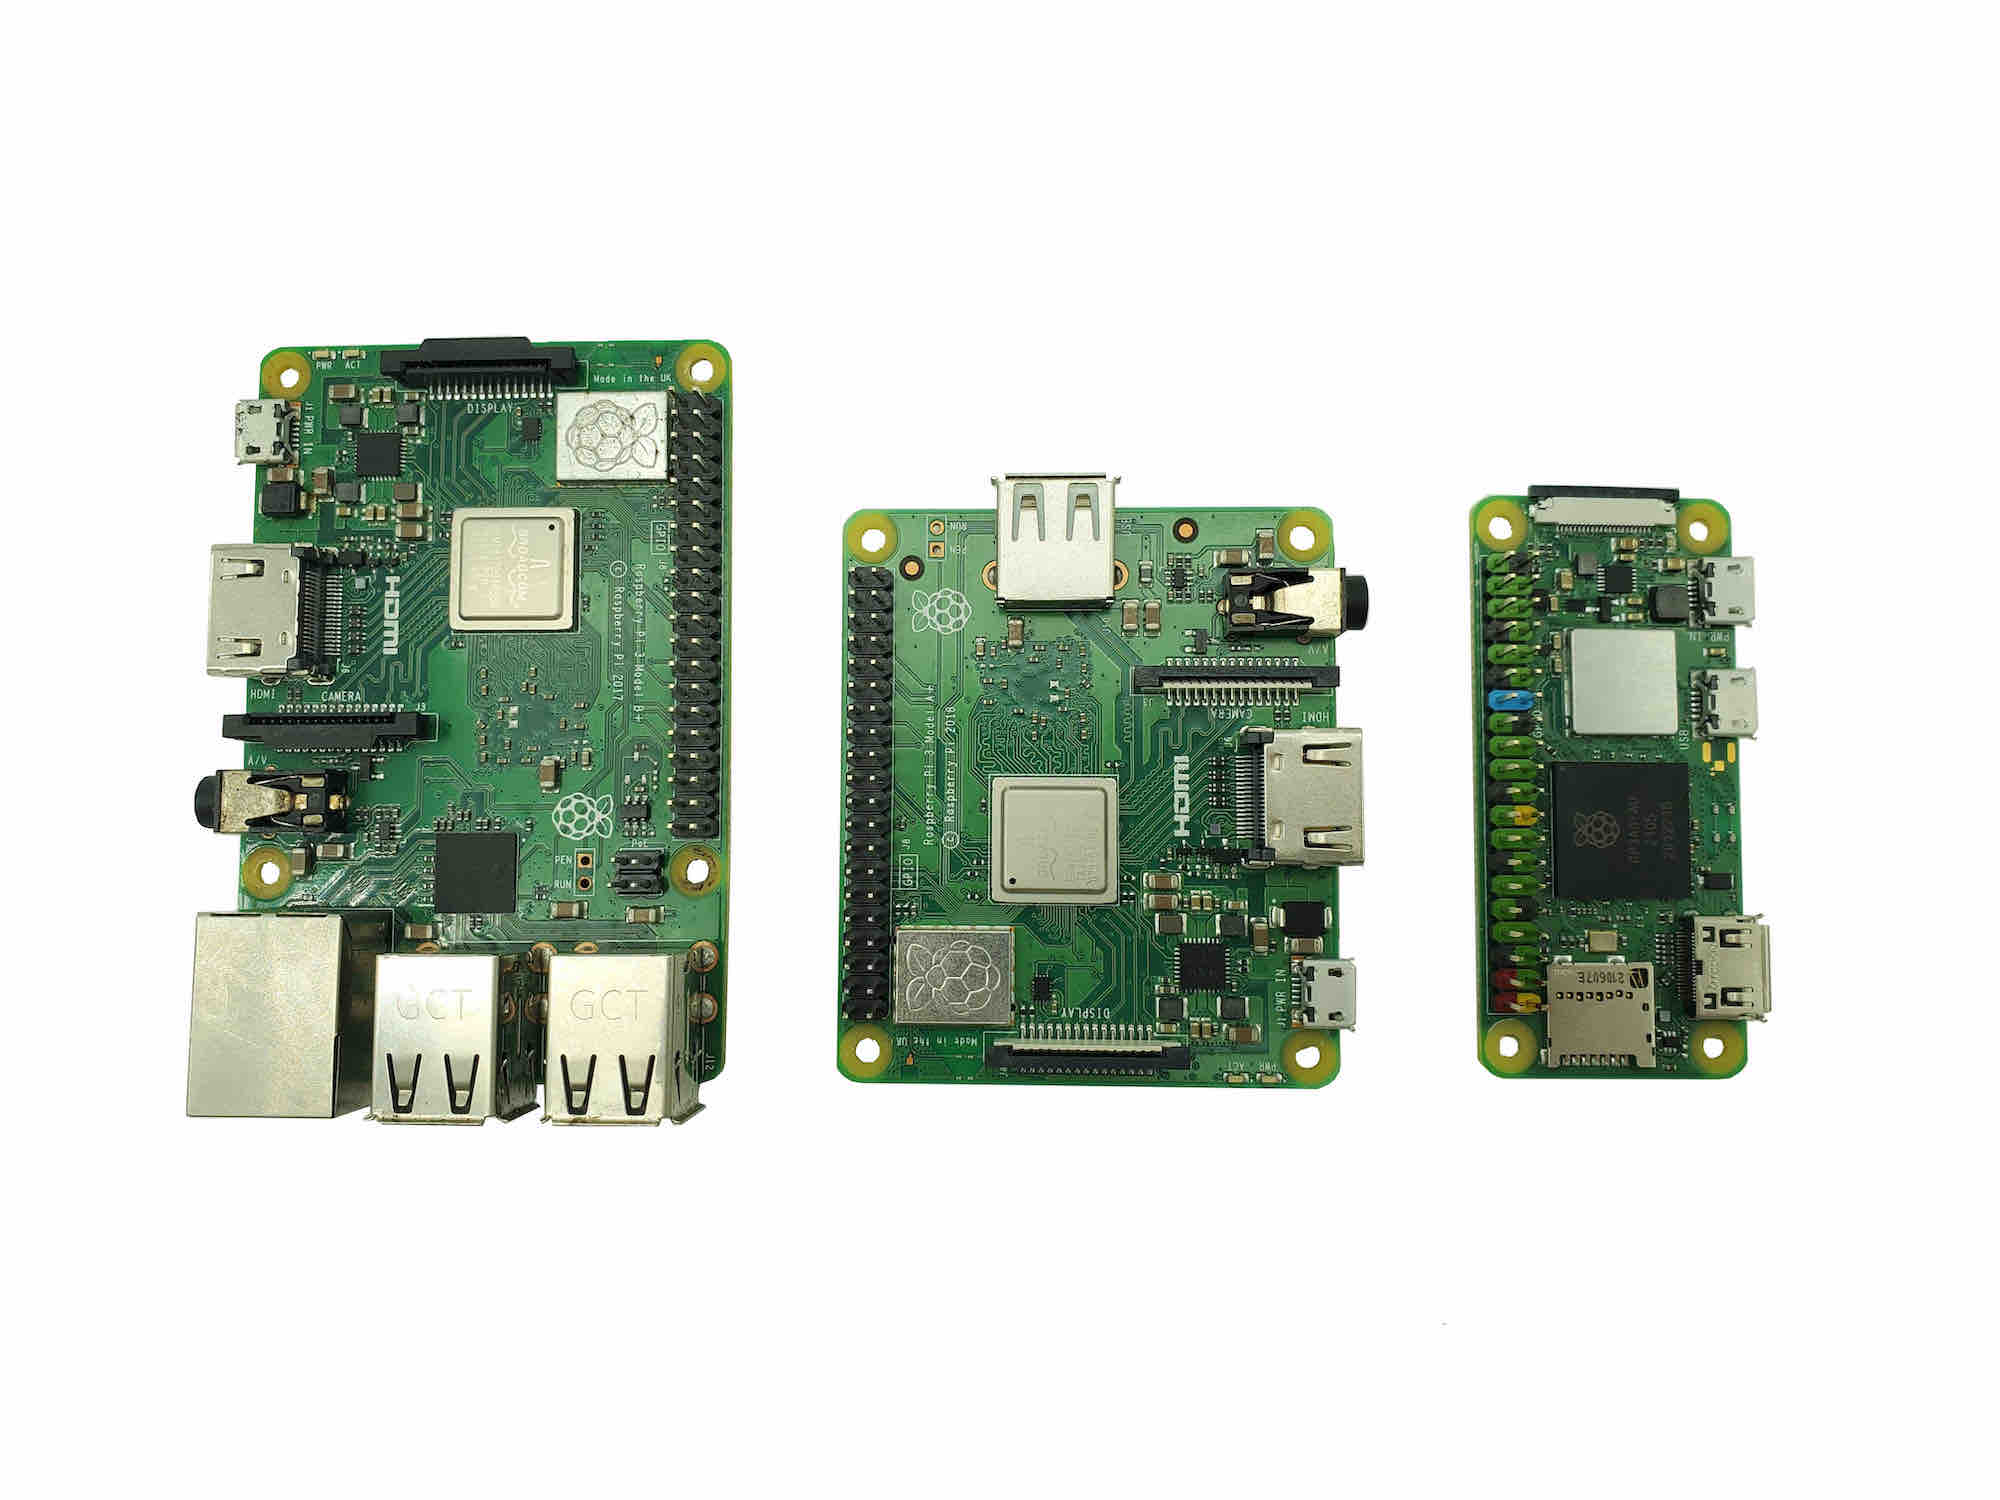
- Your own Raspberry Pi (RPi). Displayed are three examples.
- A Philip's head screwdriver.
- The Pioreactor 20ml v1.0 kit. This kit was sold between 2023 to May 2024. All kits sold after that were v1.1. You can also check by checking you have v1.0 if your plastic pieces have indented text, and not white text.
Step 2: Use all the information available to you #
- Before starting a step, read all instructions and view all photos at the bottom of each step.
- Most of the labels on the packaging are scaled 1:1 and can be used to identify parts.
info
Missing a part? Email us at hello@pioreactor.com, we're happy to help.
Step 3: Electronics protection #
Here are some tips to prevent damage to the electronics:
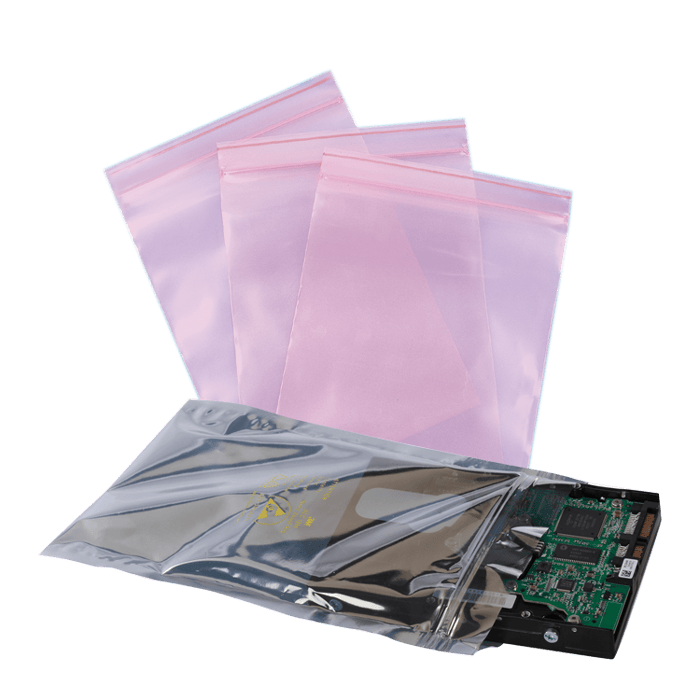
- Keep the electronics inside the ESD bag right until you are asked to install them.
- Always touch the sides of the board while manipulating with it. Avoid touching the chips, capacitors, and other parts of the electronics.
- Before you touch the electronics, use any conductive (steel) structure nearby to neutralize any electro-static energy.
- Be extra cautious in rooms with carpets, which are a source of electrostatic energy.
- Clothes made of wool and certain synthetic fabrics can easily gather static electricity. It is safer to wear cotton clothing.
Step 4: We are here for you! #
- If you get stuck, missing a piece, or are unsure of something, let us know!
- You can reach out to us at
hello@pioreactor.com! - Continue to the next assembly instructions.