Connecting the optics
Step 1: Insert optic cables into channels #
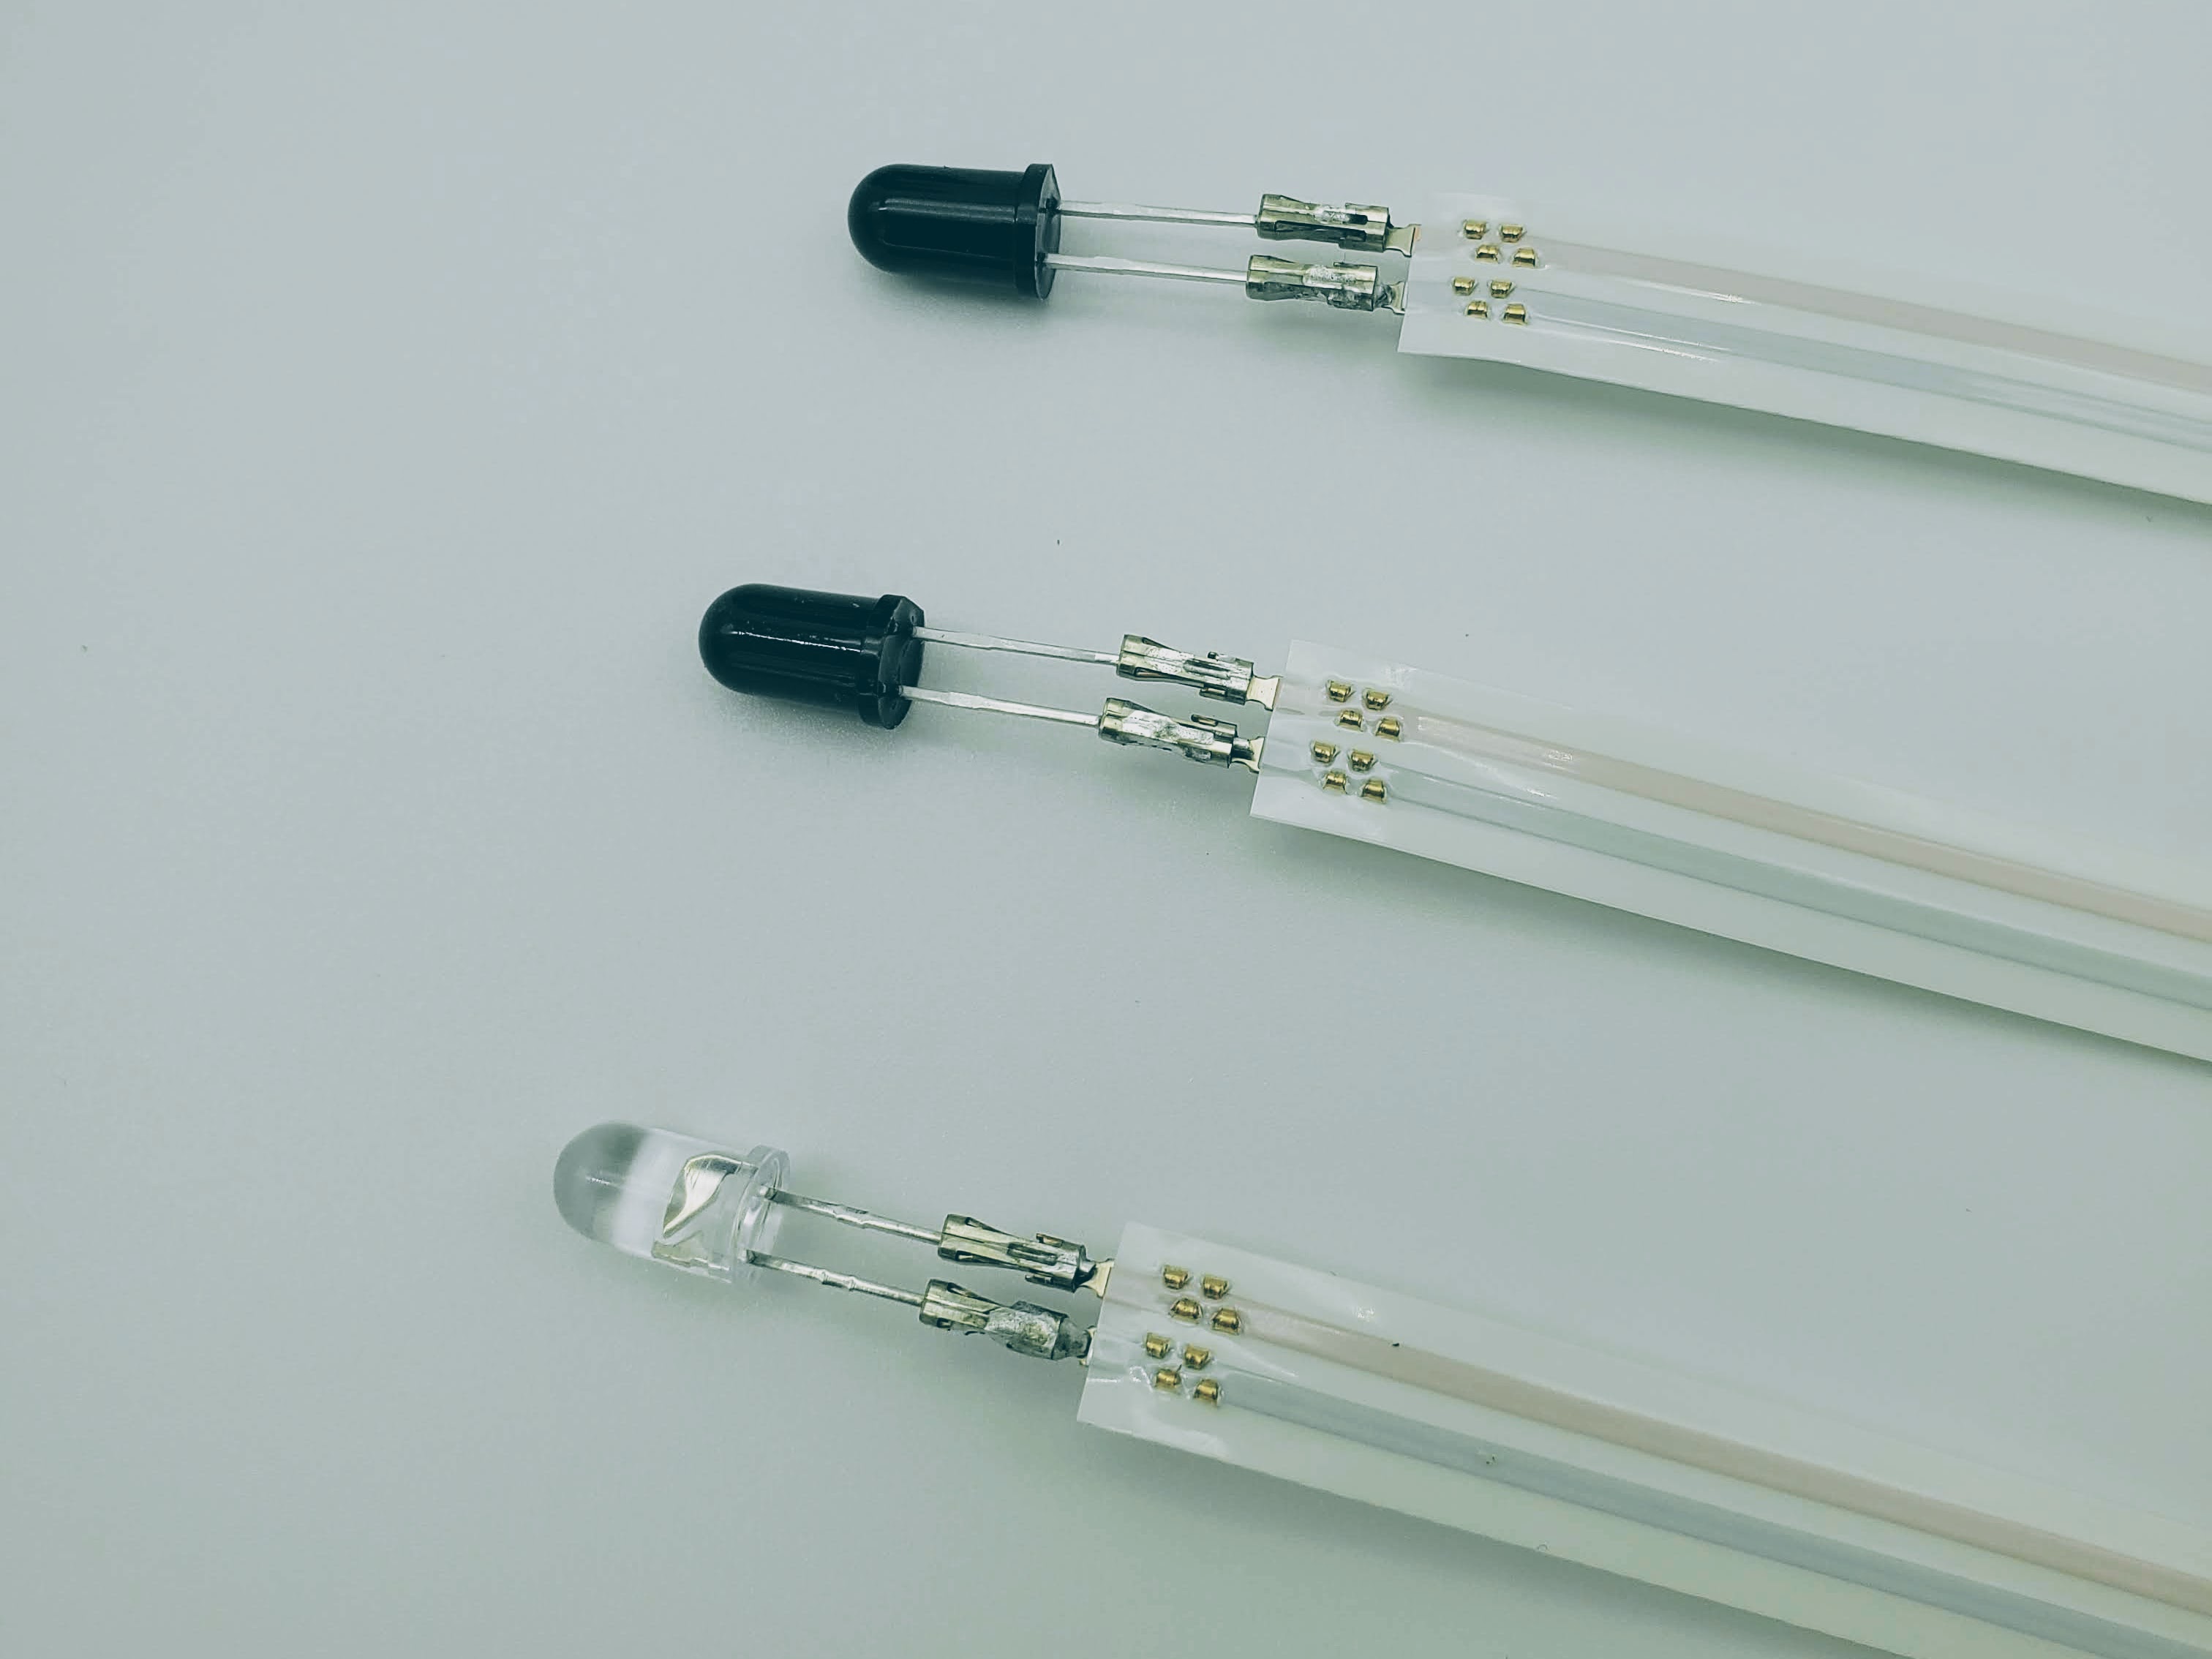
- You will need both PD cables (dark bulbs) and IR cable (clear bulb).
- Insert the connector of the IR cable into channel A (labelled on the faceplate).
- Insert the connector of either PD cable into PD channel 1 (labelled on the faceplate).
- Place the connector of the other PD cable into PD channel 2.
Step 2: Secure bulbs into pockets #
-
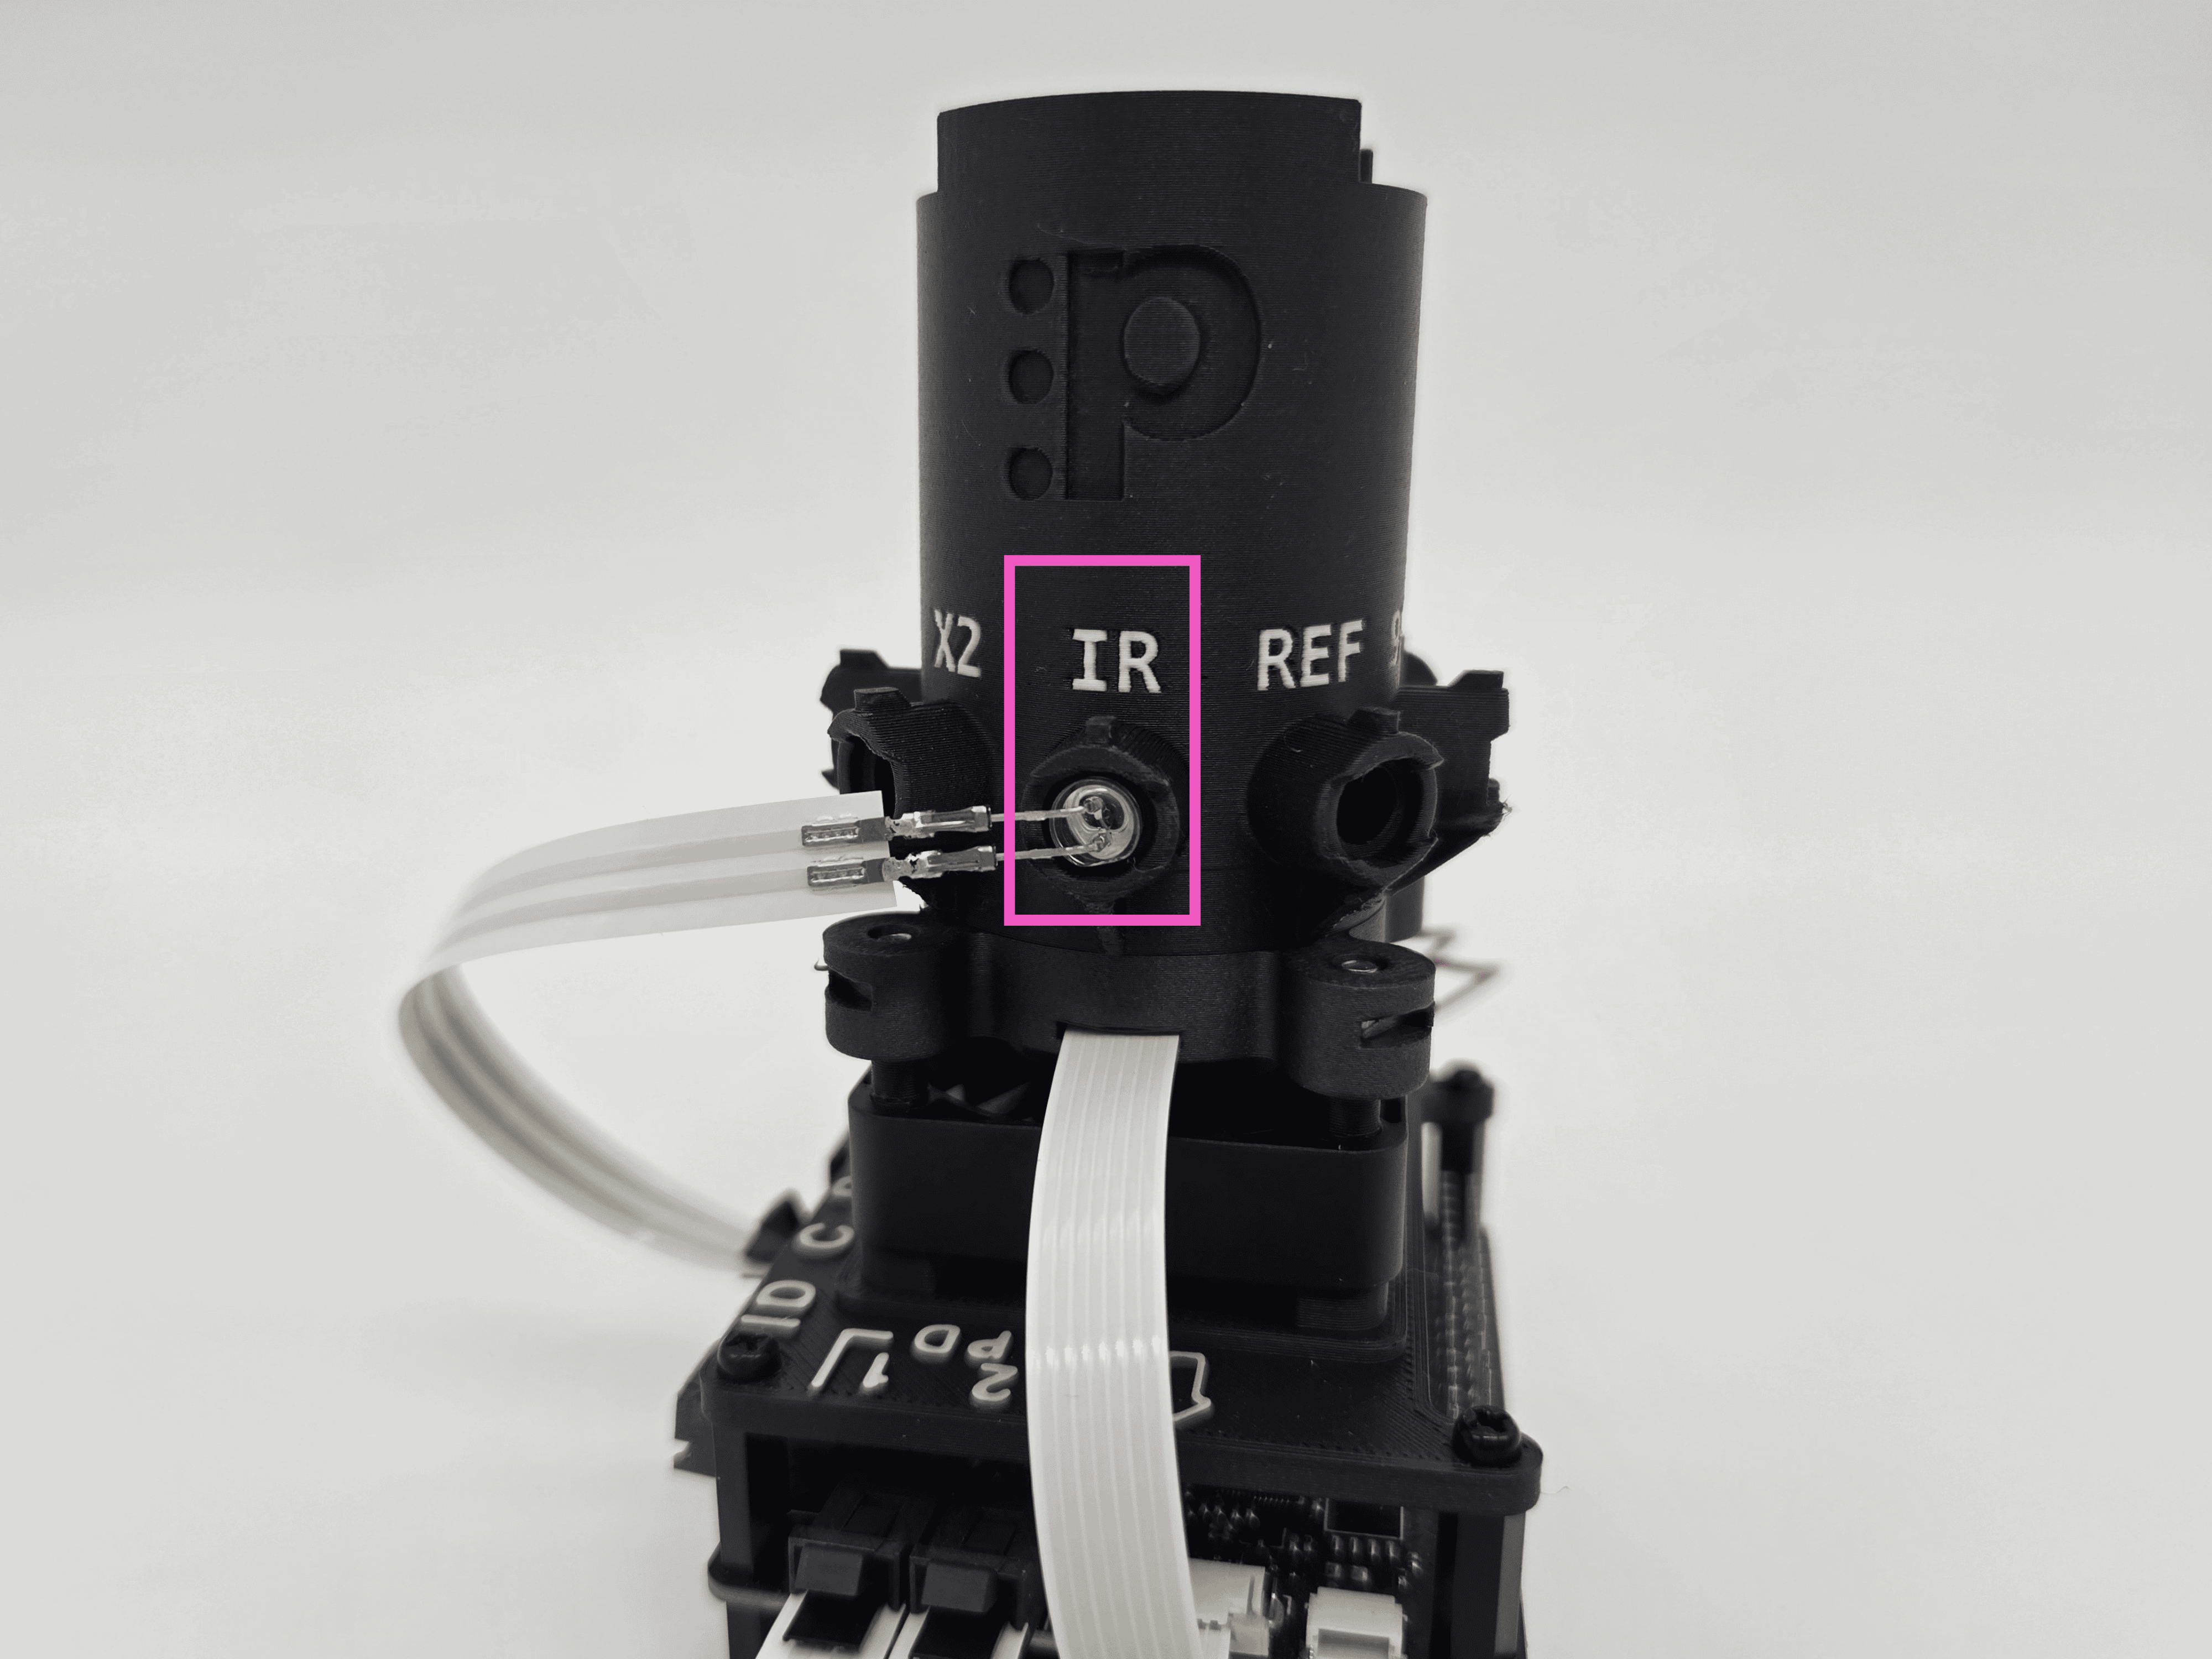
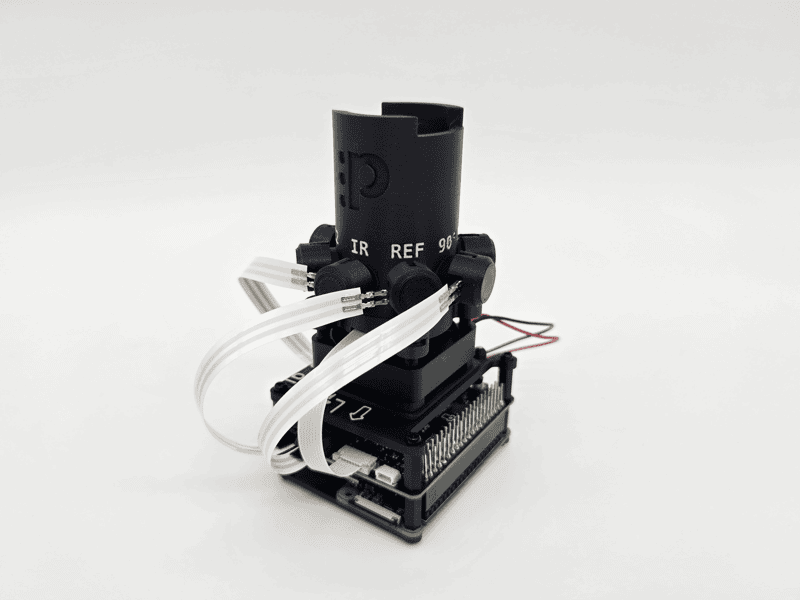
Insert the bulb of the IR cable into the pocket labeled IR.
-
Insert the bulb of the PD cable in channel 1 into the pocket labeled REF.
-
Insert the bulb of the PD cable in channel 2 into the pocket labeled 90°.
cautionAvoid over-stressing the leads, or applying too much force too quickly. After bending once, it's ill-advised to bend them again.
-
Secure all bulbs with LED caps.
-
Push all remaining LED caps onto each pocket.
Step 3: You're done! #
Your new v1.1 Pioreactor is now assembled! Let's configure the software, too.
- Plug in your Pioreactor.
- In the Pioreactor's specific config.ini (not the shared one), add the following configuration:
[pioreactor]
model=pioreactor_20ml
version=1.1 - Optional: we recommend rebooting the Pioreactor.
- Optional: perform a self-test to confirm everything works as expected.