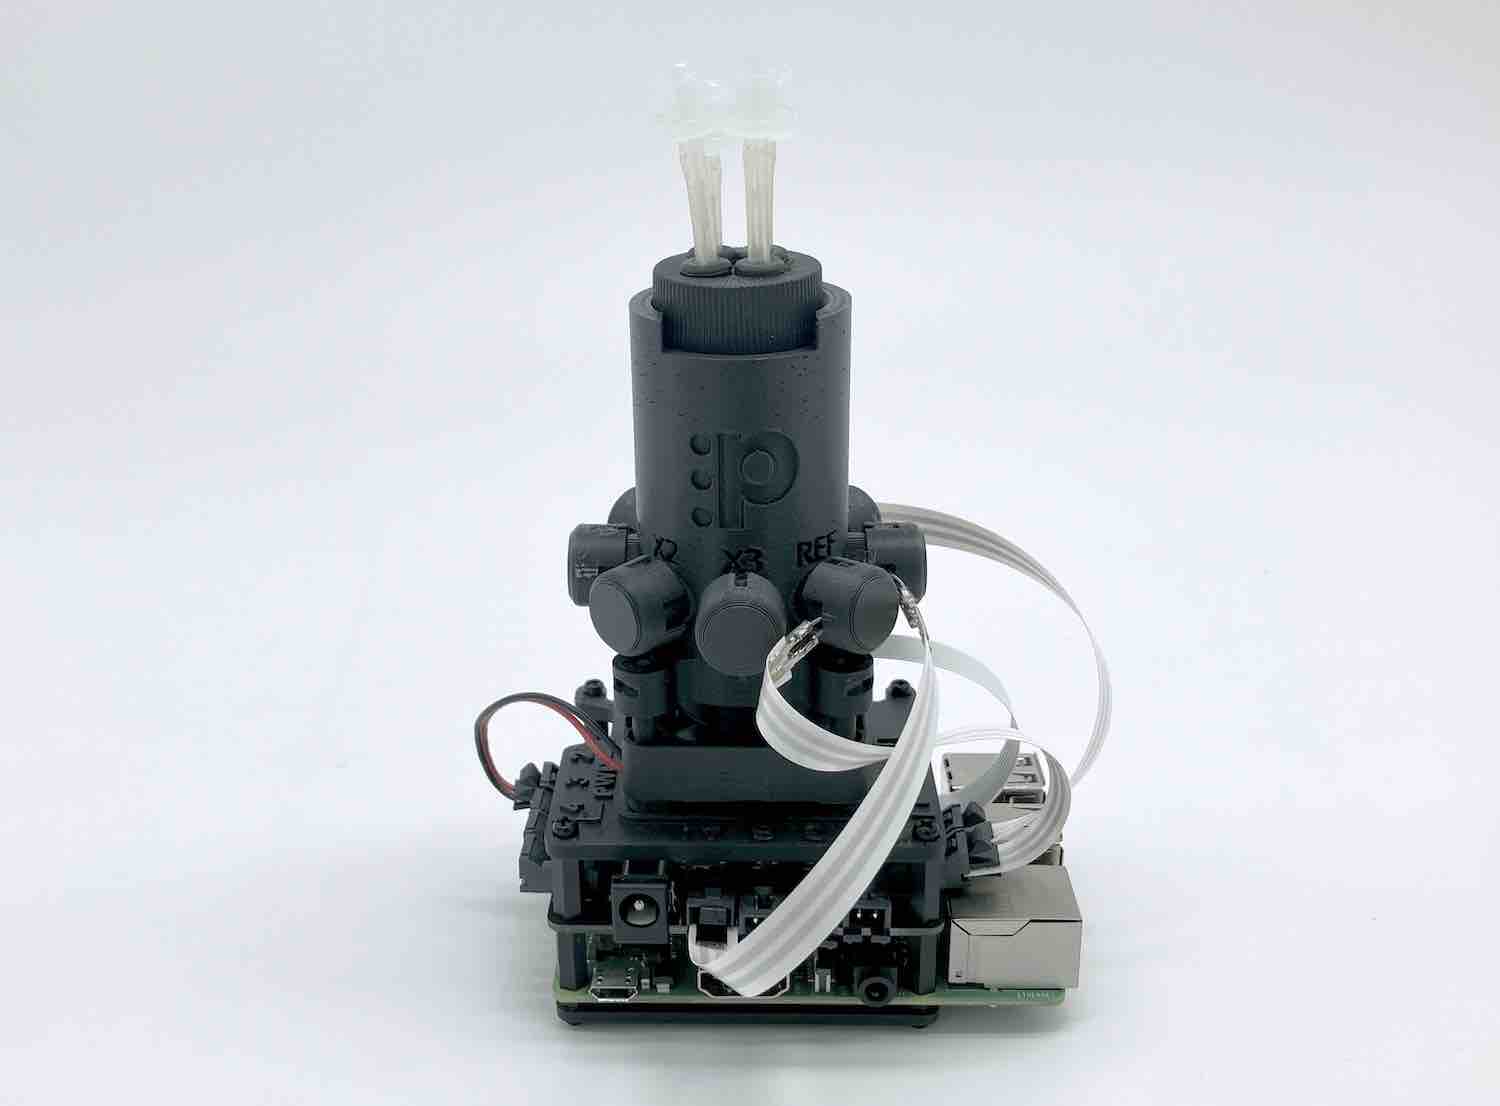
Connect the optics system
Step 1: Optic cables assembly #
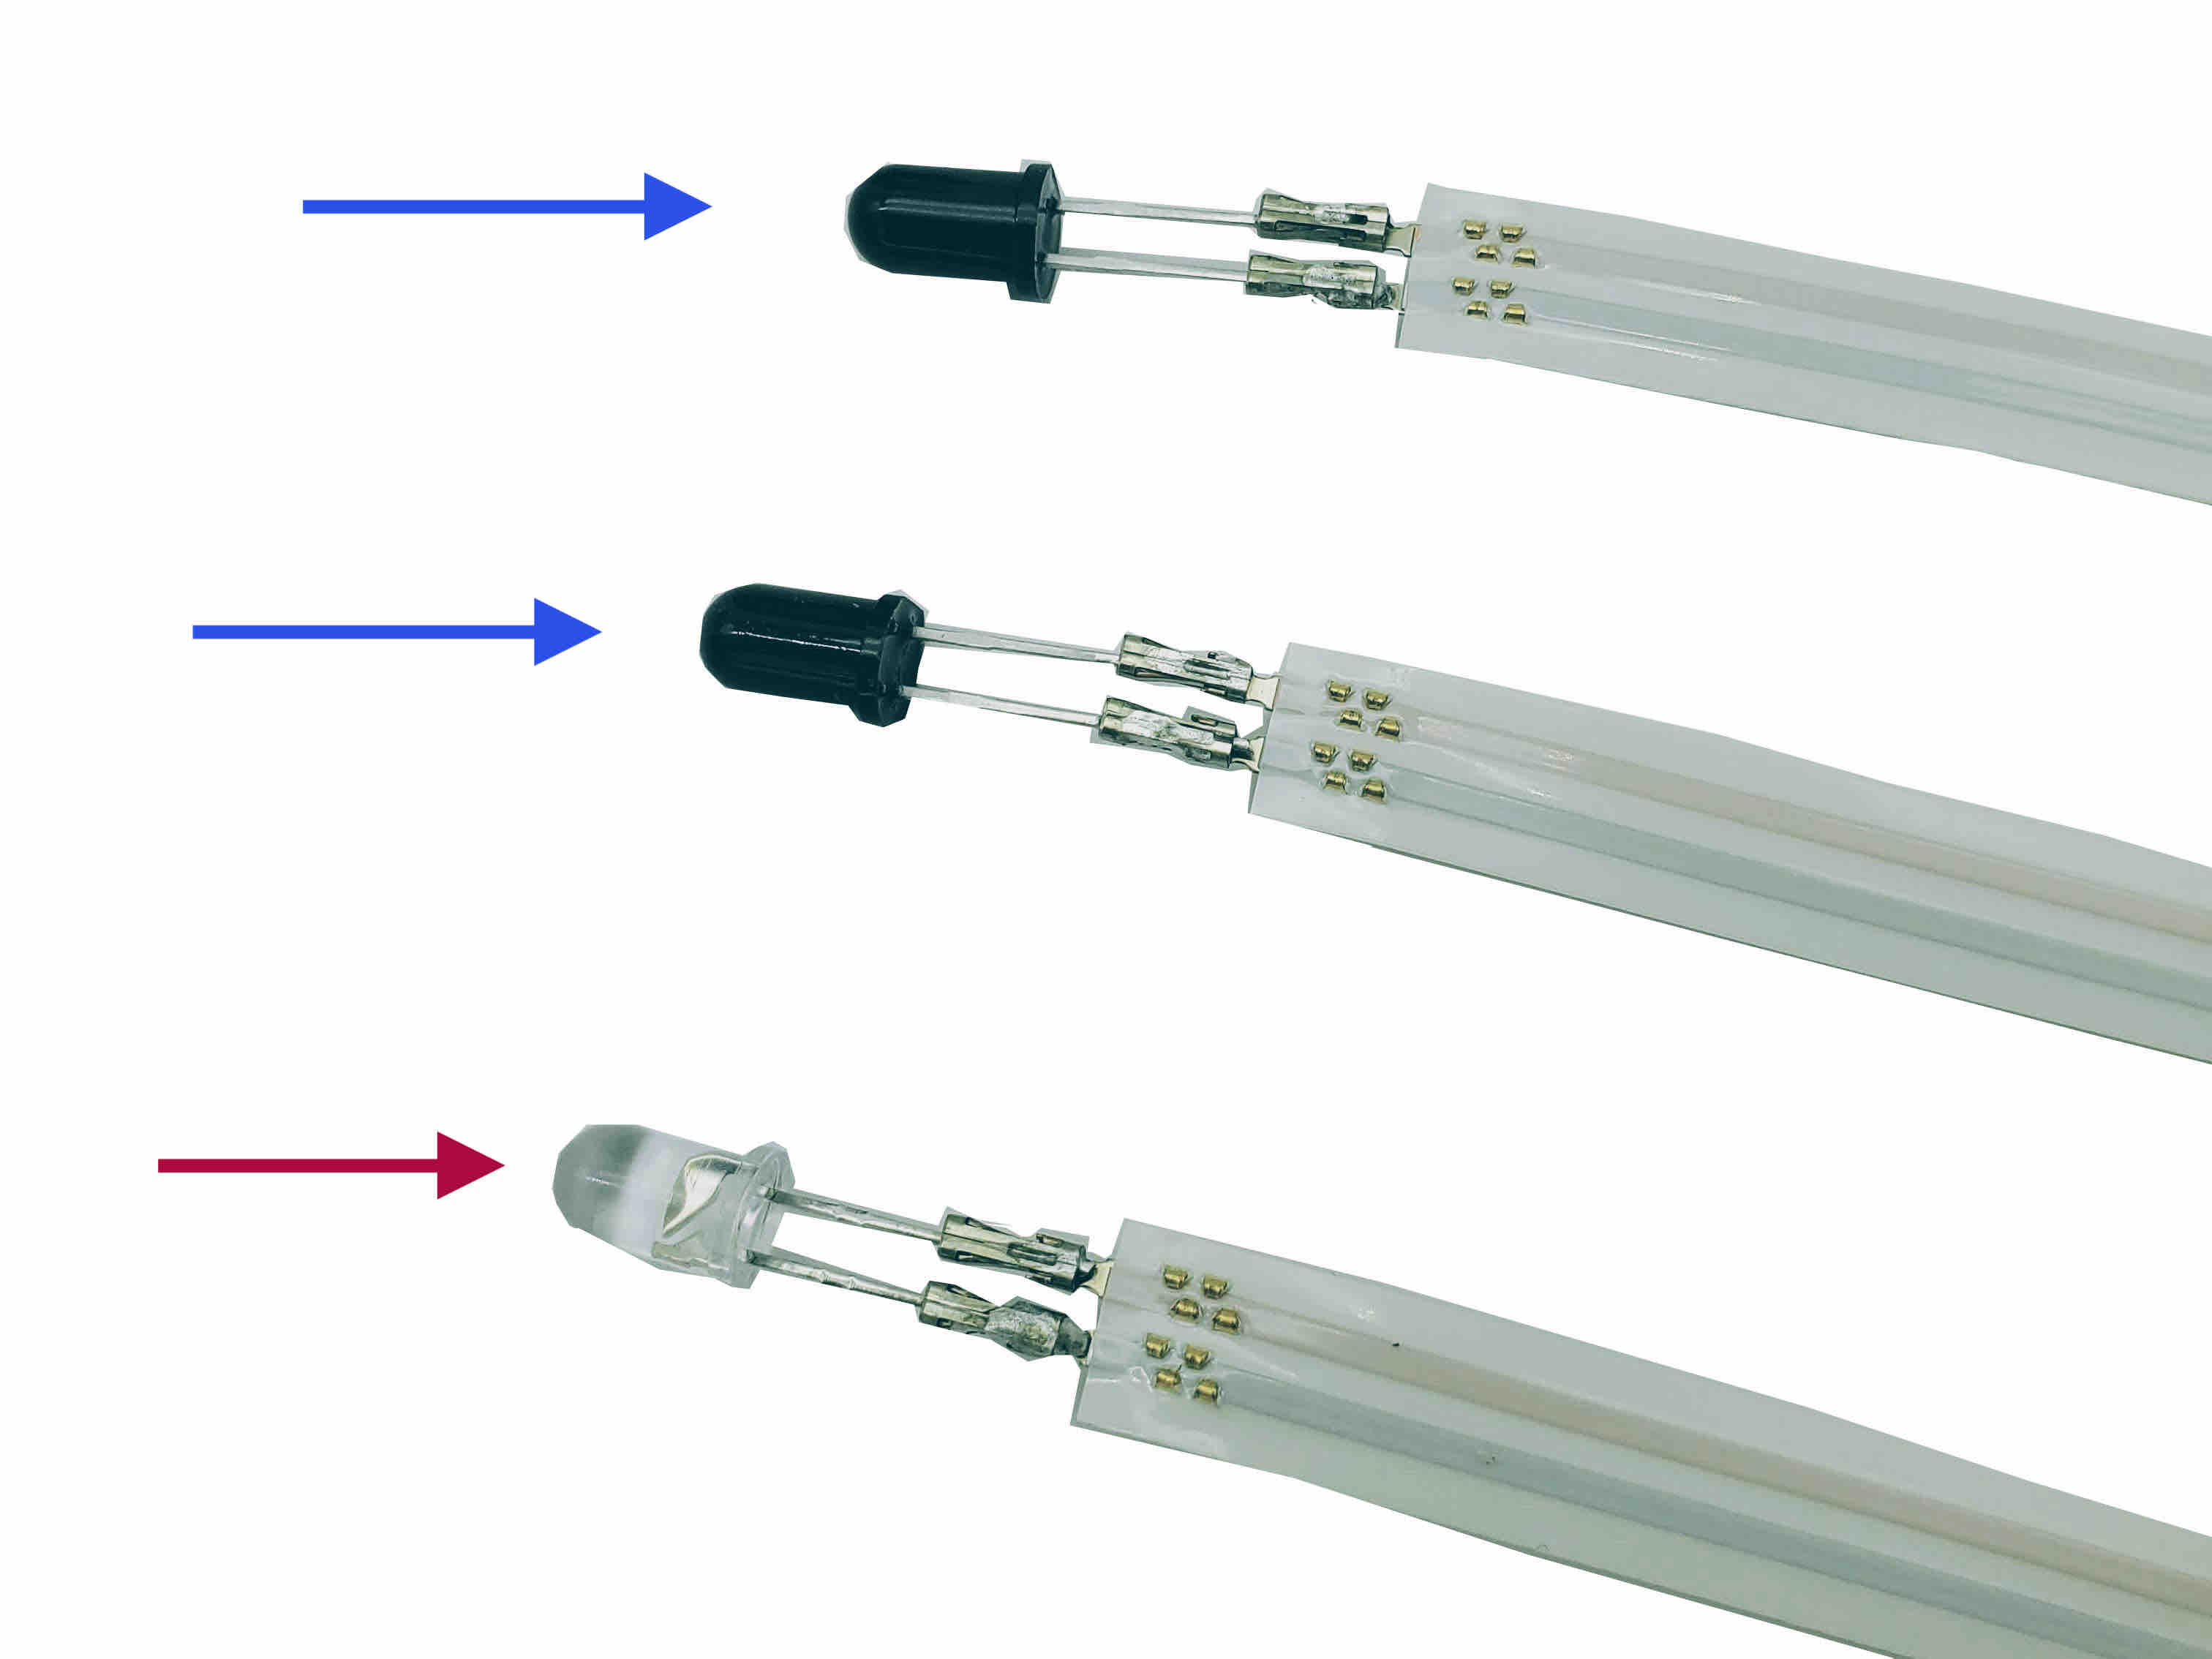
- You will need both PD cables (dark bulbs) and IR cable (clear bulb).
- Insert the connector of either PD cable into PD channel 1 (labelled on the faceplate).
- Place the connector of the other PD cable into PD channel 2.
- Insert the connector of the IR cable into channel A (labelled on the faceplate).
Step 2: Inserting the bulbs into the vial holder #
-
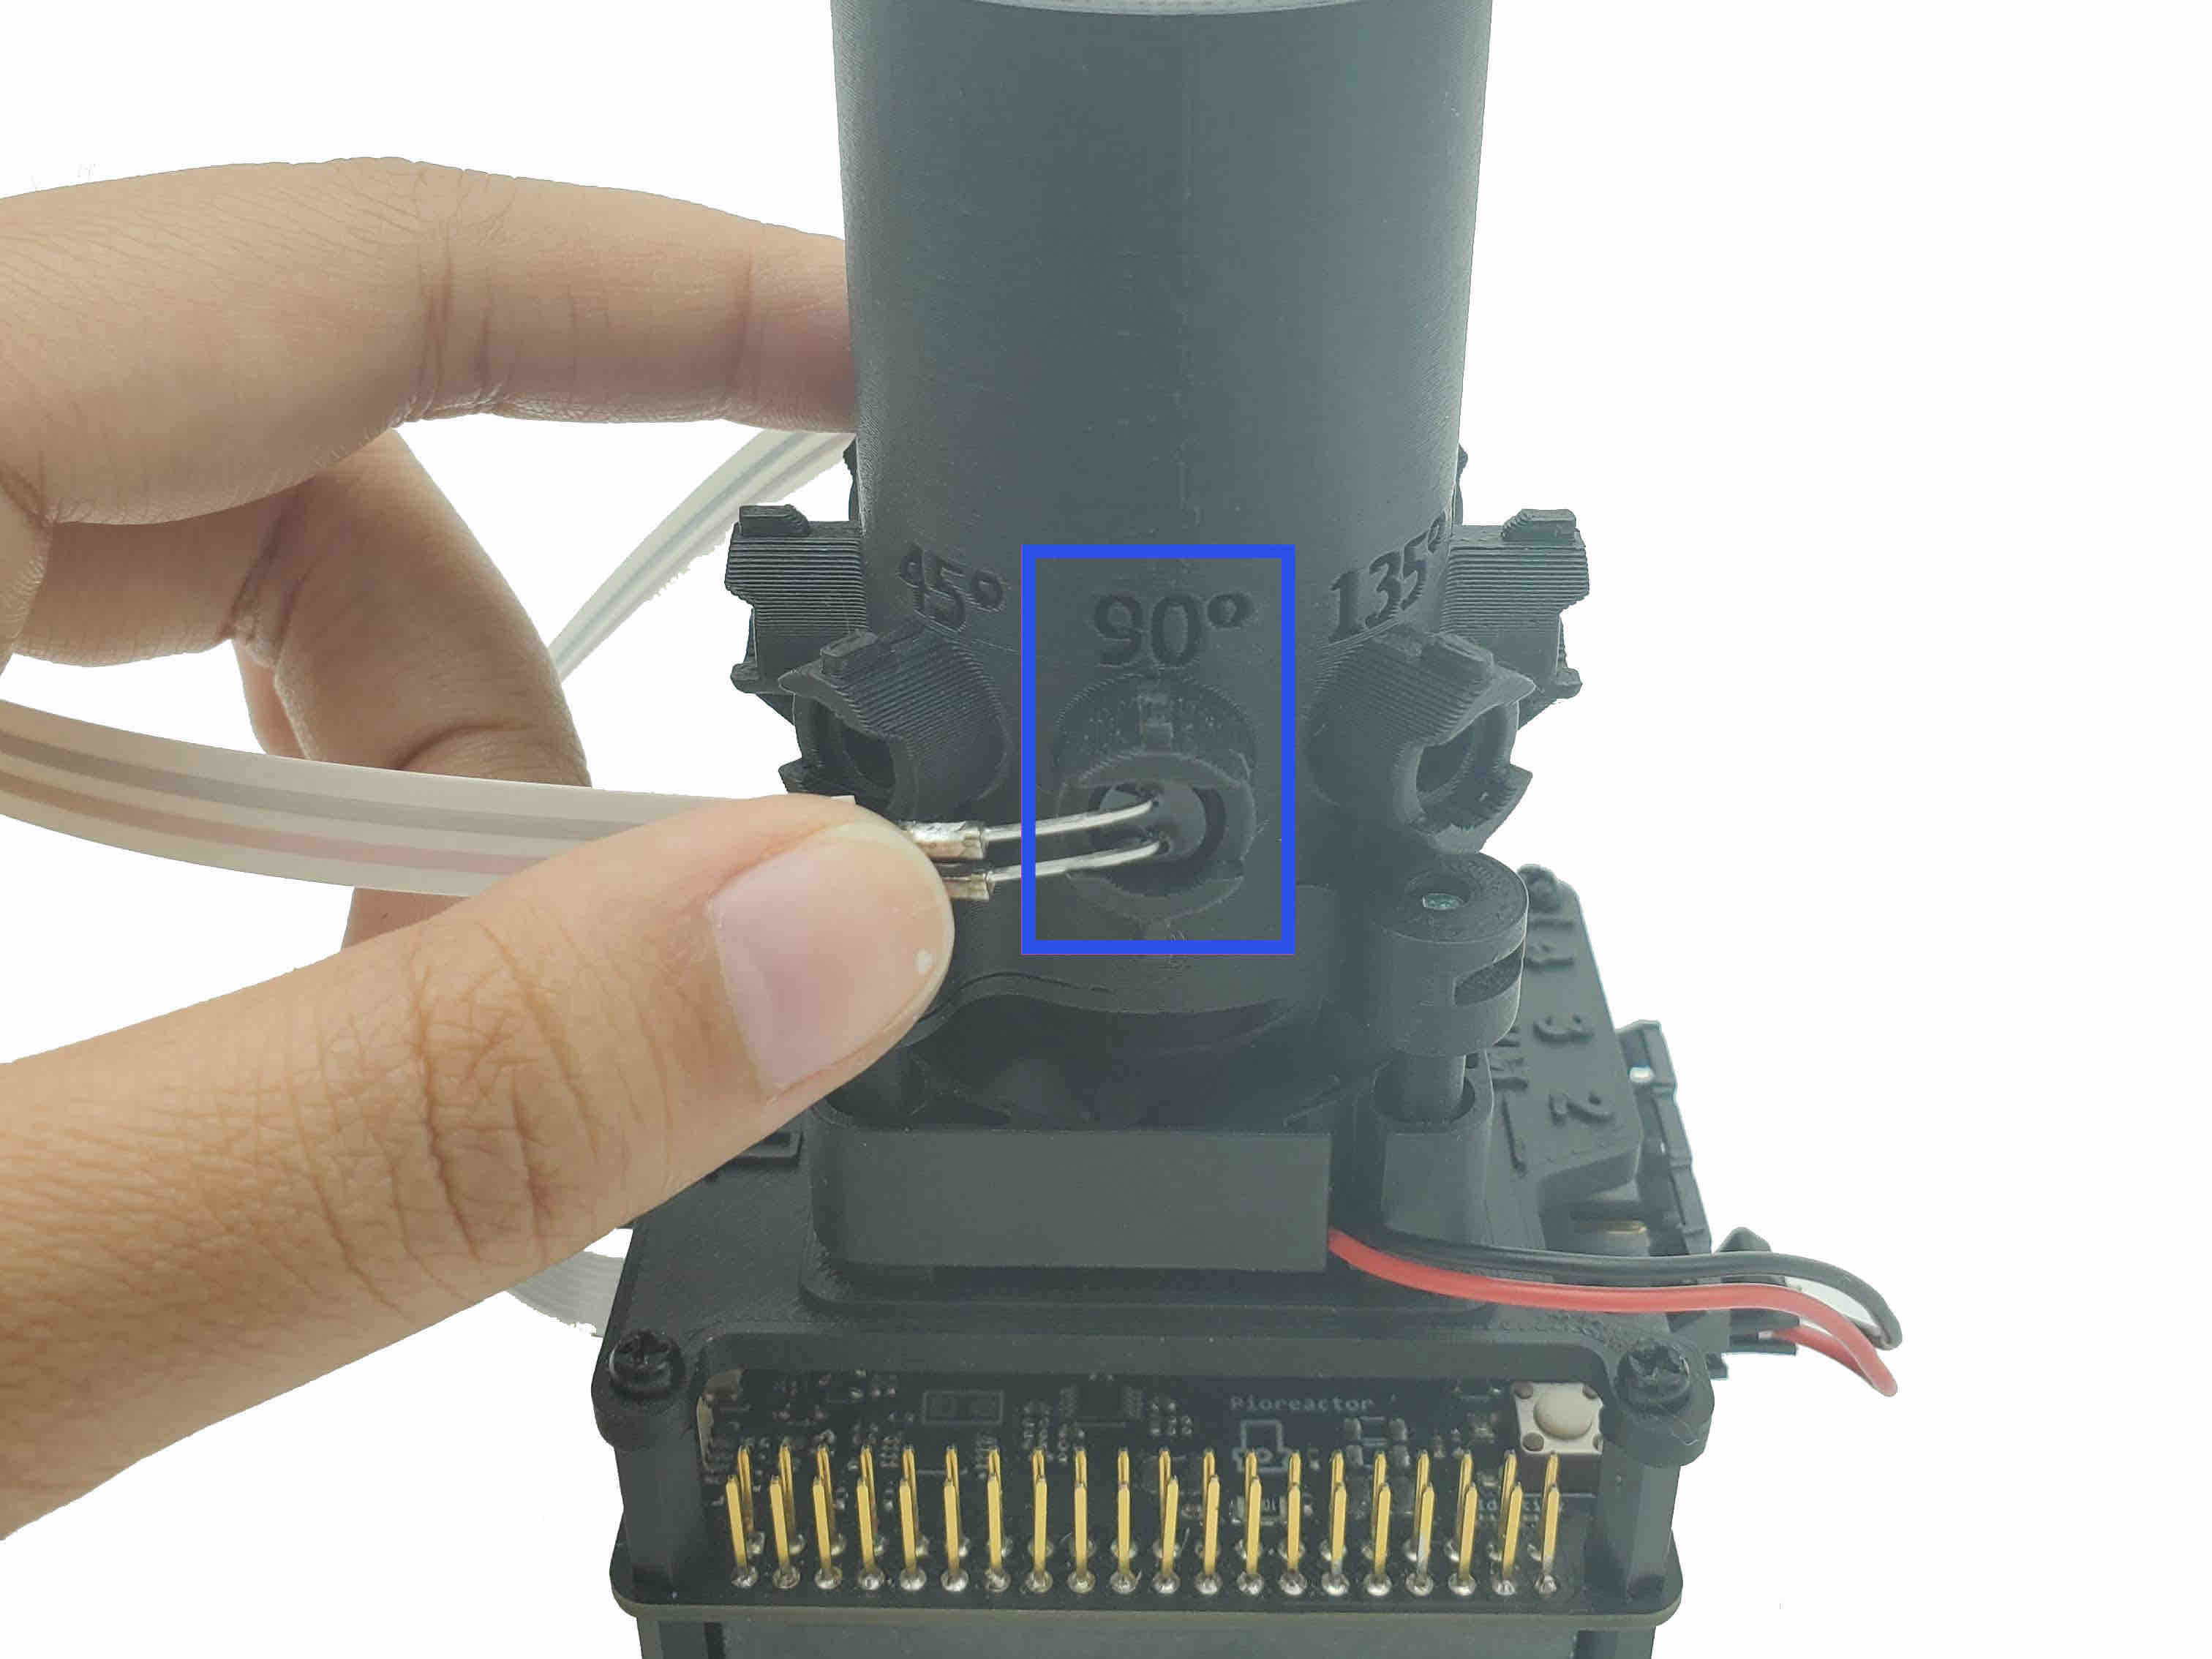
Insert the bulb of the PD cable in channel 2 into the pocket labeled 90°.
-
Slowly bend the bulb's leads 90 degrees, as seen. Secure with a LED pocket cap.
cautionAvoid over-stressing the leads, or applying too much force too quickly. After bending once, it's ill-advised to bend them again.
-
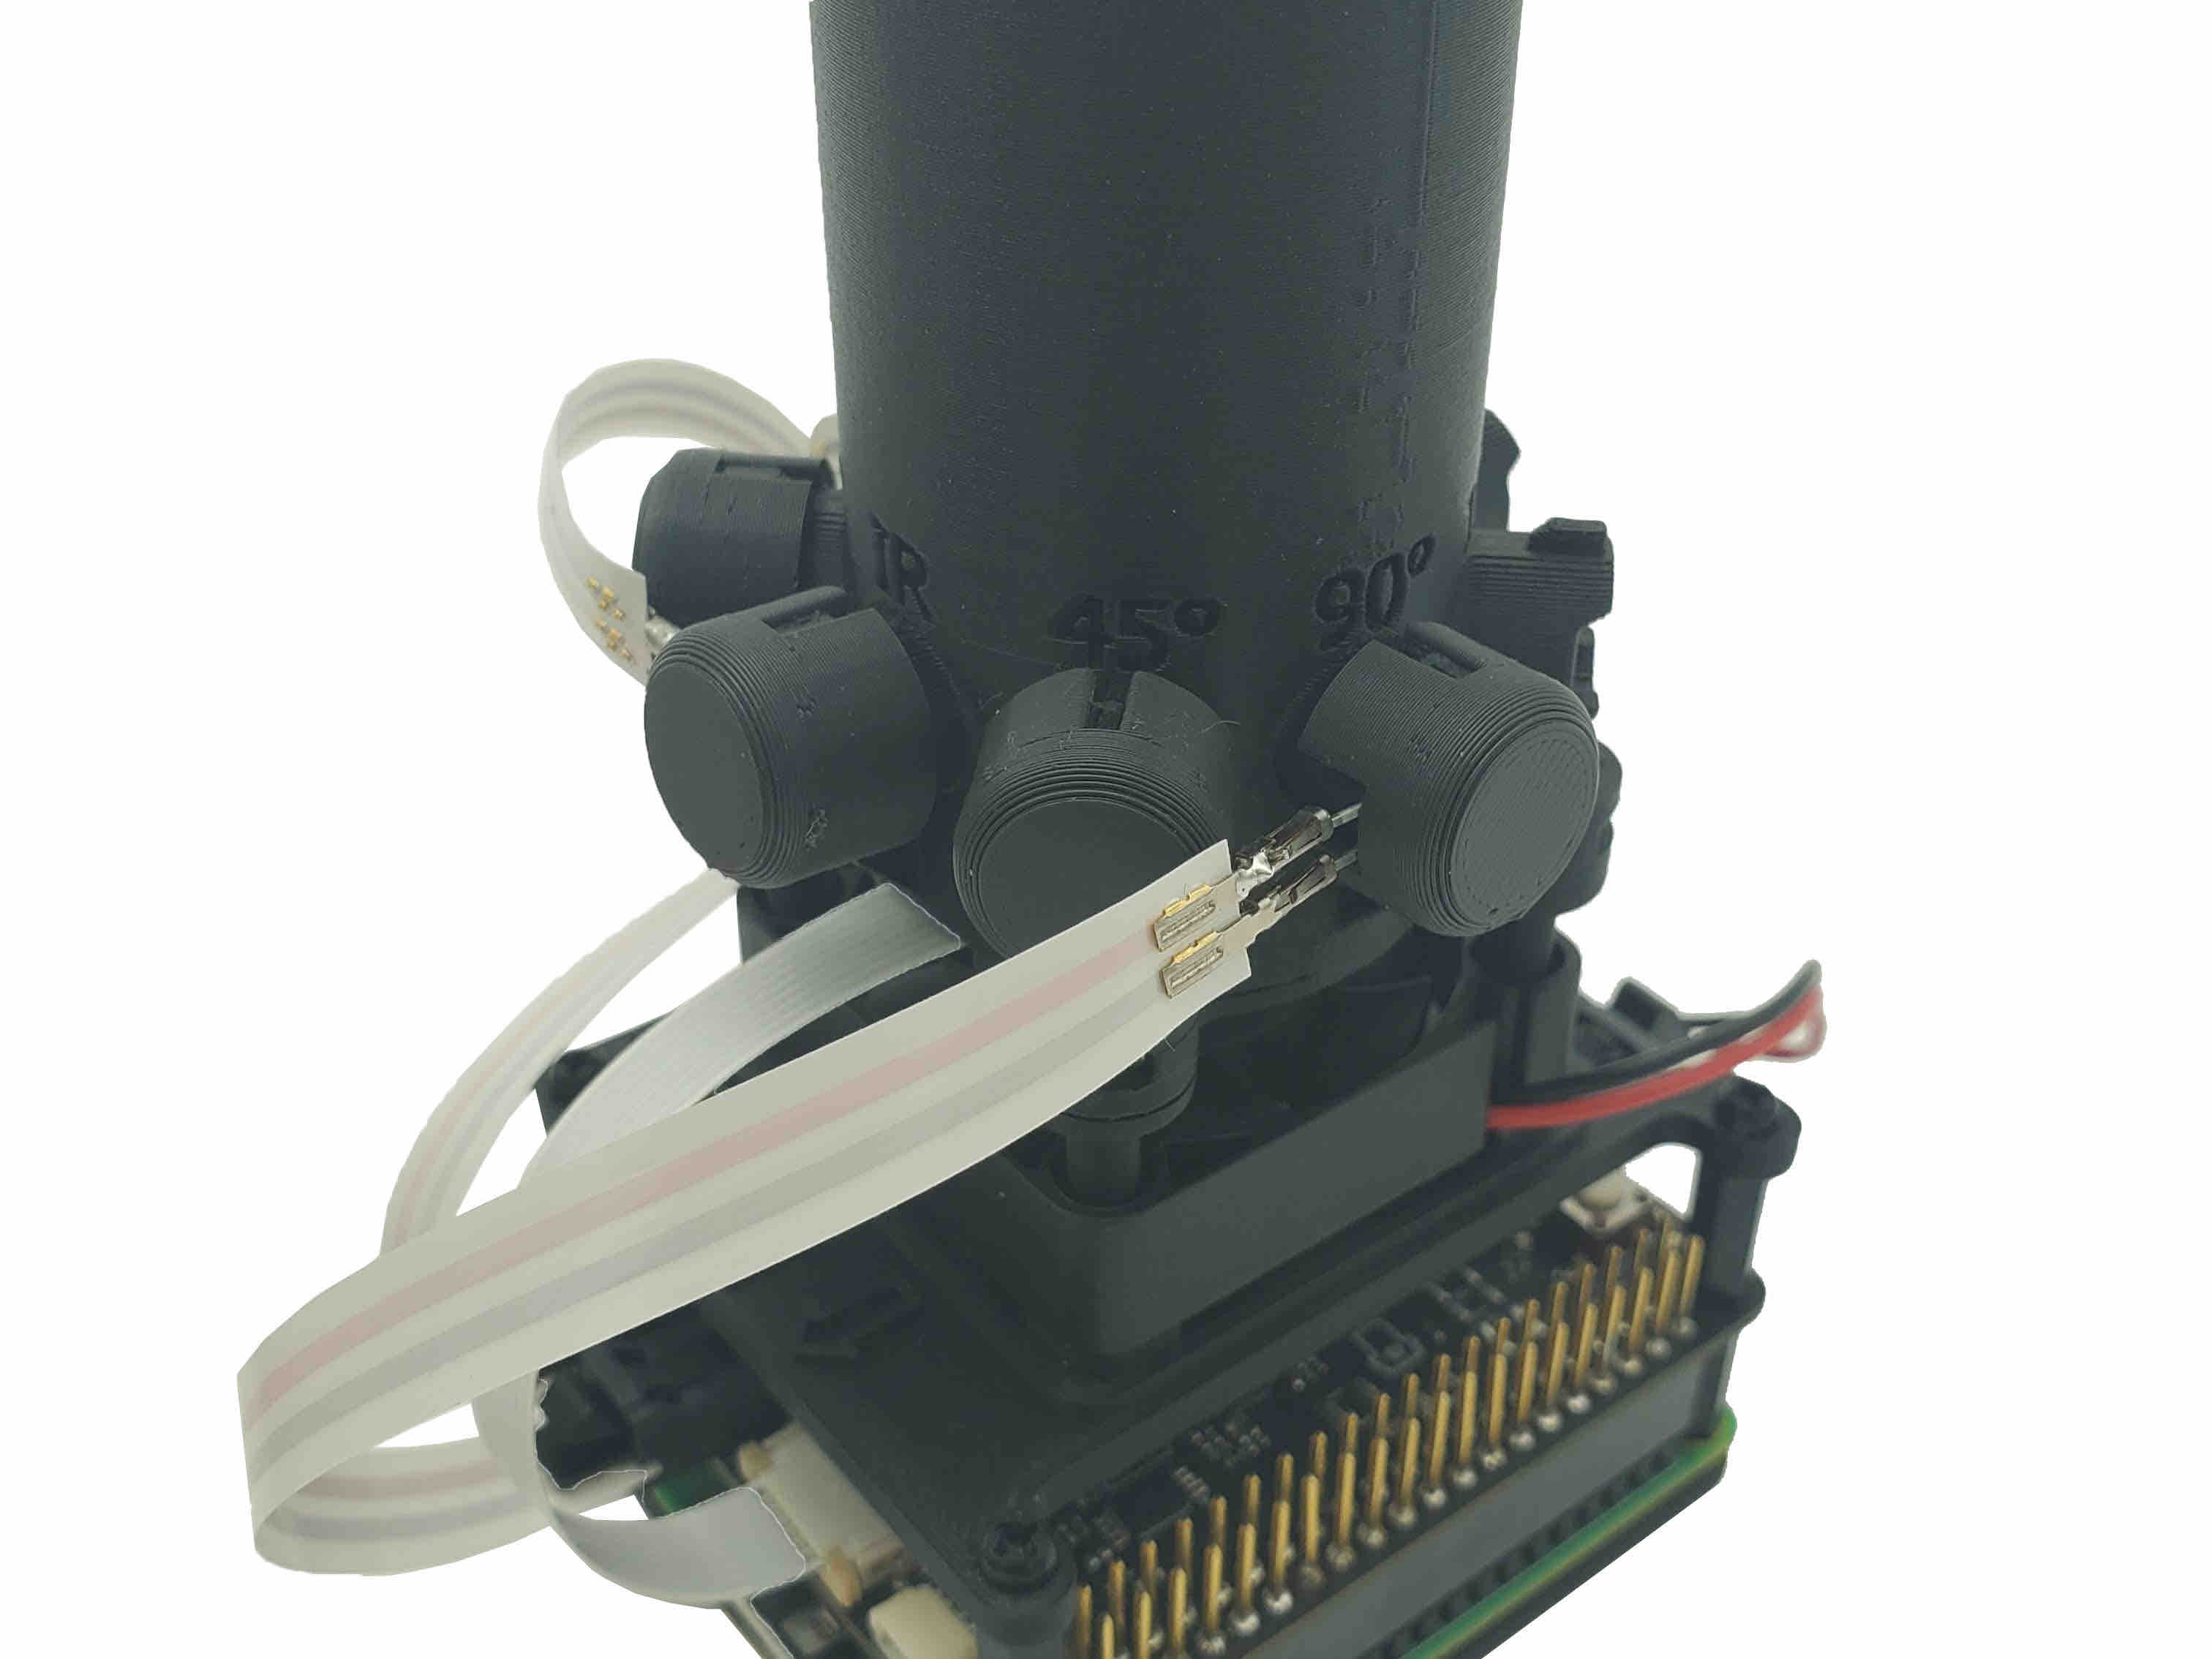
Insert the bulb of the IR cable in channel A into the pocket labeled IR.
-
Bend the leads 90 degrees and secure with a LED pocket cap.
-
Insert the bulb of the PD cable in channel 1 into the pocket labeled REF. Orient the bulb's leads such that when bent 90 degrees, it does not interfere with the IR LED bulb next to it.
-
Bend the leads 90 degrees and secure with a LED pocket cap.
Inspect each LED and PD to confirm that neither of the leads are touching.
Step 3: Add the rest of the LED caps #
- Push all remaining LED pocket caps onto each pocket.
Step 4: Add the window covering (optional) #
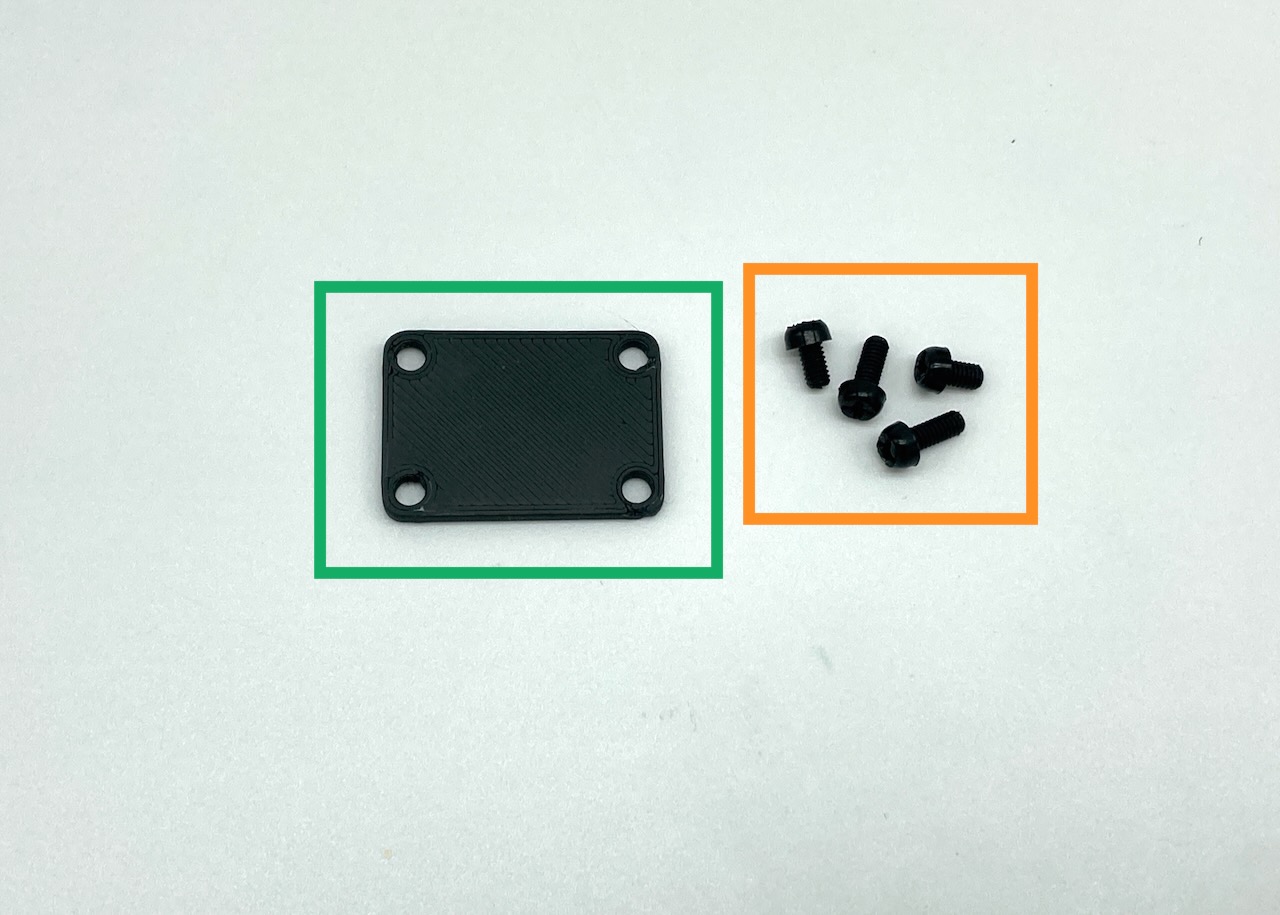
This window covering is optional. You can add it to further reduce the light in the bioreactor, or you may leave it off to inspect the culture.
- You will need 4x 6mm screws, and the window cover.
- Attach the window cover to the side of the vial holder using the screws.
- Insert the glass vial into the Pioreactor. The vial should feel snug, but not very tight. If it feels too tight, try loosening the four 6mm screws slightly.