Connect the optics system
Step 1: Necessary parts #

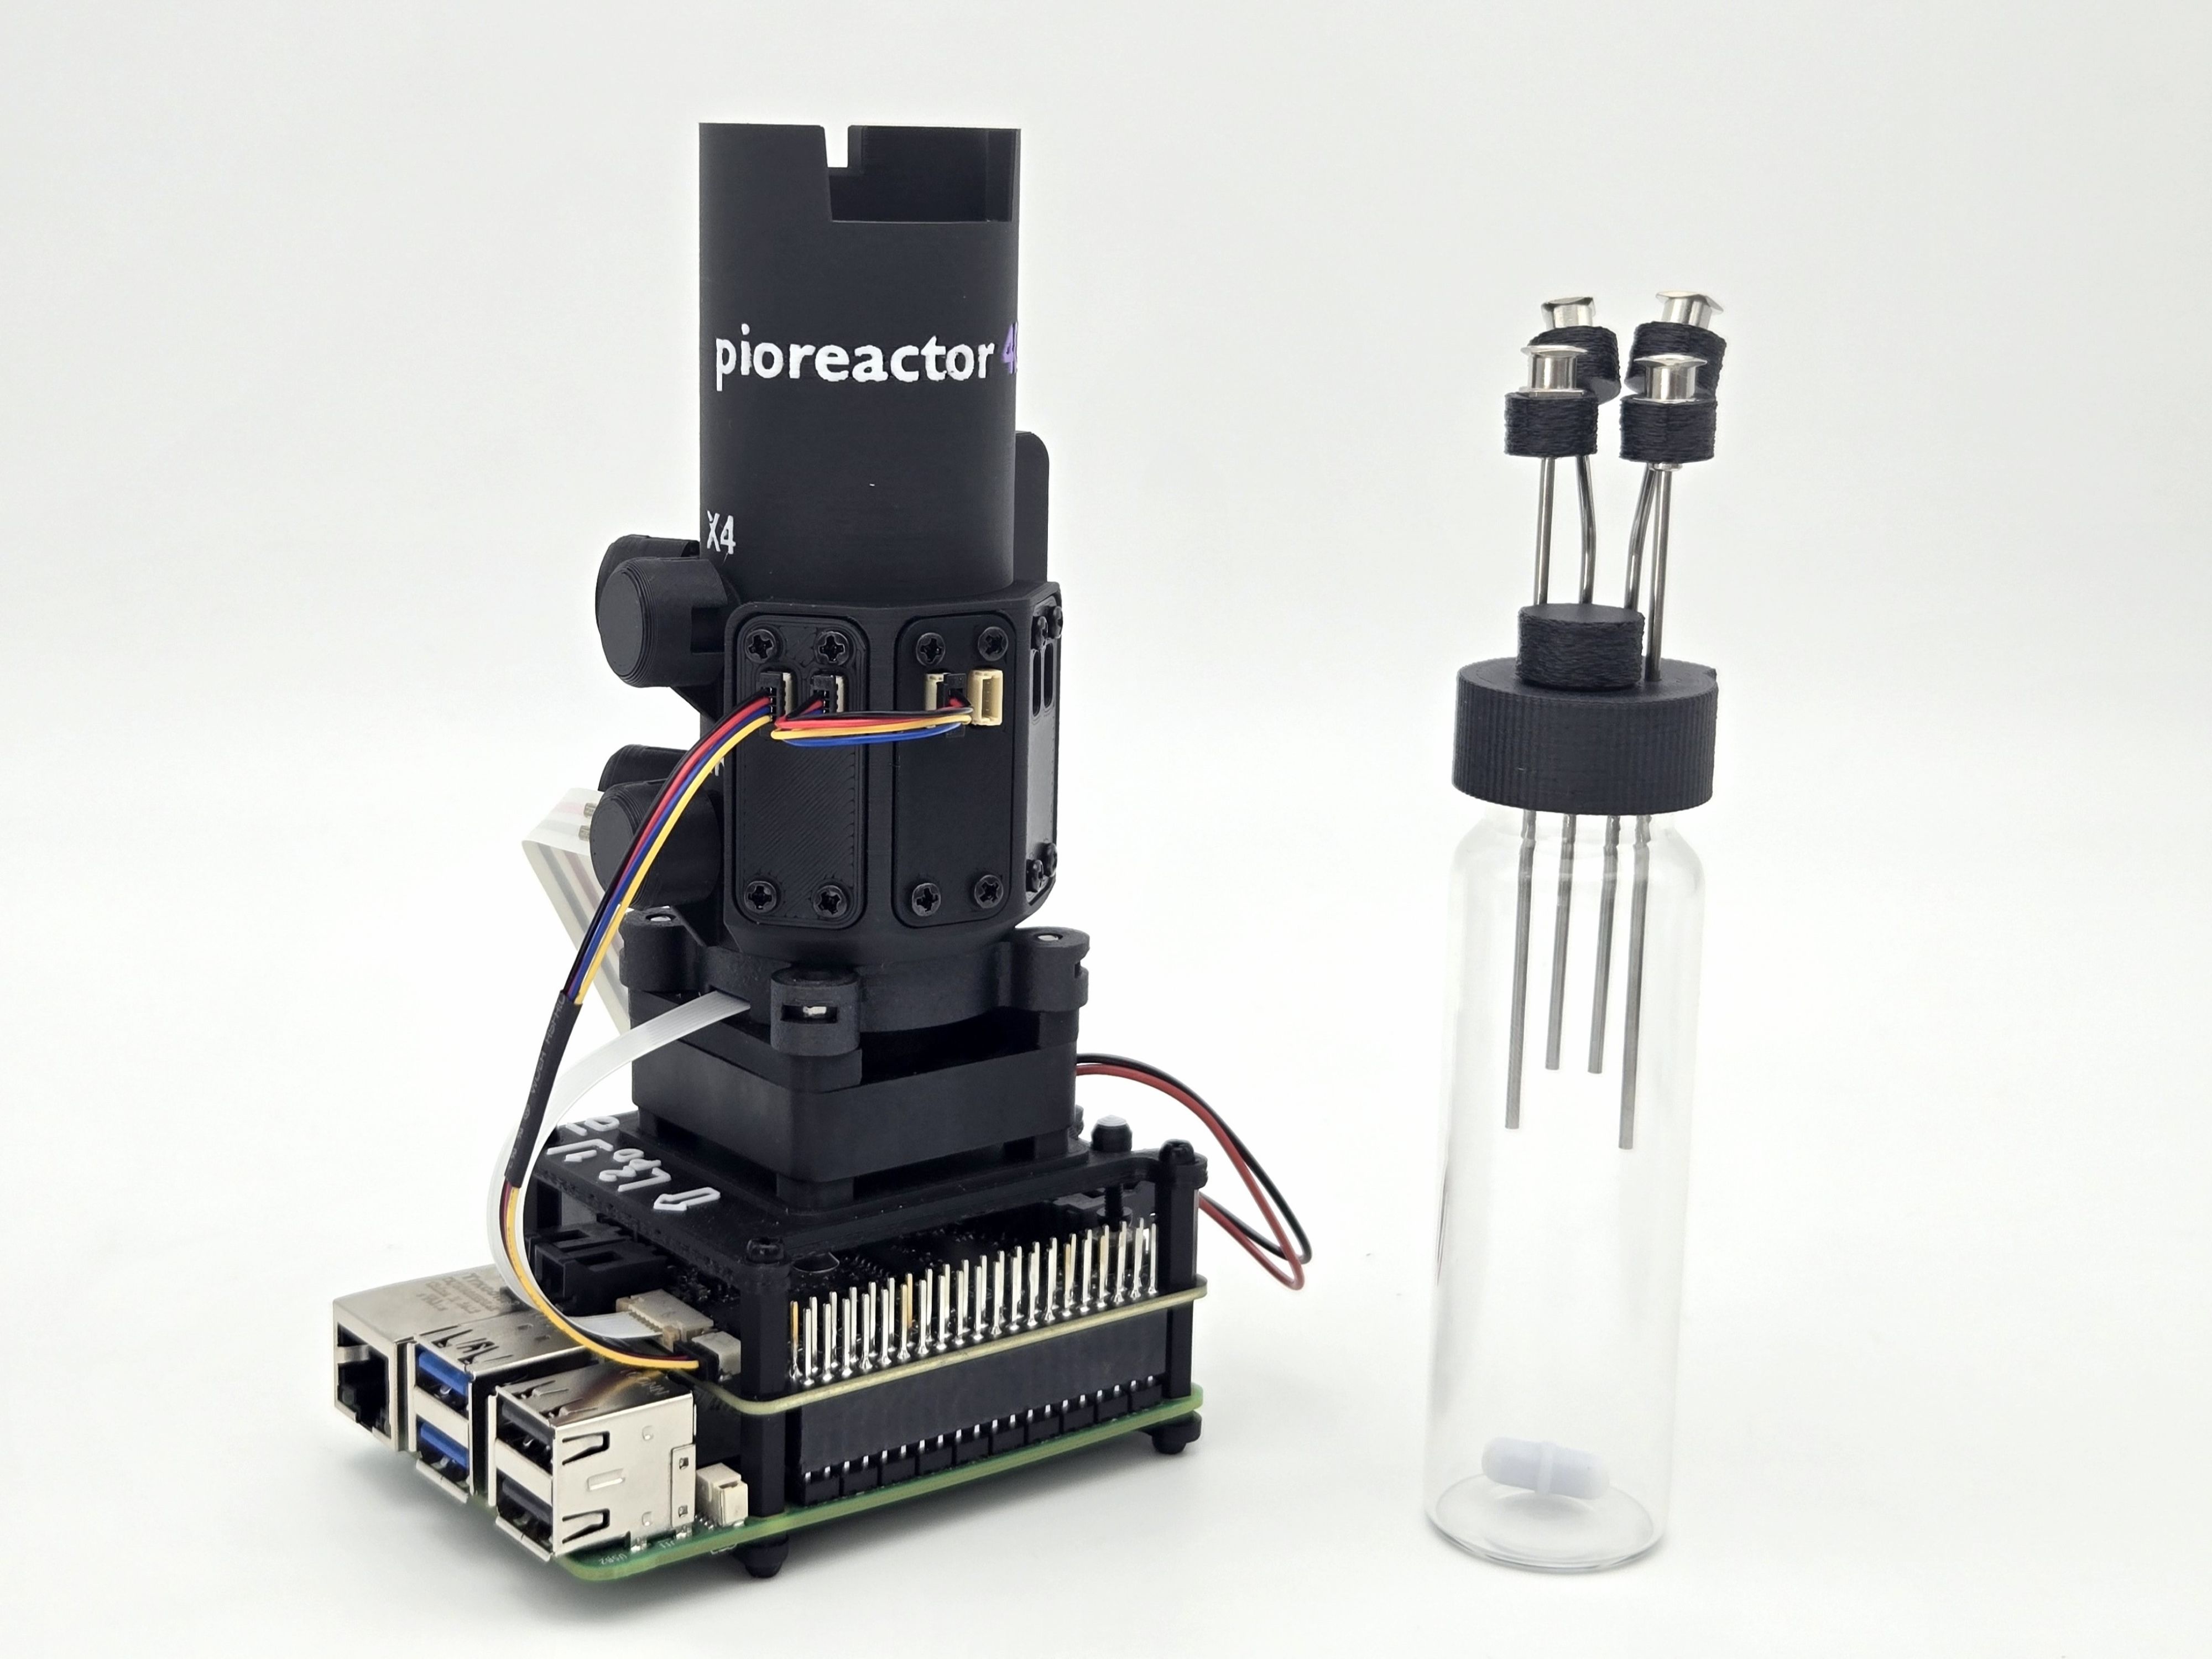
- You will need:
- Eye-spy covers (3x)
- 8mm screws (12x)
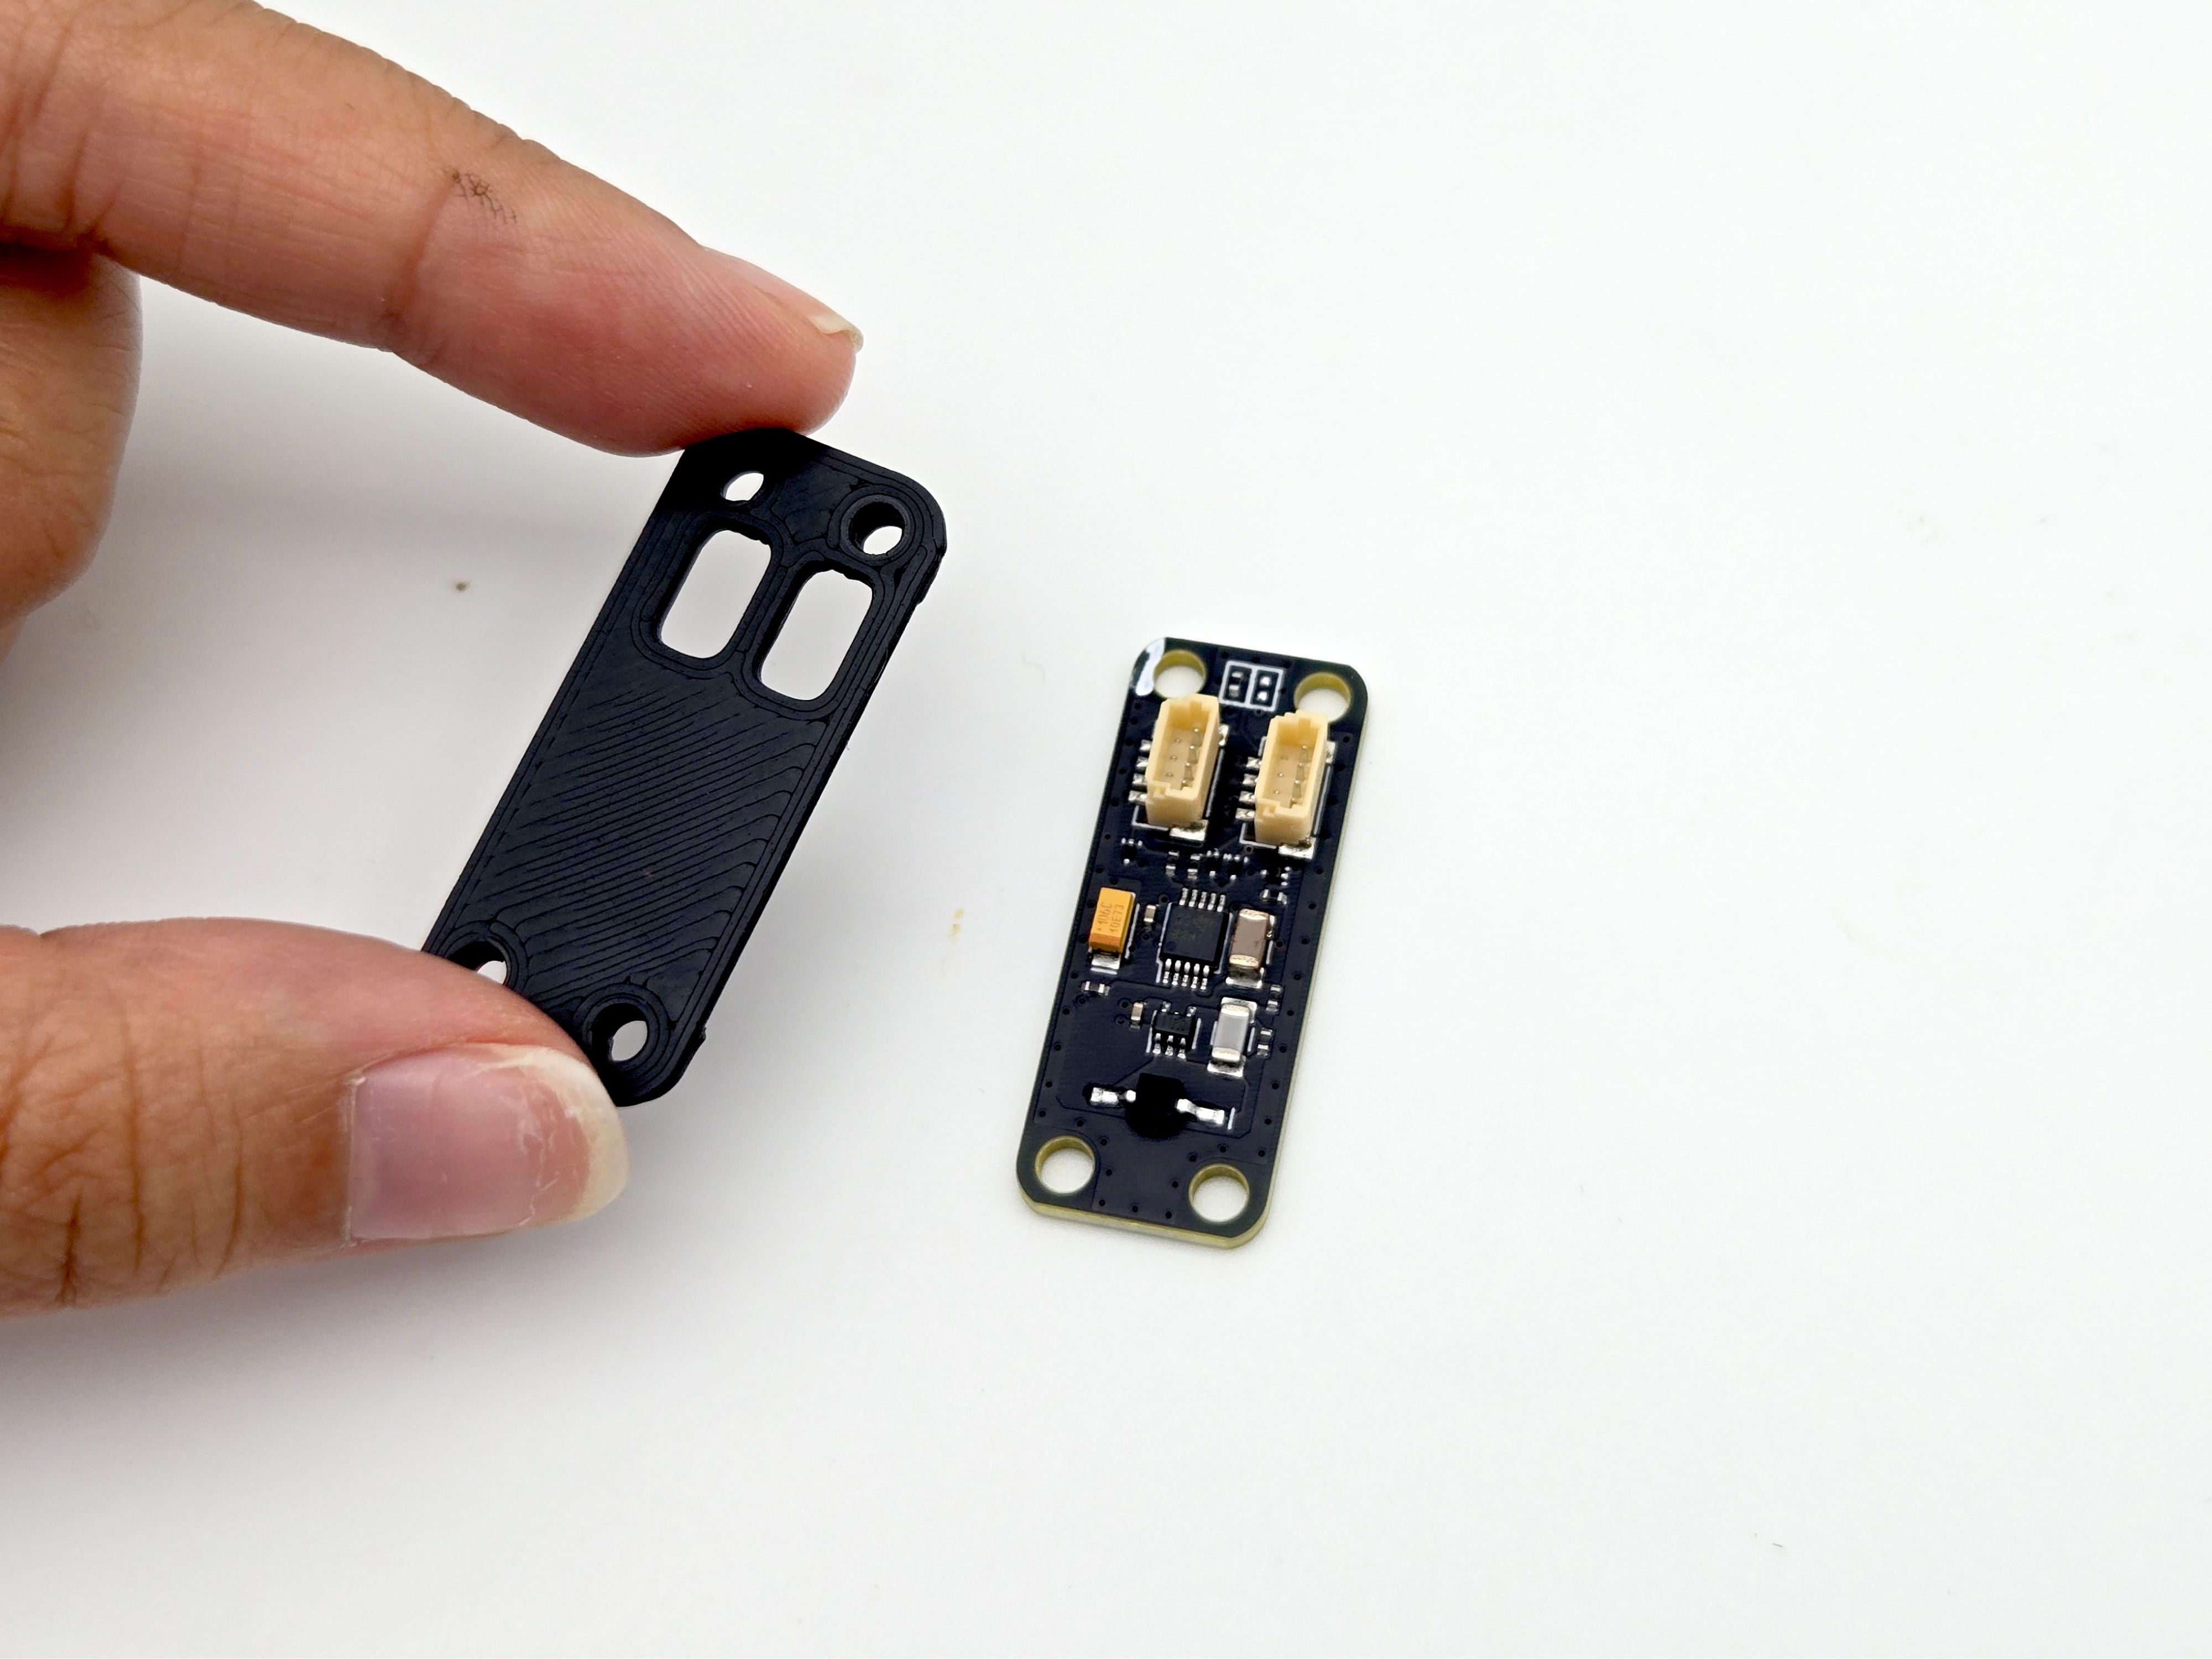
- Eye-spies (2x)
- 100mm STEMMA-QT wire
- 50mm STEMMA-QT wire
- LED cable
- LED caps (4x)
note
STEMMA-QT wires may have white or black connectors.
Step 2: Install the eye-spys #
- Place an eye-spy cover over the REF eye-spy.
tip
Each eye-spy is unique. The one used for REF has a white mark in the upper-left corner.
- With the tan connectors towards the top, place the eye-spy into the REF socket on the vial holder. Secure it with 4x 8mm screws.
- Place an eye-spy cover over the other eye-spy.
note
The measuring eye-spy can be placed in either the 90 or 135 degree pocket. For most applications, 90 degrees is the standard.
- Place the eye-spy into the desired pocket (90 or 135). Secure with 4x 8mm screws.
- Cover the remaining pocket with the last eye-spy cover. Secure with the remaining 8mm screws.
Step 3: Connect eye-spys to HAT #
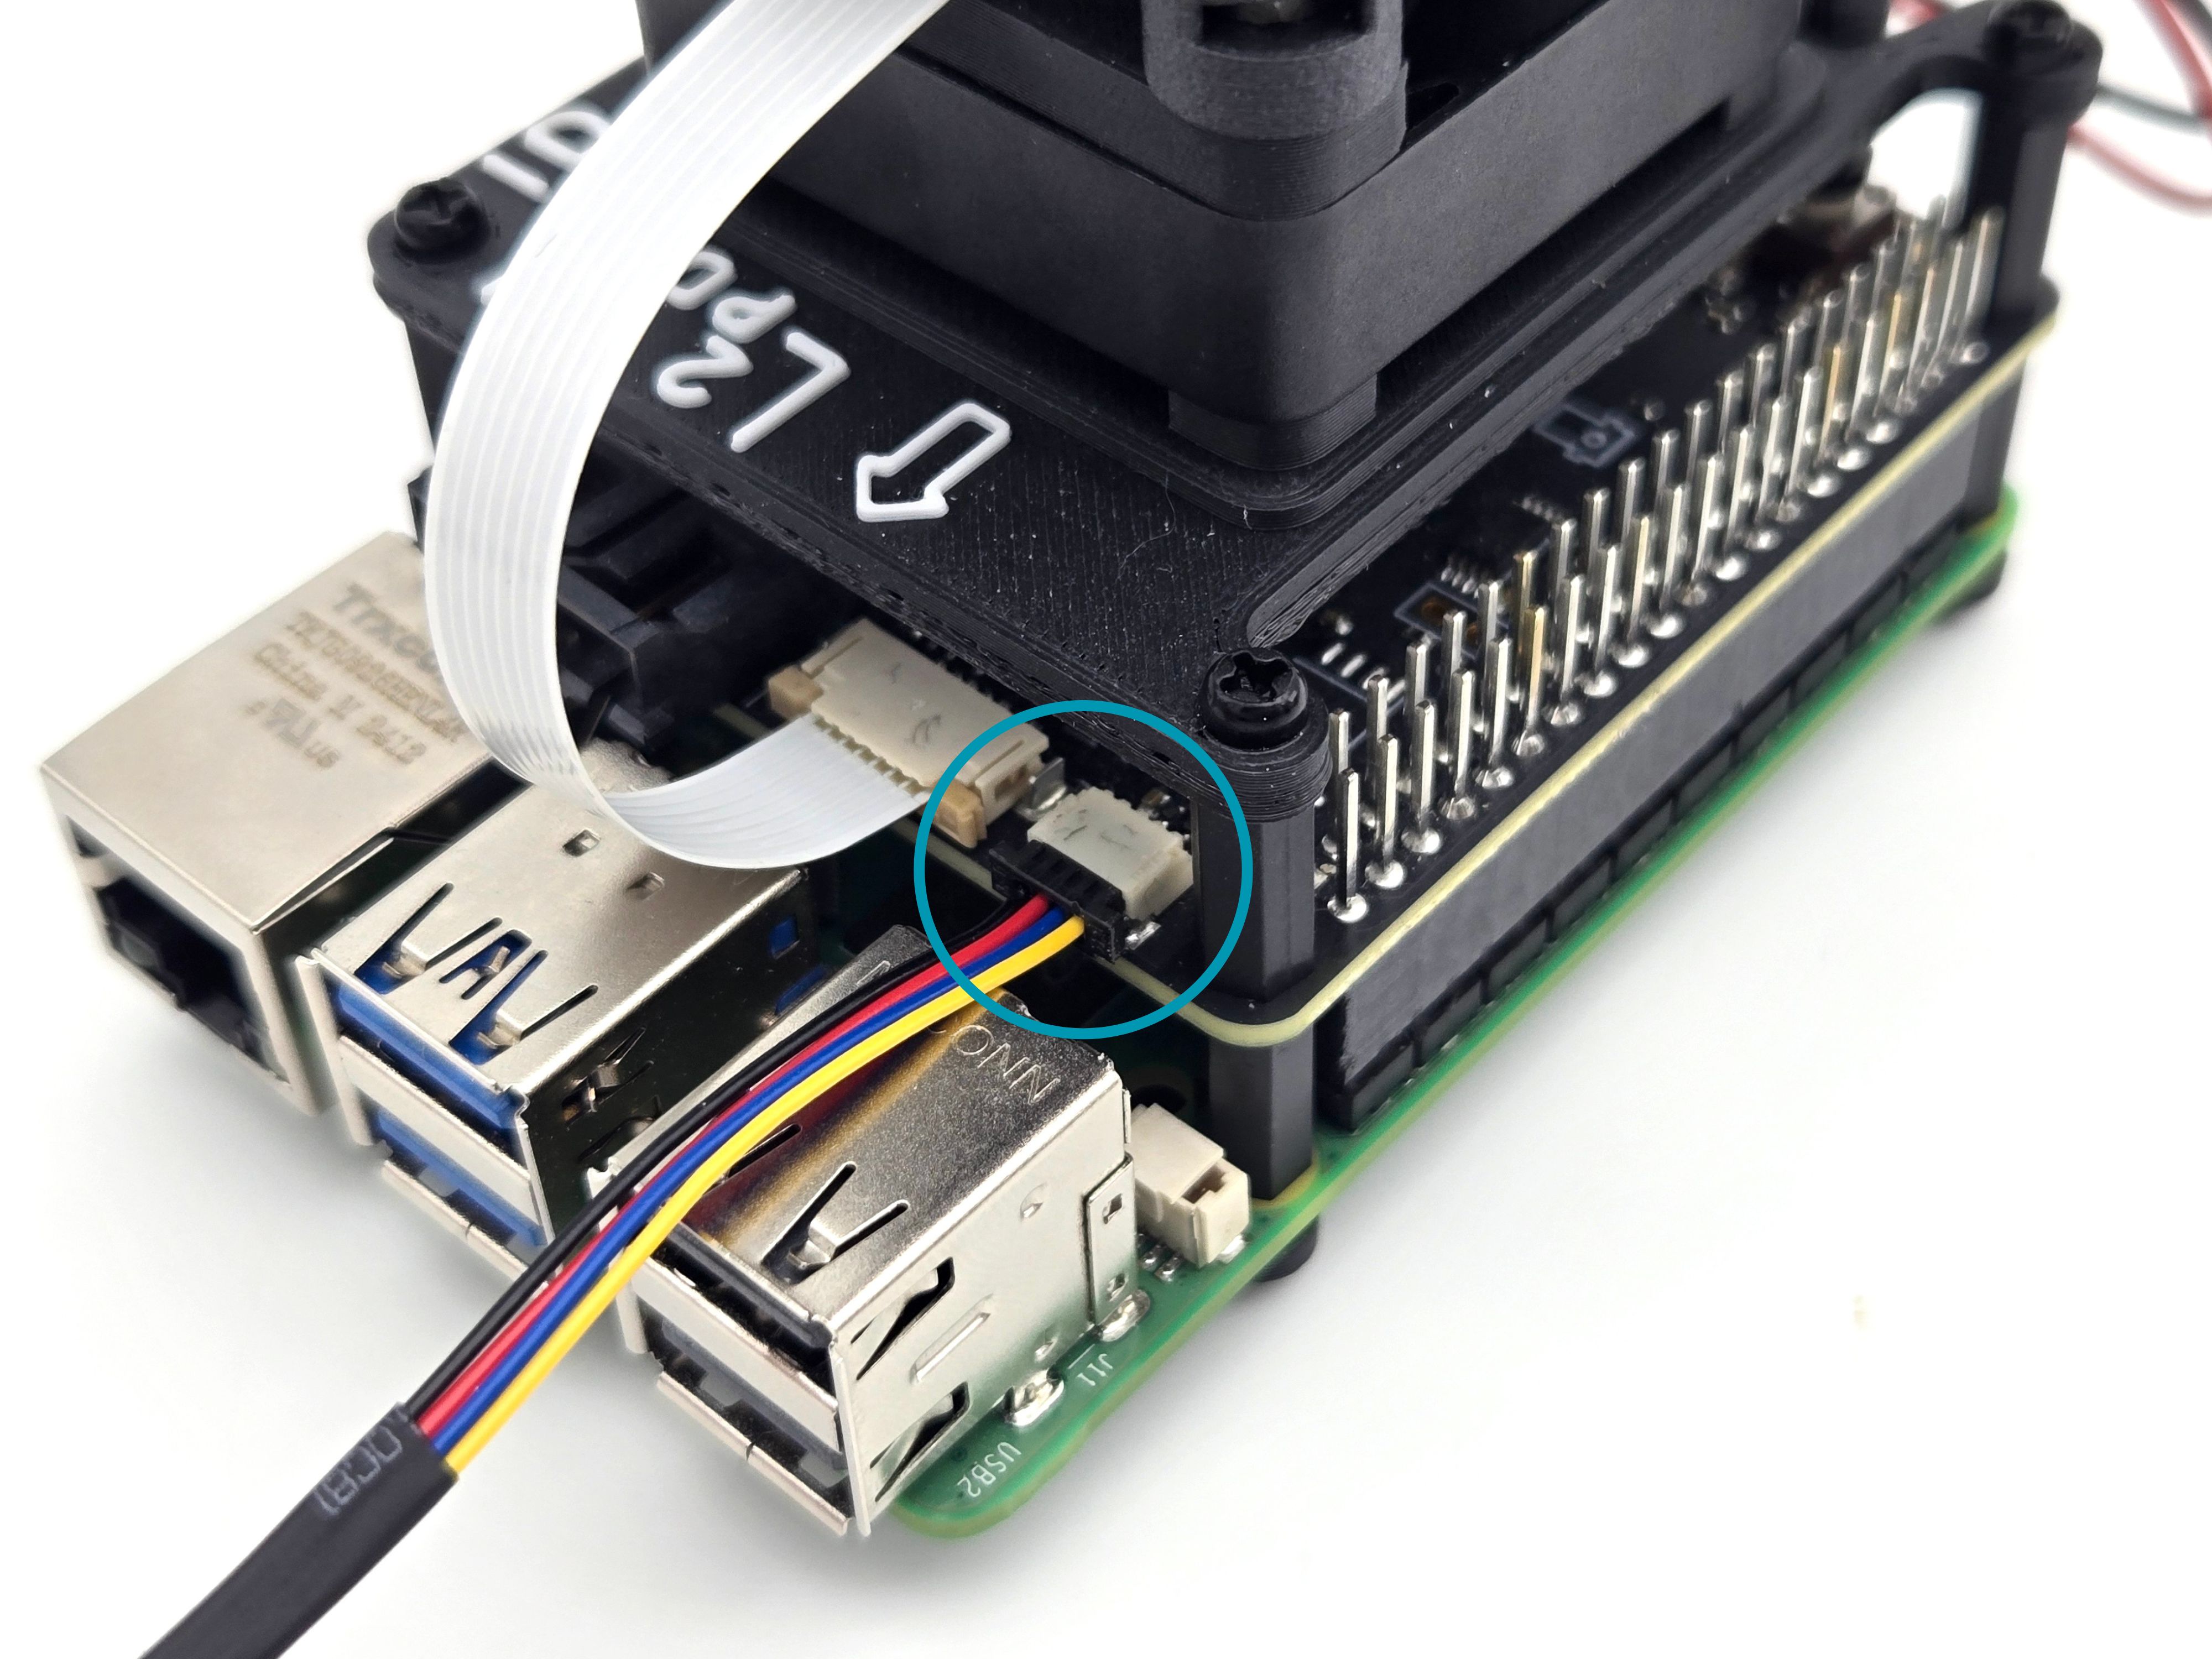
- Locate the STEMMA-QT connector on the HAT and connect the 100mm STEMMA-QT wire, with the yellow wire furthest from the heater flat flex cable.
- Carefully connect the other end to the leftmost eye-spy. Use the colors of the wire to orient the connector correctly.
- Use the 50mm STEMMA-QT wire to connect each eye-spy.
tip
It does not matter which wires are connected to either eye-spy sockets. However, organize the wires neatly and avoid crossing over when possible. Insert each connector carefully and straight; pushing too hard can damage an internal pin.
Step 4: Connect LED cable (Channel A → IR pocket) #
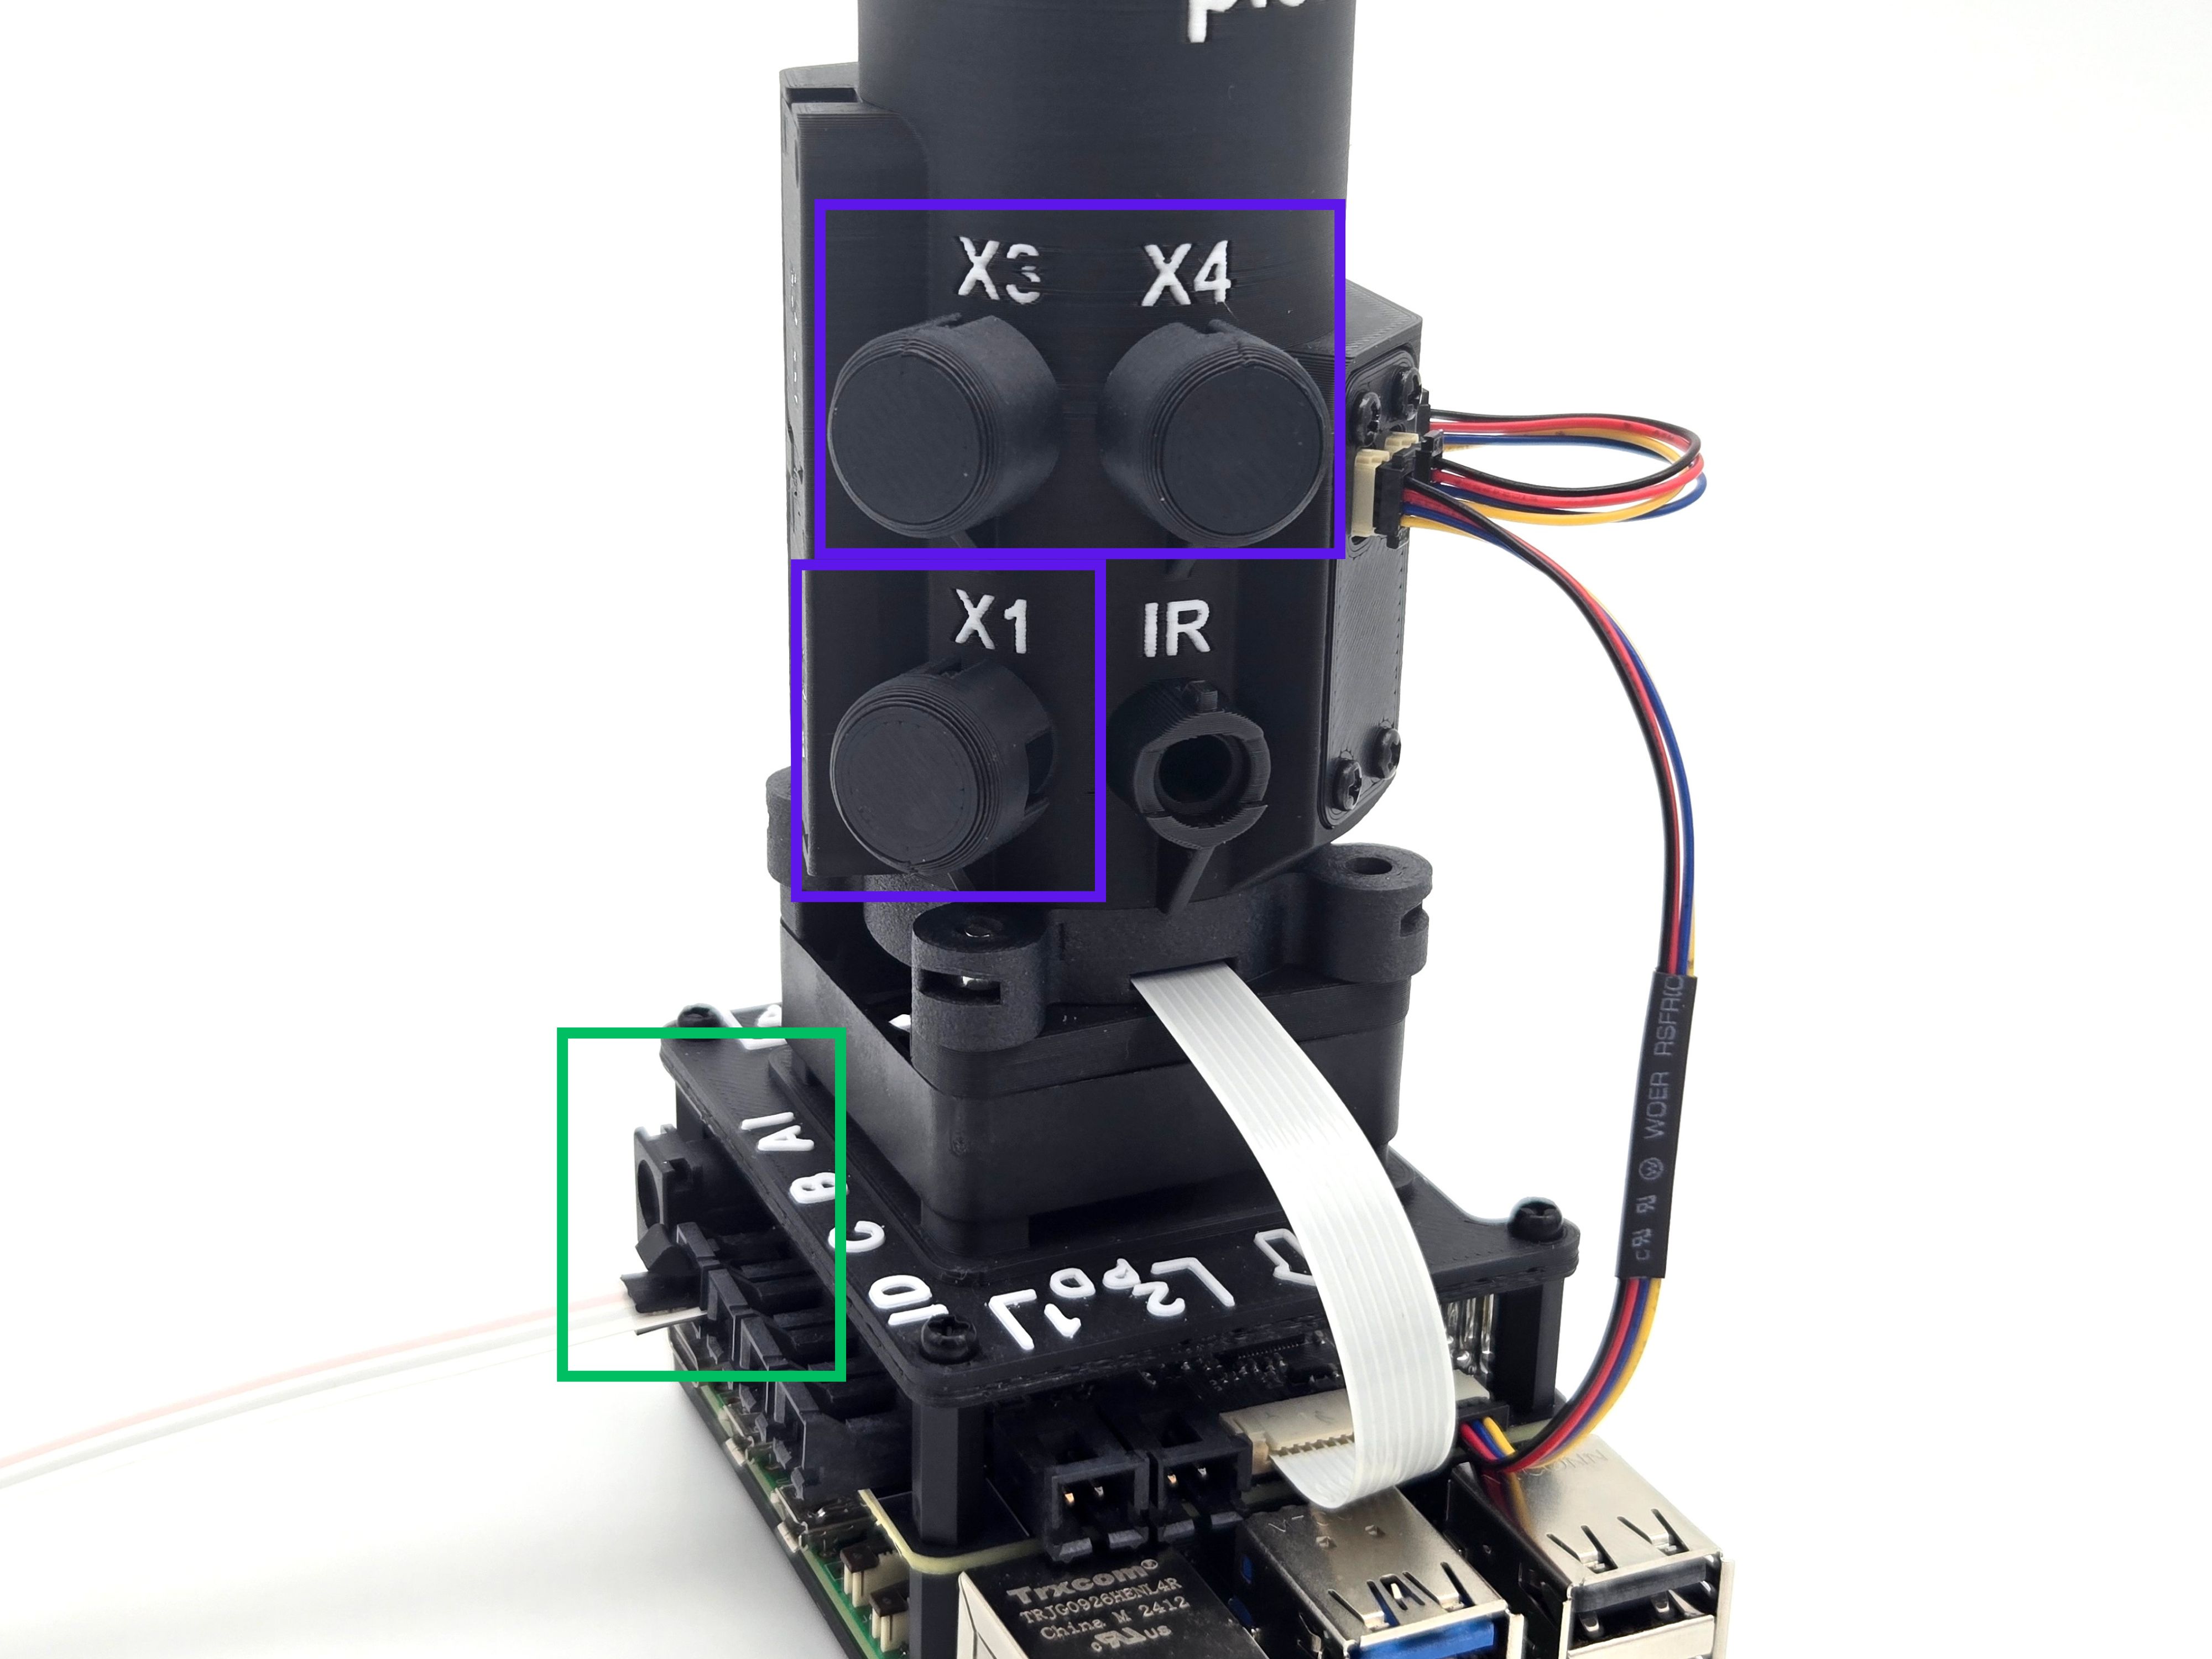
- Connect the LED cable to the Channel A connector.
- Secure LED caps (3x) over the unused pockets.
- Insert the LED bulb into the pocket labeled IR. Slowly bend the bulb's leads 90 degrees towards the left such that the bend is near the LED bulb.
- Secure the bulb with an LED cap.