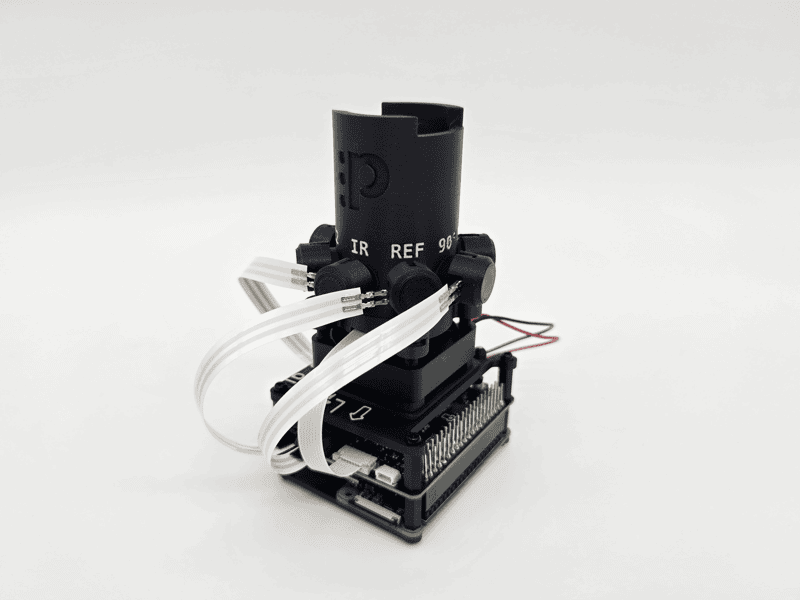
Connect the optics system
Step 1: Connect the IR cable (IR → Channel A) #
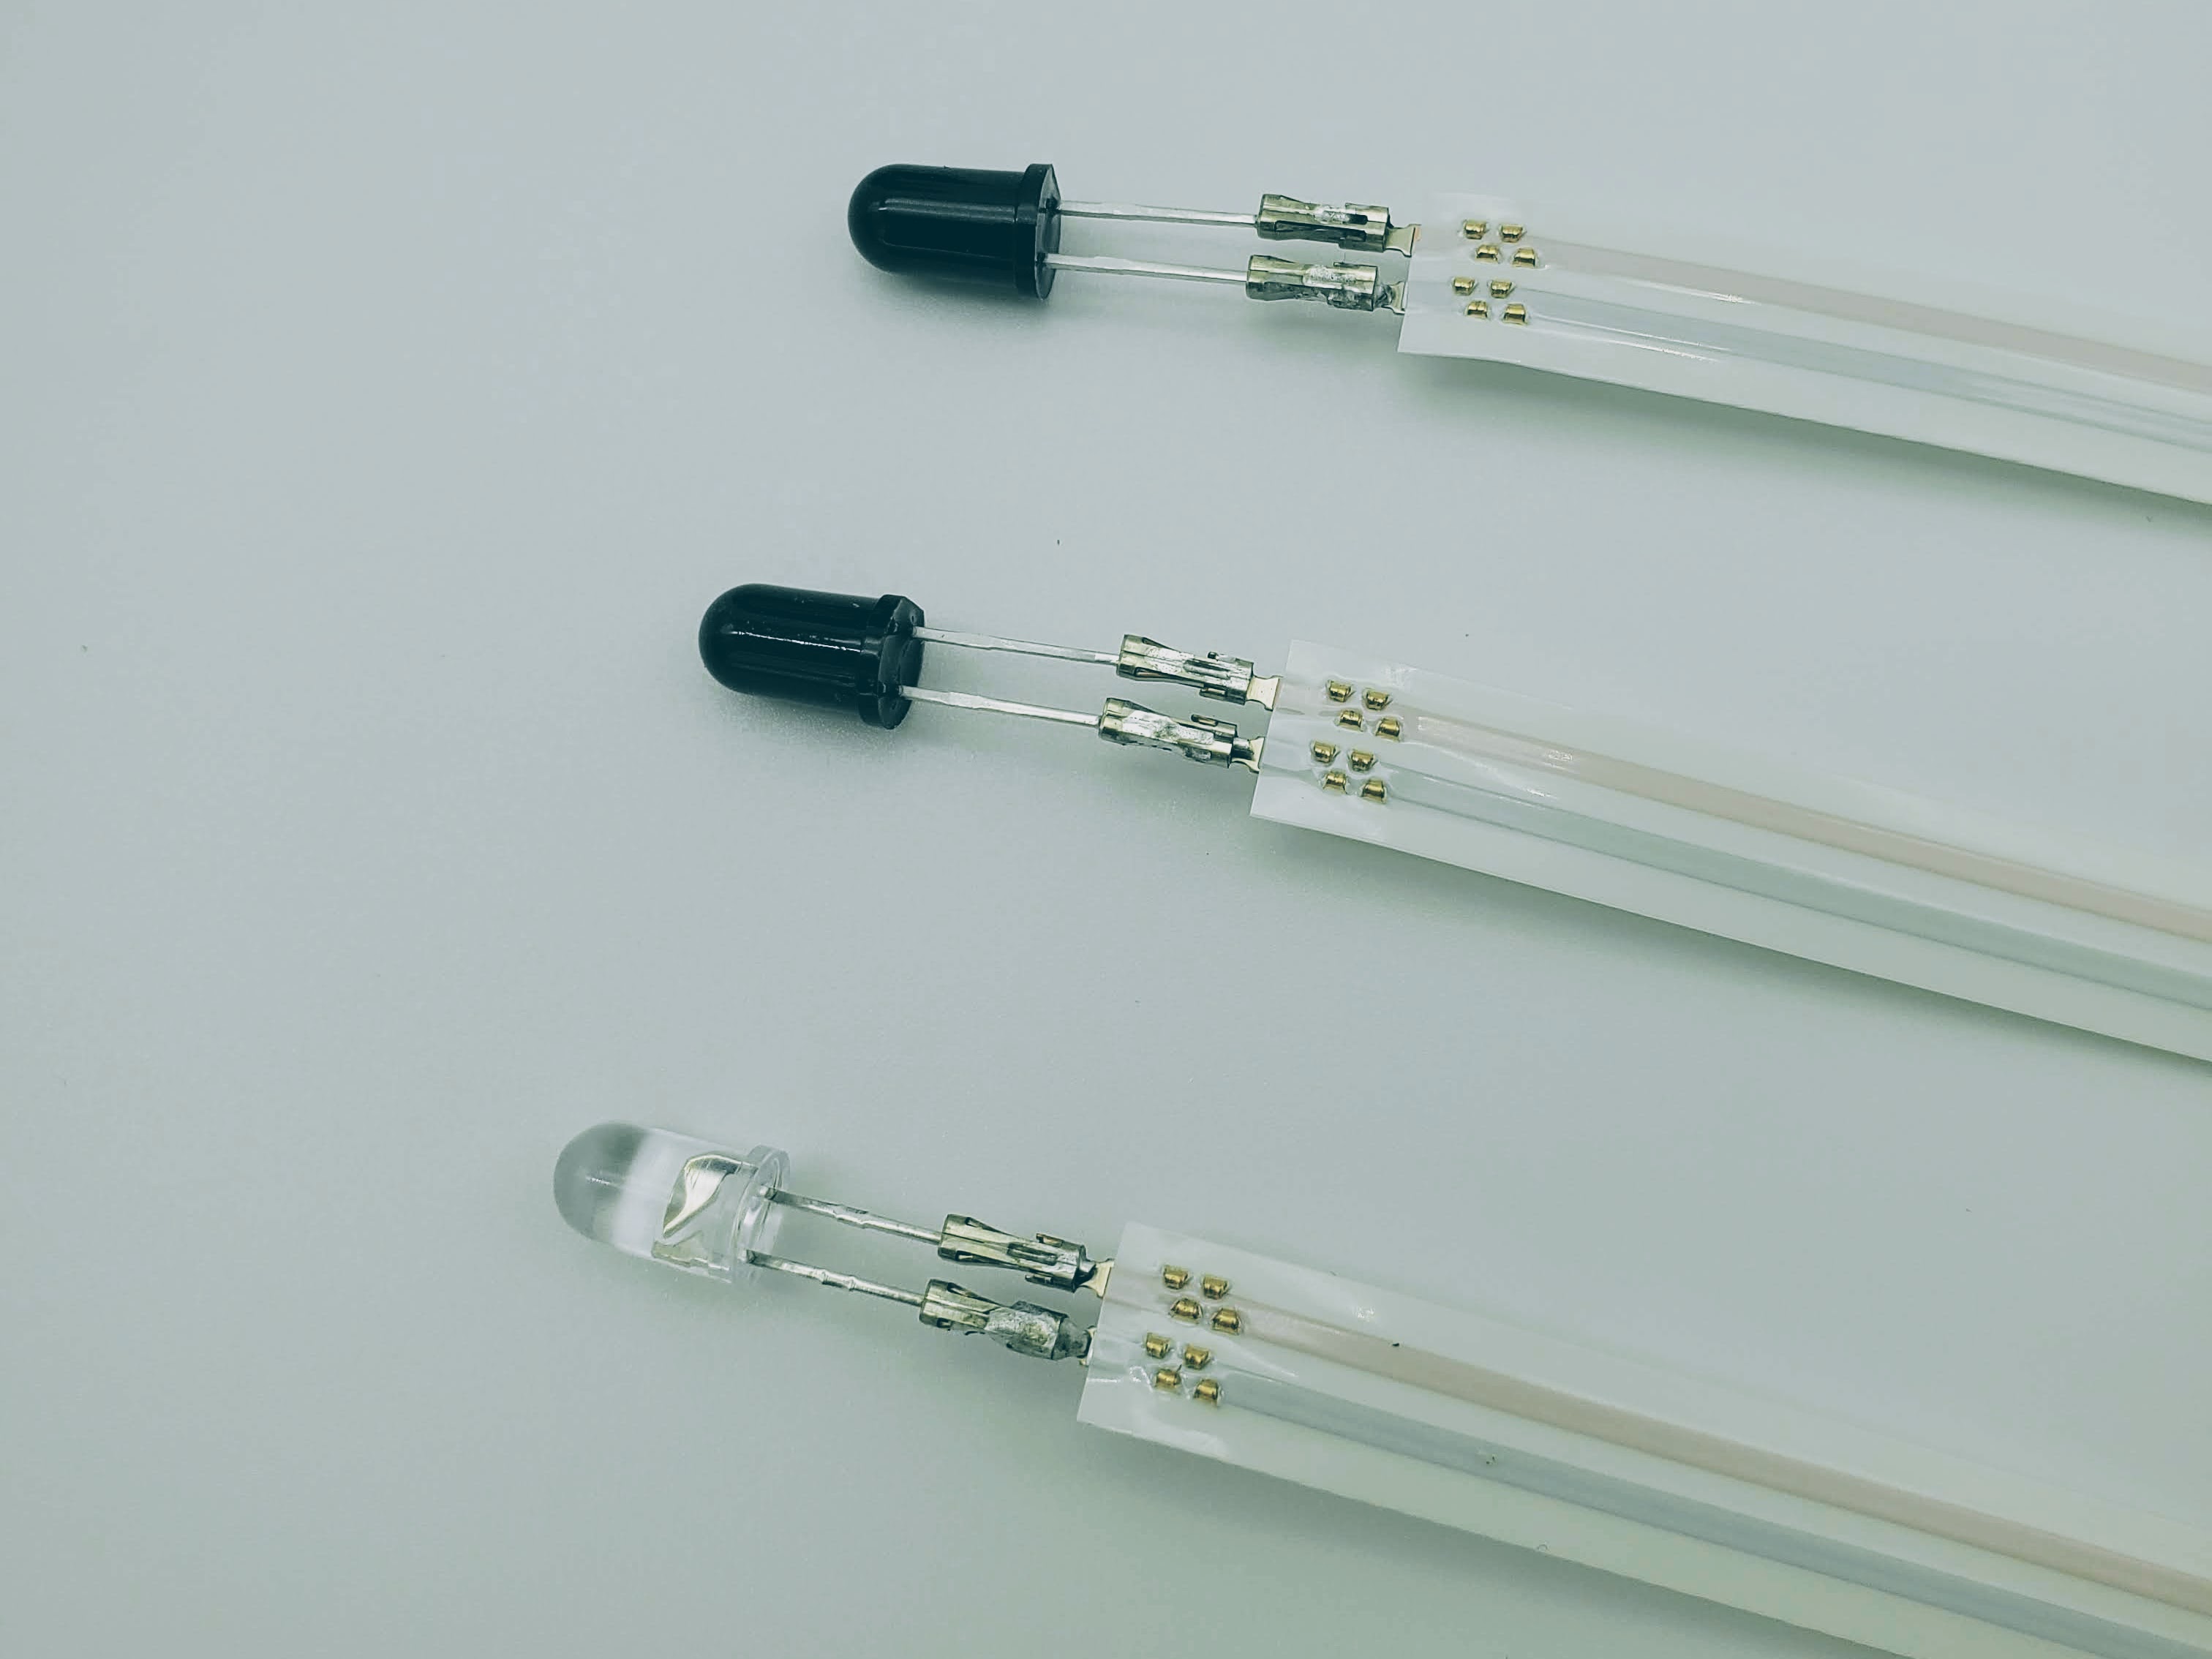
- You will need both PD cables (dark bulbs) and IR cable (clear bulb). Note that PD cables are now 3.5" long instead of 4".
tip
Inspect each LED and PD to confirm that their leads are not touching each other.
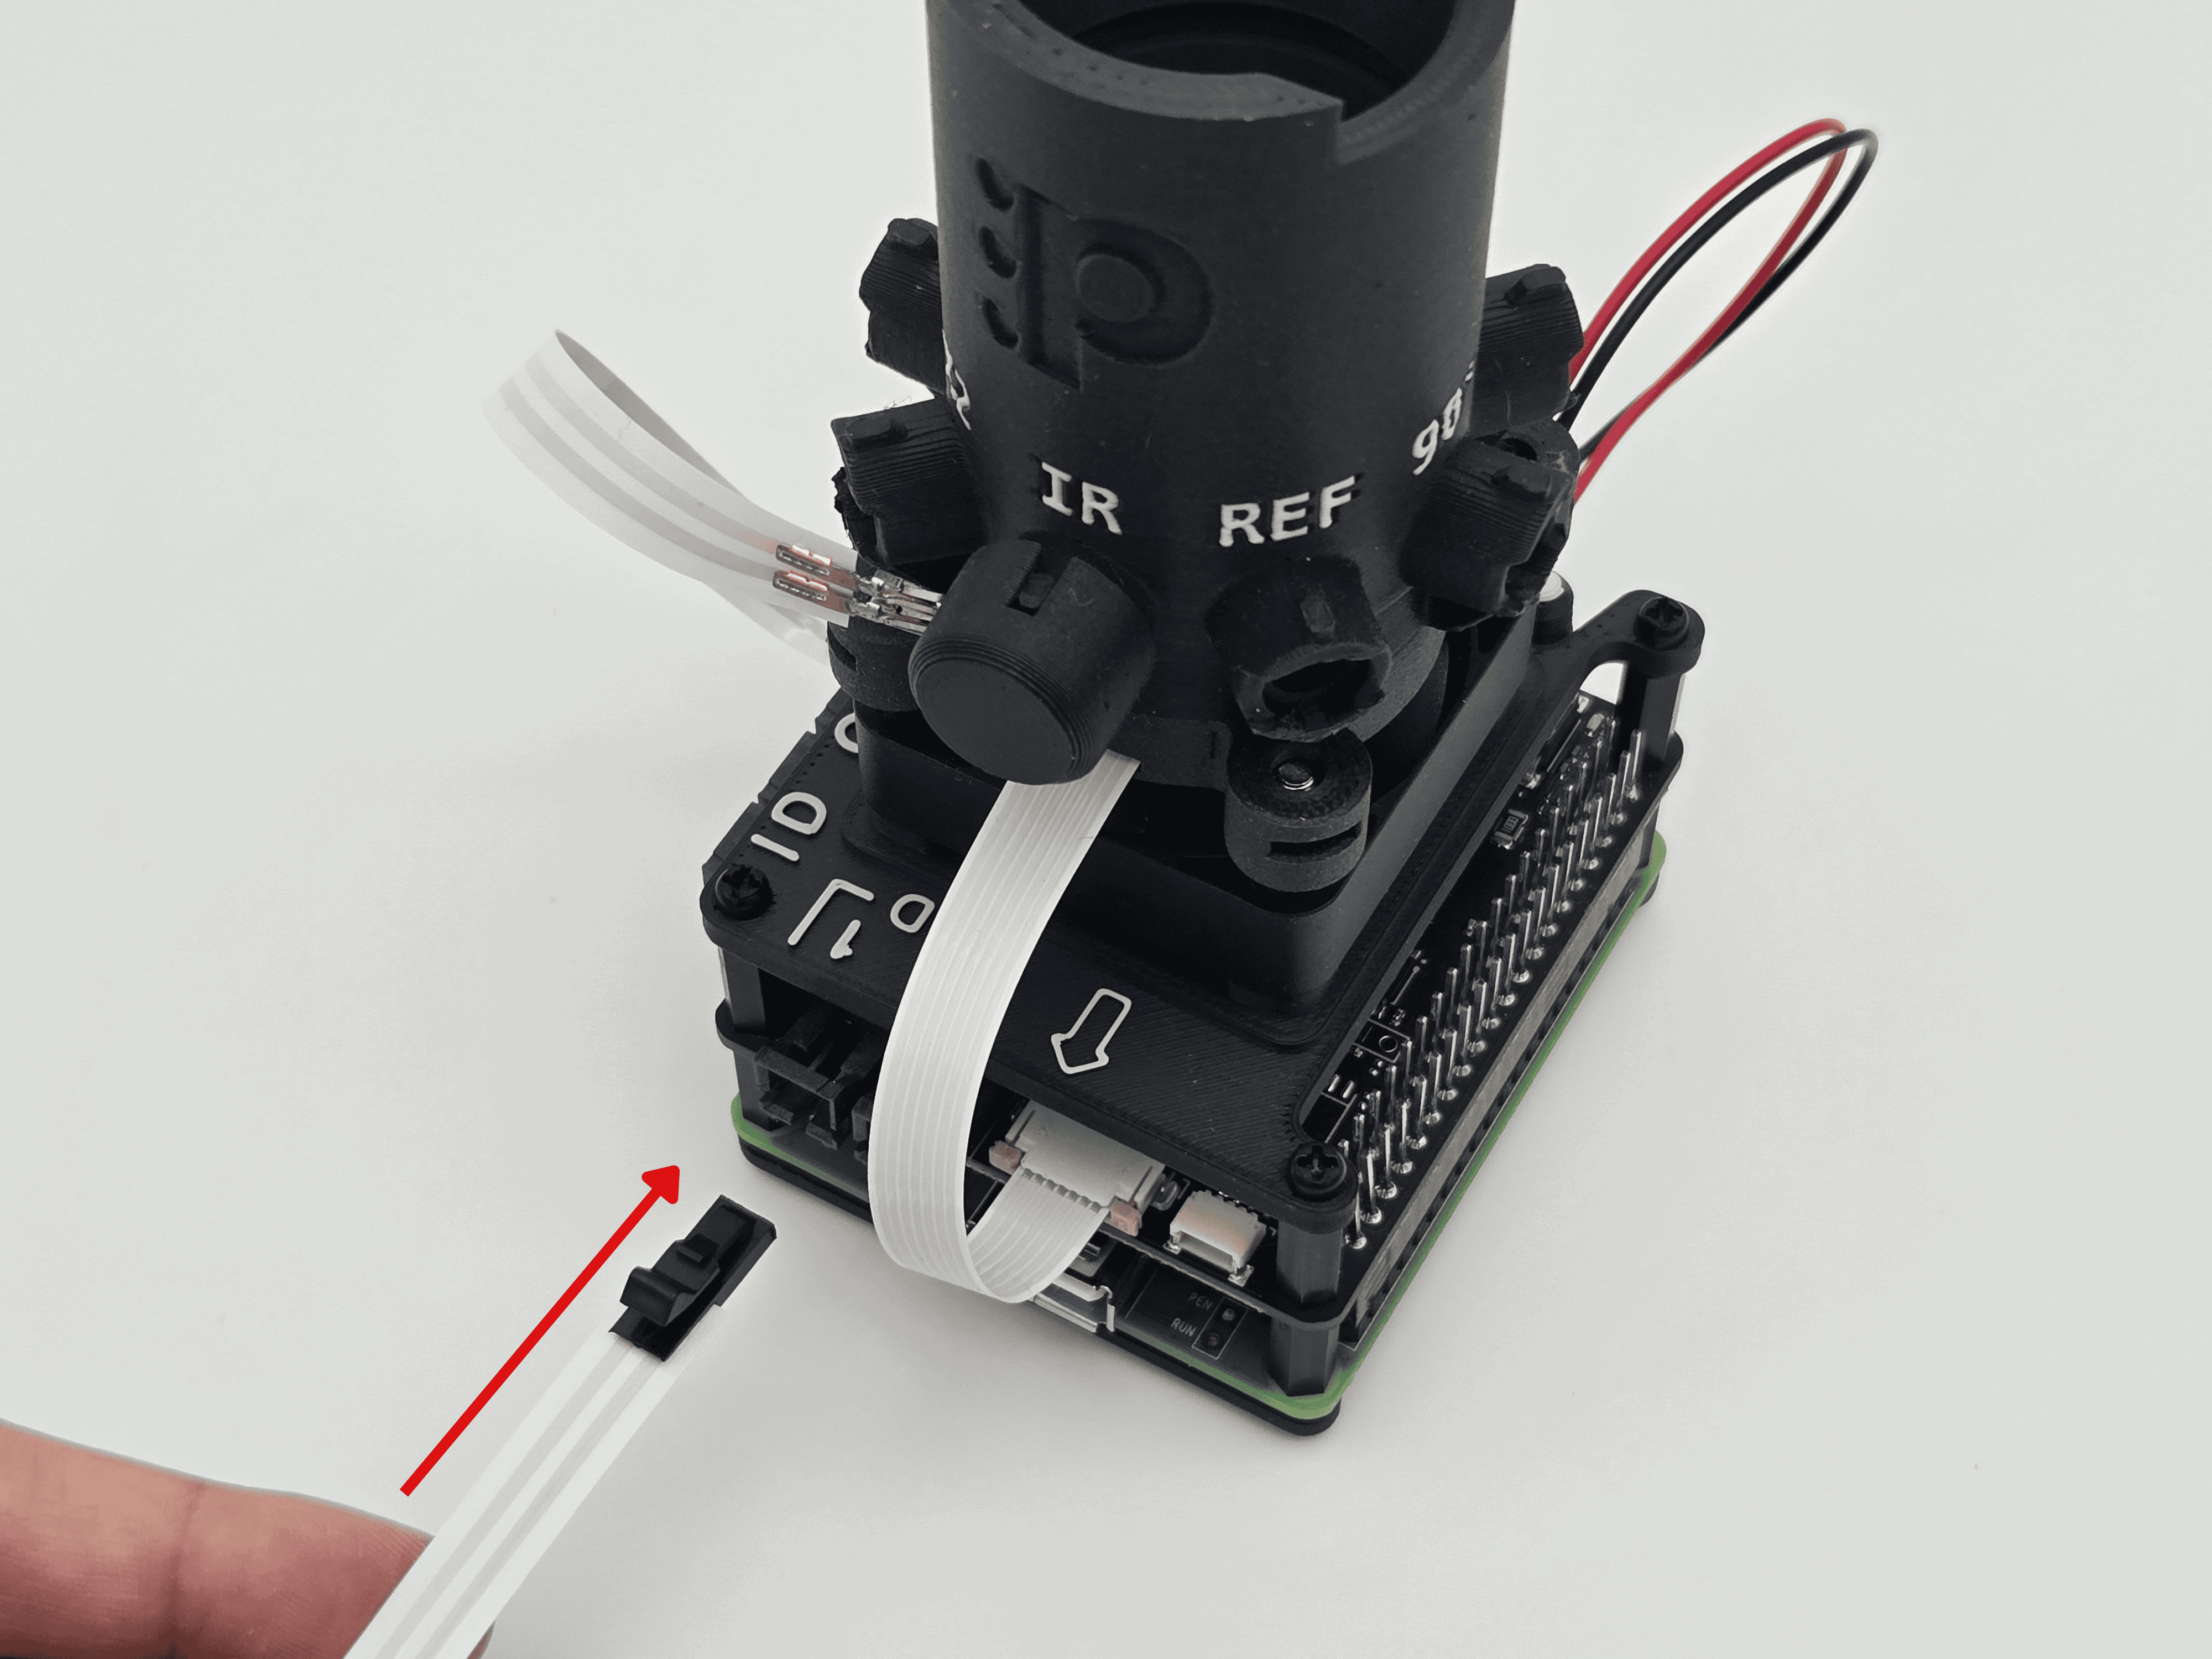
- Insert the connector of the IR cable into channel A (labelled on the faceplate).
- Insert the bulb of the IR cable into the pocket labeled IR.
- Slowly bend the bulb's leads 90 degrees, as seen.
caution
Avoid over-stressing the leads, or applying too much force too quickly. After bending once, it's ill-advised to bend them again.
- Secure the bulb in place with an LED cap.
Step 2: Connect PD cable (REF → Channel 1) #
- Plug the connector of one PD cable into channel 1.
- Insert the bulb of that cable into the REF pocket.
- Slowly bend the bulb's leads 90 degrees, as seen.
caution
Avoid over-stressing the leads, or applying too much force too quickly. After bending once, it's ill-advised to bend them again.
- Secure the bulb with an LED cap.
Step 3: Connect PD cable (90° → Channel 2) #
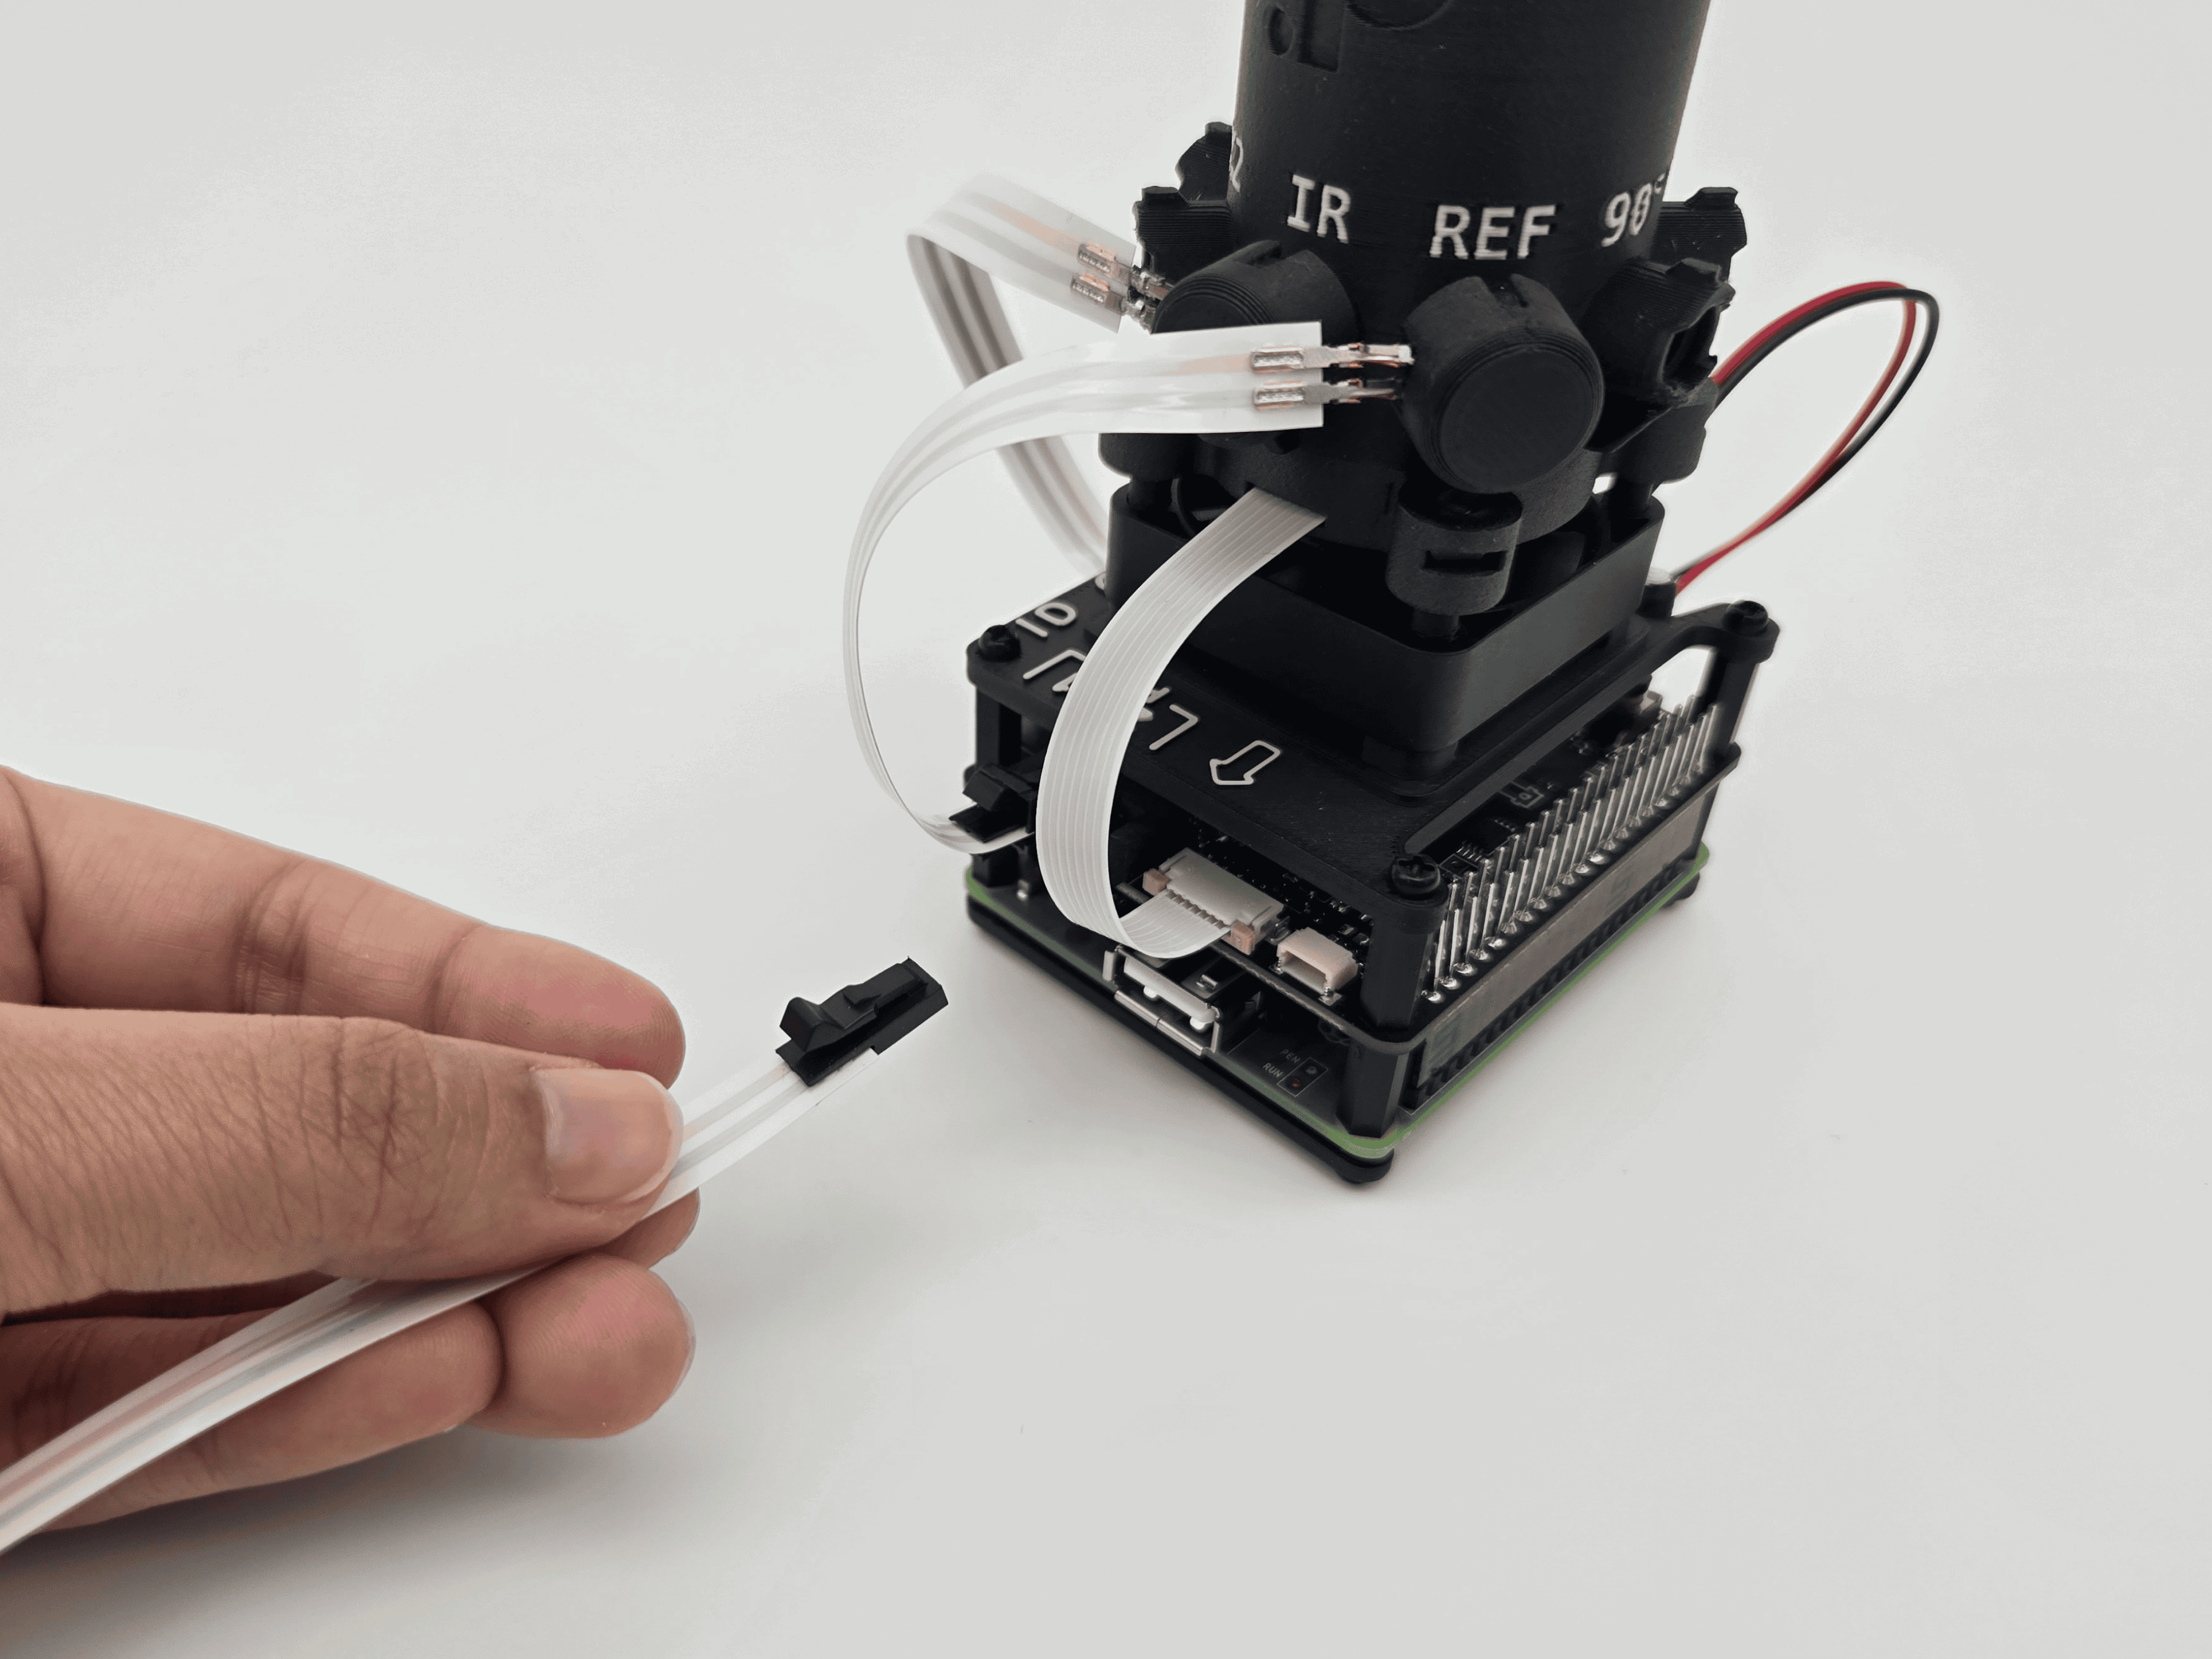
- Take a moment to orient the other PD cable such that it bends in the right direction for the black connector to insert into channel 2. See the image for more detail.
- In this orientation, but without connecting the cable to the channel, insert the bulb into the pocket labeled 90°.
- Bend the leads gently in the direction of the channel.
- Secure the bulb with an LED cap.
- Plug the connector into channel 2.
- Push all remaining LED caps onto each pocket.